Way back in old days we really couldn’t do something like this as Record a song at home. And it would totally be impossible if we tried too.
There was a lack of equipment that we have nowadays. Plus the gears available at that time period were not meant to record songs at home and they made all those loud humming noises – coming from different gears.
You must sing or record your gears loudly as much as possible. So, the level of sound being produced from you will overcome or subdue the sounds produced from the gears.
And many other challenges were faced. But, we don’t have any of this problem as compared to those days. We live in a generation where recording a song at home is fairly easy and cheap.
You don’t need anything fancy and technical stuff to start recording a song from scratch. And you don’t need to be an expert on it. Just learn as you go and you will learn all the things necessary to produce a great song or record.
Main Things Needed
There are two main things needed to record a song at home. They are –
- Some basic Gears are needed to start recording.
- The process of recording a song from scratch to arranging, cutting, mixing, mastering, etc.
We are going to discuss these two main things in depth so as to help you out in your song or music-making process.
Gears Needed
We are always going to need some of the gears available for use in the market, but we won’t be using all of them. Although you can use all of the recommended gears, it is not that necessary or compulsory.
We can still manage with some of the main gears that are absolutely needed to start recording at your home.
Some of the gears needed are :
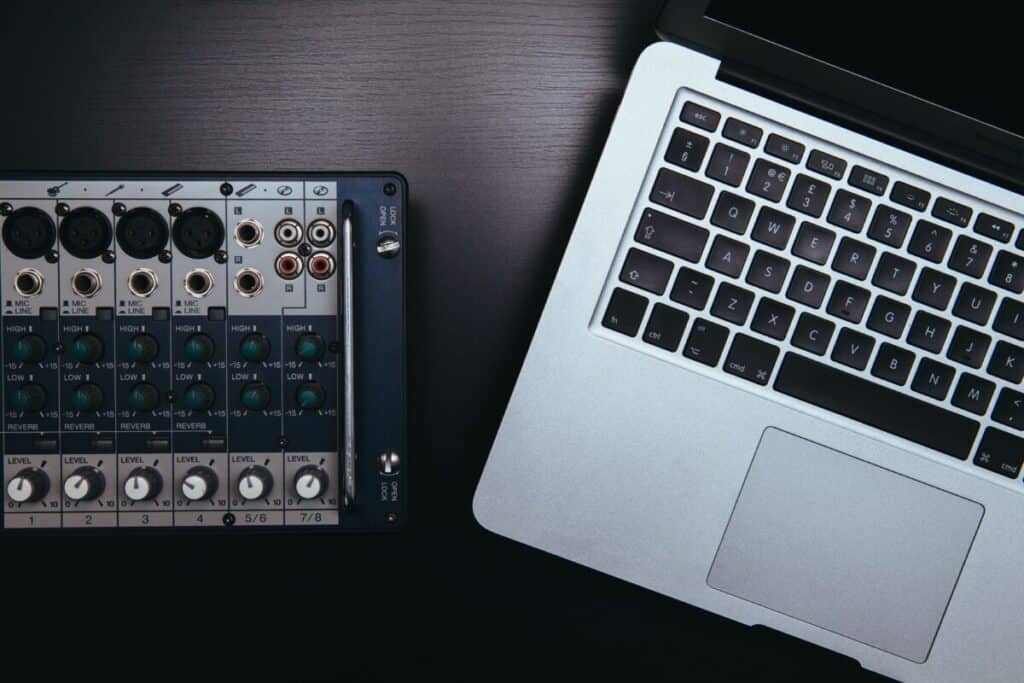
1. A computer (laptop or desktop) –
If you have any one of these then you don’t need to buy a new one, I also assume that you have one of these and probably you are reading this on a laptop or a desktop.
On the other hand, get a reasonable one that can run the software that we are going to use to record our songs or records – if don’t have one or need an upgrade.
I think most of the systems can handle the software that we are going to use pretty easily.
Yes, you can use other gears to record your song or mix it into but they are a little bit expensive. Moreover, they require some technical knowledge to do so.
But we all know how to use computers nowadays and own one or two of them. Therefore, all these points to using a computer as the best option – user friendly and cheap.

2. DAW (Digital Audio Workstation) –
It is the software that I mentioned above, which we are going to install on our computer and use it to record our songs or mix in it.
There are different types of them from different companies and you have to choose only one that is to your liking and work with it. They are not that different from each other as far as the functions are concerned.
There are both free and paid ones, obviously, the paid one will have more options and advanced functions. But, you can still manage with only the free tools and produce a dope song or record.
While some of the paid and free tools will be included when you buy an Audio Interface (coming up on the next part) – comes bundled with them. So, no need to worry about it.
3. Audio Interface –
It is the gear that will help us connect our microphones, guitars, drums, etc to our computer through it. You may be thinking “Can’t we record without it?“
Yes, you can do it only with your computer as they also have their own standard audio interface. The important thing you should know about using your computer is that the inbuilt standard audio interface is not meant to record high-quality audio.
They don’t have many options for it too and you can’t monitor your records properly too. The number of outputs and inputs your computer supports are also very low compared to the dedicated audio interface.
So you should always use a dedicated Audi Interface. With the dedicated one – it comes with no inputs and outputs for different gears that you can use.
Check out our Recommended Audio Interfaces from our Resource page
which gives you a better choice for your budget
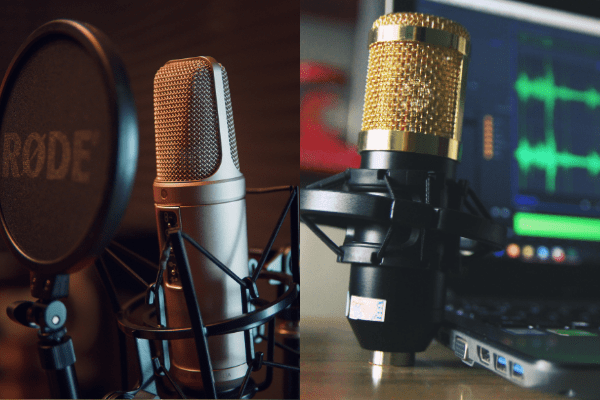
4. A Microphone –
This is a must needed gear for your project. Microphones are also of different types and you need something that is going to fit your project.
I recommend having a separate microphone for your vocals and another for your gears. Different types of microphones are meant for different purposes. An example is that you should use A large diaphragm Condenser Mic for your vocals.
So better check other posts and articles on different types of microphones so that you can get a better understanding of what type of mic that you are going to use for your gears.
I suggest getting only about two of them – one for vocal and another one for your gears. By the way, you can still manage with only one if you don’t have the budget. You can always add new ones to your collection as time goes.
Here is our Favourite Microphones.
Pop Filter – It is an accessory for your mic that is very important if you are recording vocals. You should definitely get one of these. What it basically does is “Remove the popping sounds created by the blasting of airs.”
These popping sounds are generally created when we say letters like “P”, “T”, etc., or have their pronunciation when we speak. The best part is that they are cheap and affordable too, won’t hurt anyone when you get one for yourself.

5. A pair of headphones or Monitors –
The last piece of the puzzle is a pair of headphones or monitors so that we can analyze the records or mixes that we are developing.
Some say recording using only a pair of headphones is better while others say monitors are compulsory. And the debate has been going on for decades.
The truth is that these two are very different from each other and their working principle also differs. Hence, you have to use them for specific situations.
But here we are going to use only one of them – preferably only a pair of headphones as it is more affordable compared to a pair of monitors. Moreover, you have to set up your room so as to let the monitors work at a desired level of ambiance if you use the latter.
And Our Favourite Headphones list.
If you want something that goes into how Headphones and Monitors differ from each other, then you can check my post on Comparisons between headphones and Monitors which goes into a little bit deeper.
Something You Need to Take Care of
Now, you have all the gears that are needed to record a song. Before we go into the next part of the process i.e. “Start recording our song or music” we need to Soundproof our home studio.
This step is a must as we are going to record a song. You will hear all the annoying background noises if we skip this step. It is because of the fact that all the background noises will be picked up very easily by your Studio Mics.
Even the slightest change will be picked up very easily. If you have done it then you can jump to the next part of the process.
If not – you can refer to this article on how to do it.
Recording the Song
Recording Songs and editing them is way easier nowadays as compared to the early days. We have so much freedom with the amount of manipulation we can do with our tracks.
We can edit, rearrange, copy, duplicate the tracks and analyze them at the same time very easily with just one click at our laptops or desktops. We can even cut off various parts and add virtually produce sounds to make it perfect.
My recommendation on this is not to use too many of these virtual ones and solely rely on the tools. If you use too many of them, then your track will lose natural characteristics.
On the other hand, you can use them if you are producing electronic ones. But, for our project use them when you think it’s necessary.
Like many others recording a song also needs planning, a step-by-step process so as to make the recording easier, quicker, and more efficient in nature.
Step 1 : Creating a Guide Track
This is the baseline of creating a song from scratch. This track will be the guide of the whole recording process which you can discard after you have a good track that you can use as a reference track.
It can be a drum loop or a virtual rhythm or anything like this which you can use as a guide for the upcoming process. You can use a basic drum loop that you can find anywhere online.
And after that change the rhythm of the drum loop to your liking. There is something you need to take care of when you are developing the rhythm of the guide track i.e. the tempo of the guide track.
The tempo of the track will also play a very important role when you record the other instruments and vocals. So, be sure to tune it properly to fit the kind of tempo you want your song to be.
Here is a video on how to set up a drum loop
Step 2 : Recording the various instruments and vocals
Some people have different opinions on this that vocals should be recorded along with the gears while others say the gears should be recorded first and the vocals at the last.
For me, I would go with recording the instruments first and the vocals the last. This gives an upper hand when you record the vocals as recording vocals is about the feels .. you know what I mean Right!!
It’s the music that gives you that feeling and it adds up to our vocals by giving a boost in our emotions.
Now, first of all, you record an instrument that you are going to use as a guide track (using the scratch track made above in the first step). After this, record other instruments using this newly made guide track as the base.
When you are recording the instruments, either record the drums or the bass guitar first. I have seen most of the people recording the bass guitar first, but you can still go with the drums if you like.
After this, you can basically record any instruments in any order.
When you have finish recording all the instruments then finish it with recording the vocals. Take it easy and slow on this and please don’t be hasty when you do this part. Relax your mind and try to pull out the best from you.
Some tips
- Take three or four duplicate tracks for each instrument and your vocals. You can choose the best among them later and use them for editing.
- If you are not a professional on various instruments or you don’t have a band to play the instruments for you, you can just outsource them.
Step 3 : Editing Process
This is where you utilize the power of the DAWs. You can edit the tracks, cut off various parts and replace them with new and better ones from the duplicate tracks that I suggested you to to take.
No matter how careful you are when you are recording vocals or any other instruments, you will always make mistakes. And this is where you correct them.
Some of the other things you can do are :
- You can edit the time, pitch, etc. of the tracks.
- Remove background noises or any other unwanted noises.
- You can add background music, fillers, pre-made sound effects, etc. on the tracks to make it better.
Step 4 : Mixing and Mastering
It is the step in which you mix all the tracks together and try to produce the complete song that you have been creating all this time.
When you are mixing the tracks altogether try to analyze them very carefully as it is nearing the final step of the whole process.
Rearrange the positions of the tracks in their timeline so that they fit in their right place. Make sure there aren’t any off beats and unbalanced parts. You can also use different duplicate tracks that you took and check which one fits the best.
Take your time and come up with the best track as much as possible. After this let’s go to the Final step of the whole process and that is Mastering.
Mastering
It is the process in which the final track of the song is going to be prepared for production and distribution for various devices and formats. This is the step where we will also add the final touch to our song.
And I highly recommend you to outsource this step to an expert. You can do it yourself but won’t be that good at all and maybe even make your song worse.
If you are not producing it for the public or professional manner then you can just skip this step. Now, you have your final product.
Here is a More detailed Guide from a person who has more experience: Song Recording and Production
Recent Posts
QuickTime is a vital app for many Mac users, and if you’ve recently bought a new microphone, you might wonder how to use it optimally. QuickTime cannot record audio content if it doesn’t have...
Every microphone leaves a unique signature on the quality of its output. If you’re a podcaster trying to melt your way into your audience’s hearts, a muddy, distorted recording won’t cut it....
