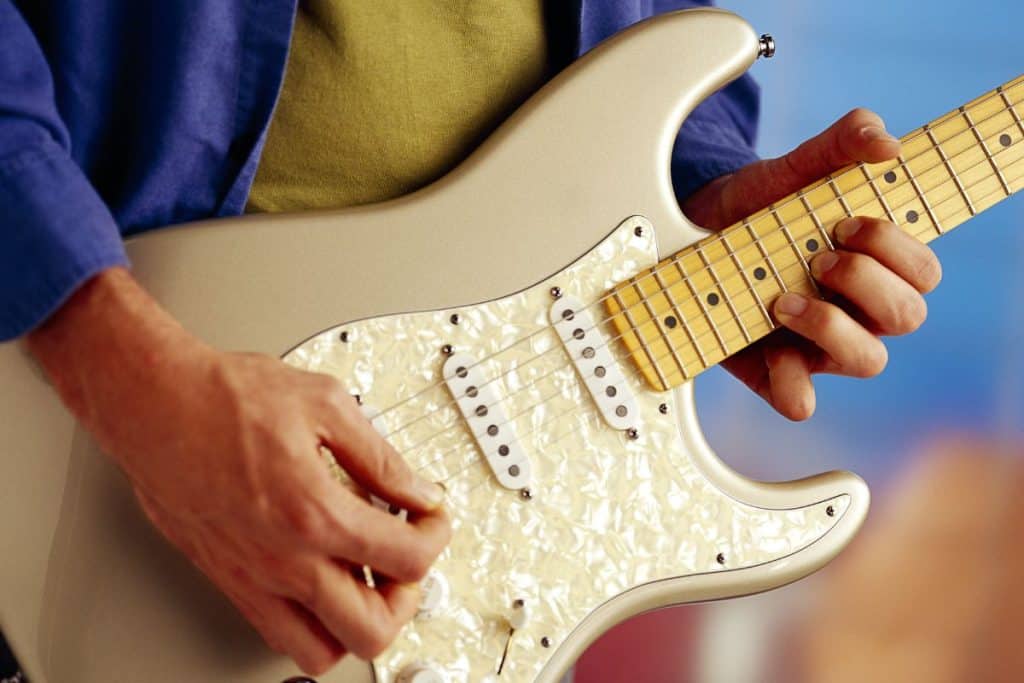
If you are really serious about learning and playing the electric guitar then one thing you should really know about is lowering and raising the action of your guitar. Learning about this will allow you to play the guitar as comfortably as possible.
Through this article, we will go through exactly what you need to do and how.

Overview
So first of all, what is guitar action? It is the electric guitar string height above the fretboard. This will play a massive role in how the guitar plays. Too high, and the guitar will start to feel uncomfortable, too low and you’ll start to hear a buzzing sound.
The guitar’s action is really essential to get right as it changes how it feels to play.
Before you start changing your guitar’s action you’ll first want to measure the guitar action height with an action gauge or a ruler to check what your action actually needs to be set to.
How To Measure Guitar Action Height
Rulers And Gauges
It is always best practice to measure the height before you begin adjusting it. Now you don’t want to just grab any ruler to measure as some can give you a bad reading.
You want a ruler where the measurement starts from the very end so that you can set it against the fret and get a precise measurement.
If the ruler measurements start an inch or so into the ruler, you’re going to make the job much more difficult for yourself.
Alternatively, you can use a guitar action gauge. This is essentially a custom-designed ruler specifically designed to measure action on the guitar.
They’re really easy to use and give precise readings in inches and millimeters. If you have the time and money to order one of these online, I would opt for this over a ruler.
Measuring Guitar Action
Once you have your ruler or gauge, actually measuring the action is pretty easy. Just follow these 5 easy steps.
- Tune your instrument.
- Make sure the neck of the guitar is straight and adjust your truss rod.
- Rest the ruler or gauge on the 12th fret.
- Read the ruler from the bottom string.
- Repeat this for any other string that needs measuring.
What Should The Action Be On Your Electric Guitar
Electric guitars generally have lower action than acoustic guitars. You’ll notice If you pick up an acoustic guitar and an electric one right after that the strings are much closer to the fret on the electric guitar.
As a rule, the typical action of an electric guitar is 4/64” on the high E string and 6/64” on the low.
Of course, everyone has their own preferences, and so some will want a higher action, while some prefer it even lower.
I find it easiest to test the waters first, listen for where the buzzing changes the sound quality to learn the limits of how high or low you can go and from there you can just pick wherever is comfiest.
You’ll want to make sure that the guitar is plugged in while you test the action, this is because while it is unplugged even the tiniest fret buzzing is noticeable.
How To Raise Action On An Electric Guitar

When it comes to electric guitar there tends to be three types of bridges; Tune-O-Matic bridges Floyd Rose bridges, and Fender-style bridges. Depending on which you have, the way you adjust your action will change.
You should always make sure that you de-tune your strings slightly before you start raising the action. You do this to make sure that you do not break the strings.
Tune-O-Matic Bridges
If you have a tune-o-matic bridge you’ll adjust the action at the bridge posts. You’ll notice two screws on either side that can be adjusted to influence the action, although there is not much control over individual strings this way.
With this bridge, just measure the action height of the E strings, both high and low. From here you can adjust as needed. You’ll do this by turning the screws on the bridge post beside the low E string and then you’ll slightly raise the post.
Screw the screws back in place and then retune your guitar and re-measure.
When you’ve got the desired action on the low E string, you can repeat the process with the high E string.
Floyd Rose Bridges
With these types of bridges, there are two posts that will change the action. They work fairly similarly to the bridges above.
To raise the action with these bridges, you’ll need to use a 3mm Allen wrench to be able to raise the height. Because of this, it’s really vital that you ensure that the bridge is set up properly before you start.
So if your bridge is in its resting position, you’d need to fix it before you start considering raising the action.
A poorly set up bridge will result in problems down the line when the bridge raises and lowers. If you have an unbalanced bridge there will be a massive impact on your action.
You will tend to find that to improve action if you fix the tension balance, you don’t actually have to mess with the action adjustment posts.
Fender-Style
Bridges that have individual saddles are great because they offer the best control of action height out of all the bridge types. However, every cloud has its silver lining and the lining for Fender bridges is that they are the hardest to adjust accurately.
To raise the action with this bridge, you’ll need a 1.5mm Allen wrench so that you can turn the two screws on each of the saddles. You’ll want to be sure that both screws are at the same height so that the saddle stays flat.
You’ll be going string by string with this bridge, so you need to measure the action height for them individually before raising.
Final Thoughts
There can be a lot to take in while trying to come to grips with guitar action, however, it is really all just about patience and really careful measurements. Patience and determination will have you playing like a pro in no time.
References
Recent Posts
QuickTime is a vital app for many Mac users, and if you’ve recently bought a new microphone, you might wonder how to use it optimally. QuickTime cannot record audio content if it doesn’t have...
Every microphone leaves a unique signature on the quality of its output. If you’re a podcaster trying to melt your way into your audience’s hearts, a muddy, distorted recording won’t cut it....
