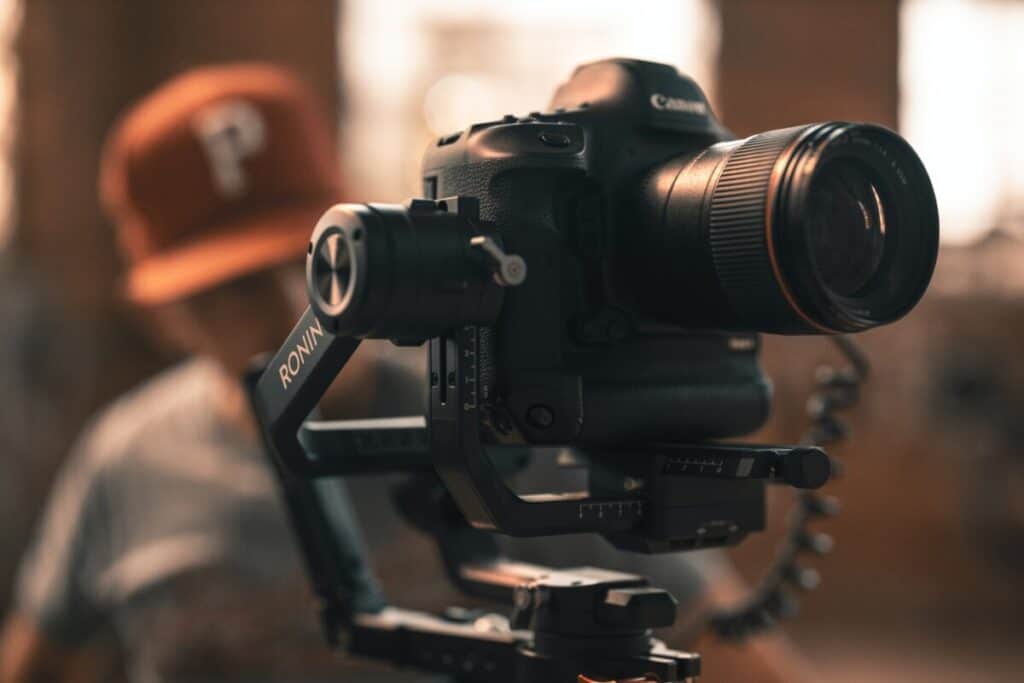
With video content becoming a staple in the advertising industry, video production studios’ demand is on the rise. This has prompted many people and organizations to explore the idea of setting up in-house for convenience and save on costs, but how many cameras do you need for a DIY professional studio setup?
A DIY video studio should have at least two cameras to capture both the A-roll and the B-roll. A two-camera setup allows you to provide wholesome coverage of an event and give it a balanced feel. Coupling A-roll and B-roll footage break the monotony to give the final video a dynamic appeal.
The rest of the article will further explain why you need a two-camera setup in a DIY video studio and explore the three basic camera angles and shots used in professional video production.
Why You Need a Two Camera Setup
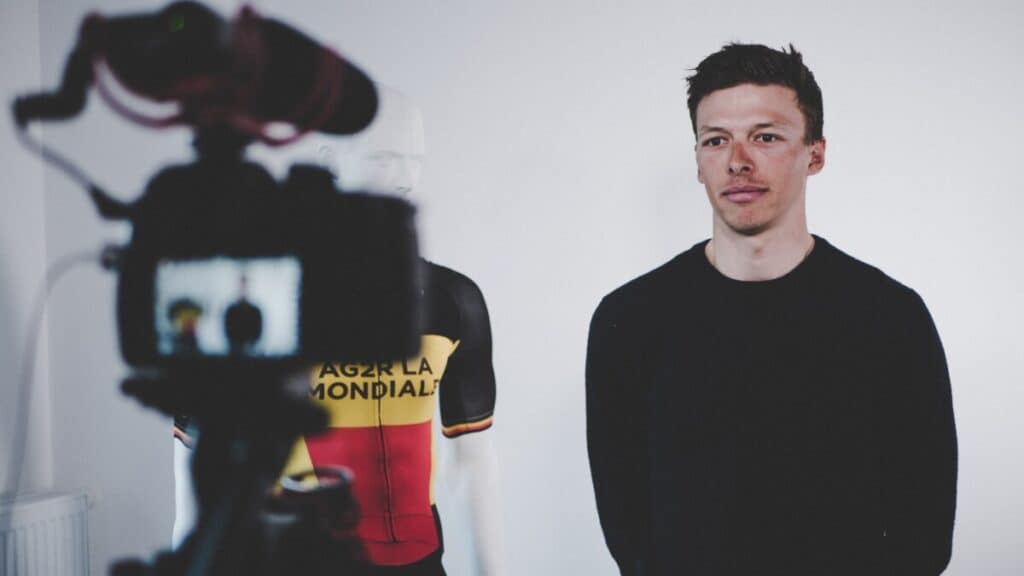
Naturally, a camera operator has only one focal point when capturing footage. If you have only one camera, the camera operator will keep it trained on the main speaker during a shoot.
If you do not have a camera operator to help you, then you will need to have a tripod set up that the right positions. Find out later in the conclusion to find out which tripod I use.
Having one camera operator adds value to your video edit later as they are there to help you with shooting video footage which you may need to be recorded in a certain style.
Having a camera operator with experience will go a long way especially if they have been involved with being a director of shooting professional videos.
A single-camera method makes it impossible for the camera operator to provide a wholesome coverage for an event as it only covers it from a single angle.
You end up missing great shots and golden nuggets that can lend credibility to an event and give it a balanced feel.
Whereas, a multi-cam set up with at least two cameras allows for changing perspective. It helps with changing focus between people if it’s in an interview.
Having a multi-cam setup lends you to have options to switch between perspectives when the raw footage is managed in the video edit later.
With a multi-cam setup, you can also avoid blind spots that may be important in conveying certain things to the audience whereas a single-cam setup would miss that.
If the camera malfunctions, you’ll be out of commission for a while as you try to repair the unit and end up missing crucial aspects of an event. If you can’t get the unit back up and running, you have pretty much ruined a client’s event.
One camera covers the main event in a two-camera setup to capture the primary or A-roll footage while the second one captures the b-roll footage.
A-Roll vs. B-Roll
The A-roll covers the main subject or event you need to focus on while the B-roll captures everything else. A story told with just A-roll footage tends to feel off-balance and might not be as appealing to the target audience.
B-roll footage creates dramatic tension, drives home a point, and bolsters the story when spliced into the central footage. Shooting a B-roll helps to:
- Set the tone
- Establish character and setting
- Improve the editing process by providing more footage
- Cover errors and gaps
- Break monotony
Find out later down in the conclusion to find out what I personally use in my set up
Shooting the B-Roll
Creating a pre-production schedule is crucial when preparing for a video shoot as it allows you to note the most critical elements to capture with the B-roll. Capturing ample B-roll simplifies the editing and post-production process as it gives the editor plenty of options to work with. For instance, it allows you to match what the interview subject is describing with a visual image or clip for a more dramatic effect.
For the best results, when capturing B-roll footage, bear these tips in mind:
- Plan the shoot. Consider what the main footage will be and then build the rest of the shoot around it.
For instance, if interviewing someone in their home, capture their entrance, and grab plenty of footage of the space.
Make a list of the nice-to-haves and must-havesthat will capture the essence and tell the whole story.
- Scout the locations. You may have only a few minutes to capture excellent B-roll footage, so you need to scope the area well ahead of time. That will help you plan for the alternative footage.
Scouting a location allows you to zero in the exact gear you need to make the shoot a roaring success.
Adequate preparation enables you to capture colorful, engaging shots on a material day, making the final video more enchanting. - Shoot plenty of footage. The idea here is to collect supplementary footage that may not be on the scheduled shot list.
The additional ‘bank of images’ comes in handy during the editing process as they allow you to give your video some breathing space.
The extra footage comes in handy when you need to evoke space, a transition between locations, or show the passage of time. - Shoot from different angles. Capturing different camera angles give the footage a dramatic feel and make the character or the subjects come alive.
By varying the angles, you can make the subject seem vulnerable, intimate, or even powerful. Prepare a list with the different camera shot angles that need to be captured with every shoot.
Basic Camera Angles
Your choice of camera angles and lighting can make or break a video shoot. An interview subject can look vastly different in various camera angles and lighting. When shooting a business video, you want to capture the most flattering shots of the subject.
Here’s a helpful video on camera angles:
Typically, video production revolves around three basic camera angles:
Eye-Level
It’s a neutral and more flattering shot that’s a staple in corporate video production. This doesn’t dramatically affect the shoot save for flattering the subject. Since this angle mirrors how the audience sees people in the real world, it helps the interviewer connect with the audience. It enables the subject to maintain eye contact with the audience, allowing for some intimacy that can take down boundaries.
Low Angle
If you wish to make the subject appear dominant and foreboding, you need to shoot from a low angle. That entails placing the camera close to the ground and looking up at the subject. It’s the perfect angle to use if you wish for the subject to come off as aggressive, powerful, and intimidating.
High Angle
The camera points down at the interview subject in high shot angles. Ideally, the shot can make the subject seem powerless, weak, or vulnerable. A high camera angle can also provide a broad overview of the scene to allow the audience to understand the setting. It can be used to flatter the interview subject as well.
For instance, if the interview subject has a narrow face, slightly raising the camera keeps them from looking thin and emaciated. It also works when the subject has a double chin or a rounded face. Angling the camera upwards when recording such a subject would be highly unflattering.
Basic Camera Shots
Camera shots refer to the size of the interview subject in the camera frame. Typically, camera shots fall into three basic categories:
Close-Up
A close-up shot is taken from a close range and fills up the camera screen. Since close-up shots capture minute details, they are used to frame the subject’s face. They are crucial to capturing a subject’s emotions and conveying their emotional state of mind to the audience.
Medium Shot
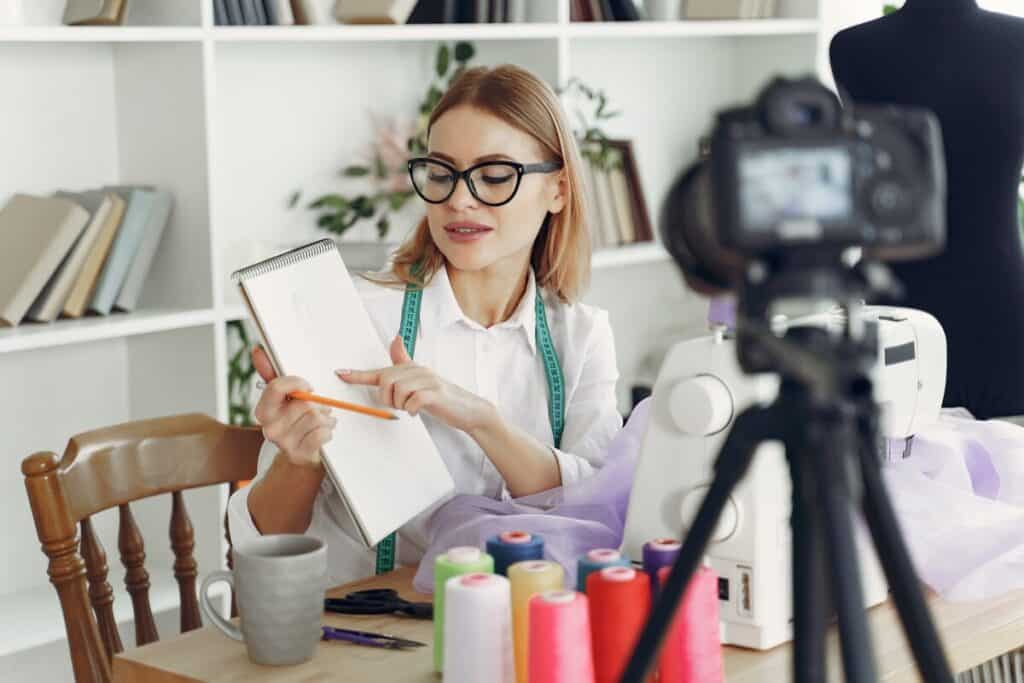
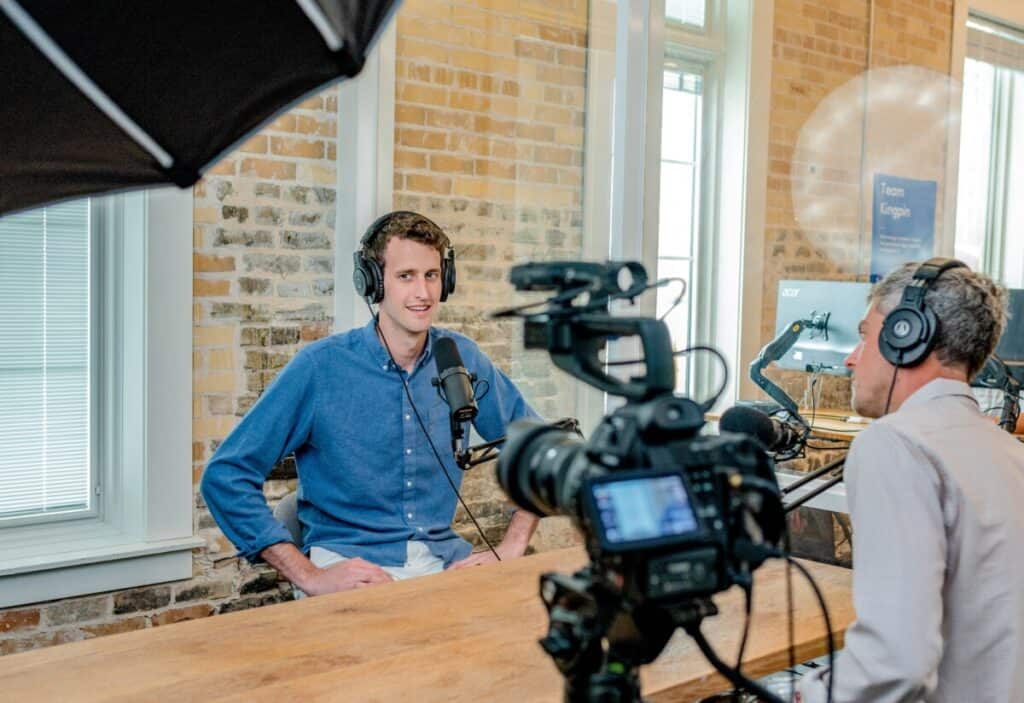
Also known as the waist shot, this camera shot is taken at a medium distance from the interview subject. It’s popular when there’s a dialogue between characters as it allows the audience a clear view of each speaker.
It strikes a sweet spot that helps the audience to take in details about the subject and the scene where it’s all taking place. A medium shot captures the subject’s body language and shows the audience how they interact with the surrounding environment.
Long Shot
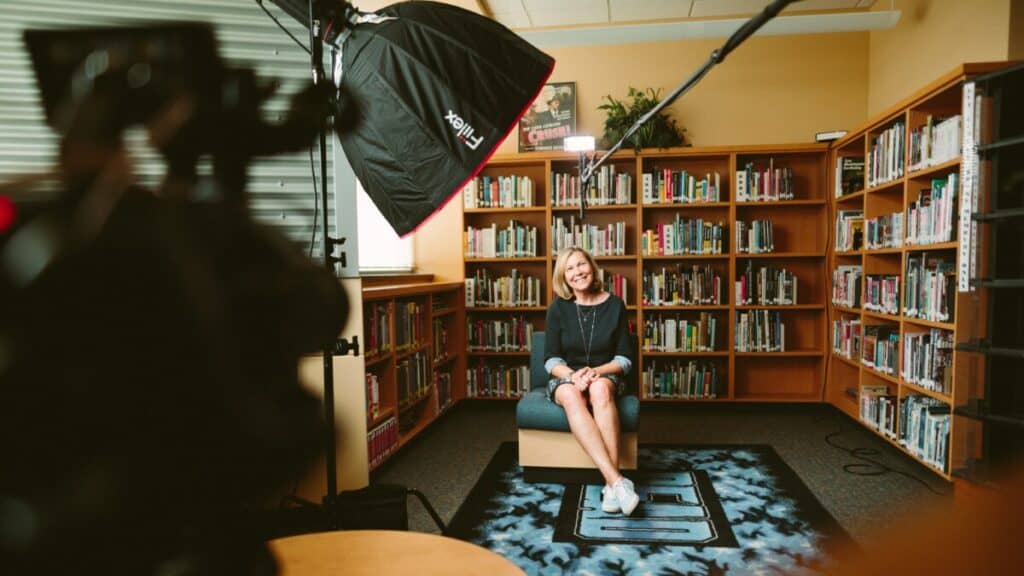
Also called the wide shot, it’s an establishing shot that’s effective in setting the scene and showing the character’s place in it.
It captures the full-length of the character as well as a sizable chunk of their surrounding environment.
Wide shots create an element of separation between the audience and the films to peg them as onlookers instead of immersing them in the story.
Obviously, this is possible only if studio space allows it.
What else you need to consider
Microphone
The type of microphone that you are going to need to use really depends on how far each camera is from the subject.
The internal built-in microphone will not produce near enough decent sound quality, so you should consider an external mic. An external microphone is probably the most important piece of equipment to invest in, making a noticeable difference in sound quality.
If it is a close-up camera, then having a shotgun mic will probably be your best bet.
If the camera is a little further away, i.e., more than 2 meters, then a shotgun mic probably won’t do. You will then need to consider a lavalier microphone.
Having a lavalier mic may show on camera, but it is more subtle than having a big microphone in front of the camera.
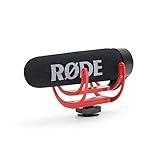
In terms of shotgun mics, I personally use Rode Videomic Go with my Sony a6400. To relocate the microphone to the side, I need this Smallrig Left Side Cold Shoe Adapter Relocation Plate
for my Sony a6400. The audio quality is pretty good considering this is more of an entry-level shotgun microphone.
- Delivers clear, crisp, directional audio with incredible ease of use
- Rode designed the videomic go with a tight pickup area that focuses directly in front of the mic
- Reduces other surrounding sounds, ensuring that your subject is isolated from background noise
Last update on 2025-05-31 / Affiliate links / Images from Amazon Product Advertising API
- The left cold shoe adapter is exclusively designed for Sony A6000/A6100/A6300/A6400/A6500
- With the cold shoe adapter, you can mount the microphone off to the left side so you can still see...
- The lightweight adapter features rubber pad to prevent scratching the hot shoe on the camera
Last update on 2025-05-31 / Affiliate links / Images from Amazon Product Advertising API
If you wanted to invest more in high quality sound, you may want to consider this Rode Videomic Pro or Rode Stereo VideoMic Pro Rycote Condenser On-Camera Microphone.
Last update on 2025-05-31 / Affiliate links / Images from Amazon Product Advertising API
- Rycote Lyre shock mounting onboard
- Broadcast recording quality on-camera microphone
- High-quality stereo on-camera microphone
Last update on 2025-05-31 / Affiliate links / Images from Amazon Product Advertising API
Lighting
You will definitely need to consider how you will place the lights so that the multi cam setup does not catch any of the equipment in the background.
You may want to use a combination of light sources. You should take advantage of natural lighting and artificial lighting.
Direct sunlight is an example of natural lighting. A softbox light or an LED light is an example of artificial light.
It would be best if you considered using the three-point lighting setup. This consists of a key light, a fill light, and a backlight. This helps enhance the video quality by separating the subject from the background.
This ultimately enhances the video quality content before doing anything in the video editing stage.
Conclusion
Technically, you can have a studio with just one camera, but you’d be unable to provide balanced coverage of any event.
A two-camera setup works best because it allows you to capture the main event and plenty of supplementary B-roll footage. The B-roll footage enables you to capture the essence of every video shoot without missing the primary focus.
B-roll footage allows you to bolster the story, fill in gaps, set the scene during the editing process to create a dynamic final product that resonates with the target audience.
Find out how to set up a cheap and easy YouTube studio set up in our quick guide here!
If you are interested in the camera set up that I personally use, I have the following:
- Sony Alpha a6400 Mirrorless Camera
– I use this for both my A-roll and B-roll camera shots, it is not the latest model, but it is a seriously good quality camera. One of the most important pieces of video equipment should be one that lasts. I exclusively use this camera for video recording purposes only to be honest. This mirrorless camera is a lighter alternative to the heavier DSLR ones and that also means I do not need to invest in a heavier duty tripod. On a side note, I also use this mirrorless camera as a webcam too.
- Sigma 16mm f/1.4 DC DN Contemporary Lens for Sony E
– I use this lens for my A-roll. I personally do not see the need for a zoom lens.
- Sigma 30mm F1.4 Contemporary DC DN Lens for Sony E
– I use this lens for my B-roll as it has an amazing depth of field. As you notice that both my lenses are from Sigma as they are cheaper but still amazing value for money. You can buy both of the above lenses for the money you pay for the high-end equivalent of this.
- Manfrotto Compact Action Aluminum 5-Section Tripod Kit with Hybrid Head
– A home video studio
does not need a high-end tripod; this is a budget tripod under $100 that I have that does the job. As I have a light mirrorless camera, I do not need to invest in a heavier duty tripod to tolerate a higher load.
At the end of the day, if your budget allows it, I highly recommend investing more if you ultimately want to produce great quality video content from a high value studio.
Want to know if you can use MicroSD cards in a digital camera? Click here!
Sources
- Master Class: Learn About B-Roll Footage: Definition, and How to Use It in Video Production
- Studio Binder: Camera Angles Explained: The Different Types of Camera Shot Angles in Film
- Tubular Insights: Video Production Tips: The Basics of Lighting And Camera Angles
- Polar Pro Filters: Filming 101: Types of Camera Shots and Angles
- Brid TV: How to Make the Best Professional Video Studio Setup on Any Budget
- HelpGuide: Nonverbal Communication and Body Language
- Pond5 Blog: 5 Editing Techniques Guaranteed to Create Emotional Impact
- NCBI: Affective Eye Contact: An Integrative Review
- Europe PMC: A database of whole-body action videos for the study of action, emotion, and untrustworthiness.
- No Film School: Watch: 10 Things You Should Be Doing When Shooting B-Roll
- Make Use Of: How to Edit Videos Like a Pro: 8 Tips You Need to Master
- Premium Beat: Filmmaking Techniques: Mastering the Rack-Focus
Recent Posts
QuickTime is a vital app for many Mac users, and if you’ve recently bought a new microphone, you might wonder how to use it optimally. QuickTime cannot record audio content if it doesn’t have...
Every microphone leaves a unique signature on the quality of its output. If you’re a podcaster trying to melt your way into your audience’s hearts, a muddy, distorted recording won’t cut it....

