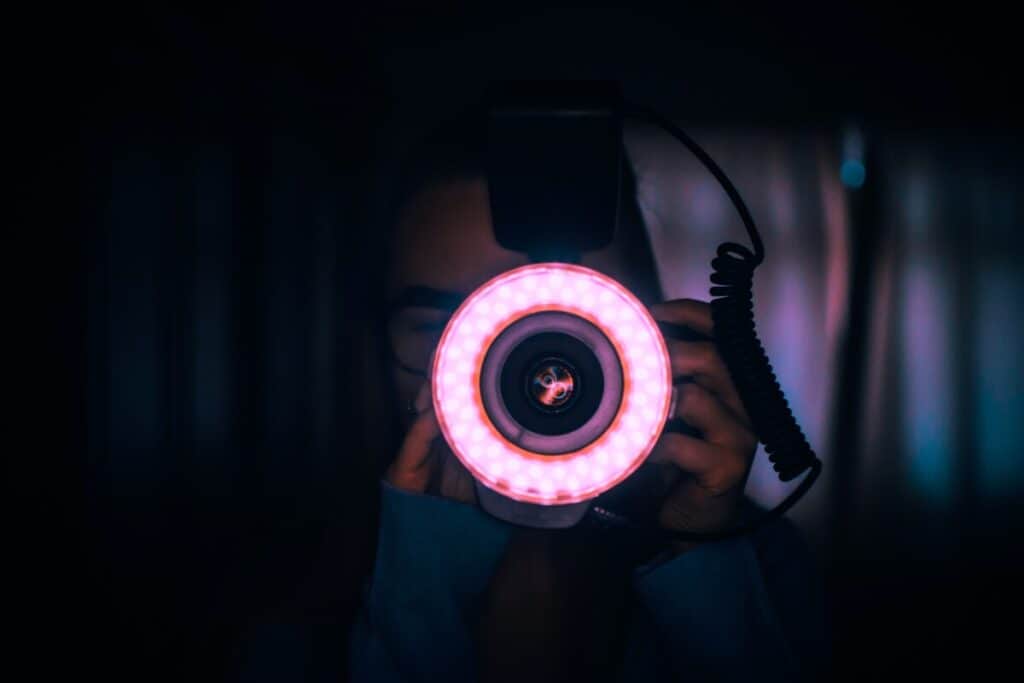
With food photography, the food is the star, and it needs to look edible. Does your client want soft, light, floaty images of their best dishes or dark and moody with high contrast? No matter your client’s demands, if you regularly shoot food, investing in a ring light is a must.
Ring lights are good for food photography. They add a bright, even wash across the subject and almost eliminate shadows. However, learning to shoot food with a ring light can prove tricky. For best effects, apply a three-point light set-up, including modifiers, to diffuse light and shadows.
This article looks at the different types of ring lights and how best to set-up your food photography shoot. Read on to discover everything you need to know about shooting food using a ring light.

What Does a Ring Light Do?
Ring lights are excellent lights to use for food or Macro photography. The circular light has a hollow center and is best described as a hoop of LEDs.
The design permits a camera to shoot through the hole, so the camera shoots from the same place as the light source. This quality means the camera lens shoots all of the light as it drapes around the subject. The effect in the photograph is a luminous and smooth subject since shadows are burned out.
But the lack of shadows means objects can lack the depth that other types of studio lighting produce. So, ring lights take some practice to become adept at using. The advice is to set-up a three-point lighting system to create photographs with dimensionality. We’ll look at how to get the most from your ring light food photography later.
In the following, we look at factors to consider when picking the perfect ring light for snapping images that’ll make mouths water and clients clamor for your photographic talent.
Check out: How To Make a Lightbox for Food Photography
Selecting Your Ring Light
Before you check out the best ring lights for food photography, we want to break down factors that influence when to use a ring light, what ring light to use, and how to use it.
Size and Compatibility
Picking out the right ring light requires decisions. First, be sure that your light is compatible with your camera—will it fit? Ring lights are available in various sizes. Since they’re circular, they’re measured by their diameter, and they come with different mounts. When you’ve chosen your ring light, check it’s large enough for your camera lens to protrude through its space.
But it’s not all about size and diameter. There are two other significant factors you would be wise to consider.
On-Camera or Off-Camera Light
In the same way, there’s not one type of camera; there’s also more than one type of ring light set up: on-camera and off-camera. So, what’s the difference?
On-Camera Ring Lights
On-camera ring lights sit on your camera. They’re portable and perfect for macro shots or taking on location for portrait shots. Attach the ring light to your camera’s hot shoe slot. It then circles the lens while you click away. Generally, on-camera ring lights are strobe lights, which produce way more intense spurts of light.

Off-Camera Ring Lights
The other type of ring light is for setting up onto a tripod. It’ll have a mount to hold the camera in position so that the camera can still shoot through the center of the light. Typically, off-camera ring lights provide a continuous source of light. Continuous light is not as powerful as strobe, but it does create a constant wash, which makes setting up your shot easier—you see what you’re going to get.
Shooting with a continuous ring light is also an easy introduction to working with ring lights, specifically when you use them as an additional light for starters.
On-camera and off-camera are not the only types of ring light; you also need to decide whether you want a strobe or a continuous LED light. Let’s look at how these differ.
Strobe or Continuous LED
Strobe ring lights like this YongNuo Flash behave like a standard flash; they deliver a burst of intense light as you press the trigger. It’s ideal for freezing action shots or for settings that require a large amount of light. You’ll not have a problem freezing the action of a stationary food item. Still, your photographs benefit from an intense light source.
For food blogs, you want a powerful strobe light that delivers around 500W. You can adjust many strobe lights to emit different levels of warmth or power, also.
In comparison, a continuous LED ring light like this Ikan LED Ring Light provides a constant light source, making it easier to arrange camera settings and tweak modifiers to achieve the perfect balance of shadows that will add dimension to your photograph. Continuous LED ring lights tend to be more affordable, also.
Once you have identified your preferred sort of ring light, there are aspects of the shoot to think about, like additional lights and diffusers. A 5-in-1 kit like this Neewer Light Reflector 5-in-1 is a useful addition, as it offers a range of colored reflectors and a diffuser so that you can alter the quality of light.
For Best Results: Use Two- to Three-Point Lighting
On a first-time deep dive into food photography, you realize one light is rarely sufficient to produce shots that will get people salivating. And that’s the whole point of food photography: to entice. Captivating photographs come from capturing detail and atmosphere. To do this, you’ll want more than one light.
Many photographers apply ring lights as their additional light source. The primary light source, providing the brightest light, is often like this Neewer Softbox they set to the side of the shot. For the sake of this explanation, let’s say we’ve placed the softbox to the left of the food. We set the softbox at one stop higher than the ring light, which is the additional light source in this example.
Next, place a reflector opposite the softbox. The reflector will bounce back the available light. Using a ring light and a softbox plus a modifier in this combination reduces shadows. Alternatively, sample shooting with just a ring light, but understand that it will produce a stylized image, which could prove perfect for the food, or not.
We should emphasize that getting the perfect quality of light in food photography is about experimenting with your camera’s angle and where it sits in relation to the additional light or lights and modifiers. With three-point lighting, you’ll create depth through the contrast of light and shadow. You’ll also be able to accentuate the texture and detail of the food.
There’s no finite way to set up your lights, and what works for one type of food won’t always work for another. You’ll also need to consider your background. Is it dark or white? Shiny or matt? These factors will affect your key light, which light is the additional light, and where the lights and cameras can be placed to gain the optimum results.
Learning to shoot with a ring light means taking on a new set of challenges and fine-tuning your understanding of how the light behaves, be it the sole light source or an additional aspect to your set-up. For many food photographers, ring lights produce precisely the aesthetic quality they seek, so persevere, experiment, and remember our advice.
Check out my article explaining different photography umbrellas.
Final Thoughts
Ring lights are a fun addition to your photographic studio lighting kit. They create a bright, even wash of light and produce shadows that define an image. If you’re starting with ring lights, give yourself the time and conditions to test its effects; vary its placement, and use modifiers to experience the different effects you can gain.
Here’s my guide for Best Studio Lighting Setup for Product Photography.
Sources
- Will Engelmann: How To Be A Food Photographer
- Fstoppers: Lighting Cupcakes with a Ring Flash
- Expert Photography: Food Photography Lighting (One Light Set-Up You Should Try)
- Luvo Store: Using A Ring Light in Your Food and Product Photography
Recent Posts
QuickTime is a vital app for many Mac users, and if you’ve recently bought a new microphone, you might wonder how to use it optimally. QuickTime cannot record audio content if it doesn’t have...
Every microphone leaves a unique signature on the quality of its output. If you’re a podcaster trying to melt your way into your audience’s hearts, a muddy, distorted recording won’t cut it....
