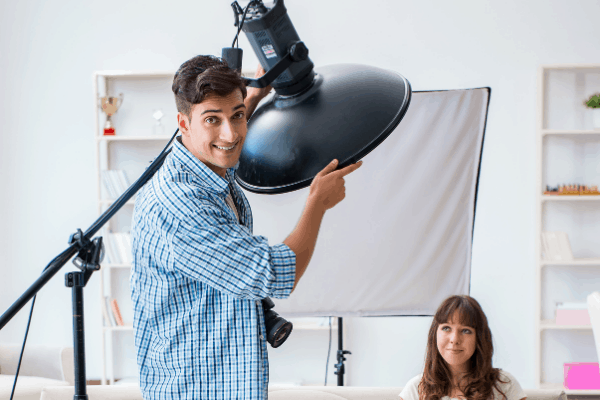
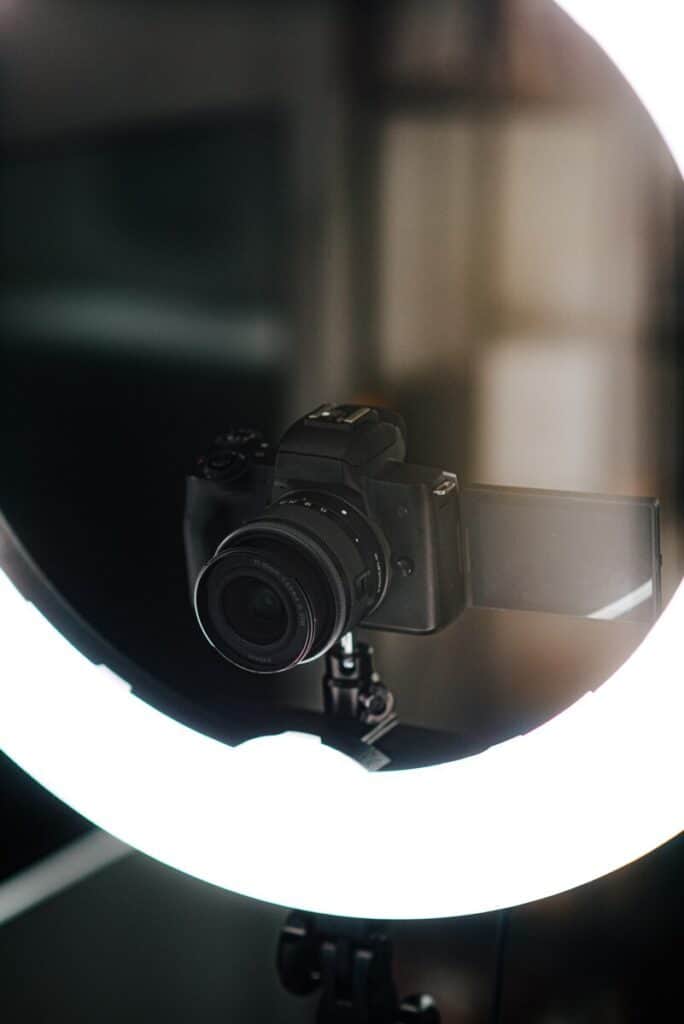
You’re setting up a home photography studio and need to light it. After all, a good photograph is about the quality of light shining on your subject. Bad lighting washes out your subject, but with the right lighting, they will pop.
When putting together your home photography studio lighting, it is possible to do it for under $200. You can start a basic photography studio with one light, either a flash or speedlight and one modifier. Having at least three lights and a reflector ensures luminescence for correctly exposed images.
This article covers the lighting components you need, from reasonably priced to a high-end pro-level kit. Read on to discover everything you need to know about setting up your studio ready for high-paying clients.

Essential Components for Lighting a Photography Studio
Before we dive into the lighting equipment difference, let’s establish other essential components you should have in your studio beside the lights.
- Background to create a smooth, neutral backdrop. You can get these in a range of tones. Look at brands such as Neewer
, which are affordable and collapsible.
- Flash Trigger to set off each of your flash units in time with your camera. Ensure your flash trigger is compatible with the strobes and your make of camera.
- Light stands are a vital piece of kit. Some lights come with stands, but if not, a lighting stand is another set of equipment you’ll need.
- Modifiers are a set of tools that let you bounce, soften, or limit light. We’ll cover these in more detail later.
It’s time to get to the second most crucial part of a photographer’s kit after their camera body and lenses: lights.
Your Lighting Options
Until fairly recently, studio photographers had a choice of either speed lights or flash. Increasingly more common are continuous LED lights. We take a look at all three, including pros and cons next.
Speedlights
Also called on-camera flash, flashgun, or Speedlite, speedlights connect directly to your camera. They throw additional light onto your subject to reduce shadows, making for more flattering portraits. They freeze fast-moving action, trigger other flashlights, and are an indispensable accessory for many photographers. A further positive aspect is these lights are affordable.
Speedlights have downsides. In comparison to studio flash, they’re often only compatible with specific camera models, and are slow to re-set after they’ve been triggered, which means you can’t shoot in bursts. A further drawback of these lights is they pack less powerful light, so you have to compensate for this in-camera. Also, unlike most studio strobe lights, speedlights have no modeling light.
Before we look at recommended speedlight options, let’s summarize the pros and cons.
Pros and Cons of Speedlights
Here’s a summary of the pros and cons of speedlights.
| Pros | Cons |
| Cheap | No modeling light |
| Portable | Not as powerful |
| Compact size | Longer recycle time |
Speedlight Options
Speedlights by the likes of Yongnuo have useful features like wireless remote triggering, remote power setting and are quick to set up. A model such as Yongnuo YN560 IV is a third-party speedlight that’s compatible with different models of camera, but be sure to check the compatibility before you buy it.
If you’re shooting with Canon and want more bang for your buck, check out the Canon Speedlite 600EX II-RT. It’s compatible with groups of up to five, and it has a wireless trigger function. It’s also powerful and designed to recycle fast, so you can keep up the pace of your shoot.
Continuous LED Panels
Continuous lights are LED panels that lend a touch of light that melts away shadows. The advantage of continuous light panels is that they’re easy to use, efficient, and affordable. Unlike speed lights or studio flash, panel lights provide a constant light source, not a rapid burst.

Because of their constant nature, you get to see their benefit before you shoot. They’re a reliable option if you’re looking for a balance of lighting power, portability, and simplicity.
Pros and Cons
Here’s a summary of the pros and cons of continuous light panels.
| Pros | Cons |
| Constant source of light | Less powerful than a flash head |
| See the quality of light on your subject before you shoot | Tendency to accumulate heat |
| Good for videos |
Continuous LED Panel Options
When you mostly shoot in a studio, invest in professional panels such as the Rotolight AEOS, with adjustable color quality, from daylight to Tungsten, plus features like high-speed sync. At 30cm in diameter, it won’t dominate your studio, either. Alternatively, the Aputure Light Storm LS
has superb light quality and a robust design.
Last but categorically, no means least, Photography Studio Flashes are what you’ll need if you’re looking to build up an enduring home photography studio.
Photography Studio Flash Kit
These lighting kits’ power and versatility enable you to shoot a range of photographic styles, from portrait to product photography. Investing in these kits from the start gives you an advantage.
With photography studio flash kits, you gain a modeling light, quicker recycling times, and more powerful lighting that’s easy to adjust. The kits often come with accessories that you’ll need if you’re setting up a studio. Kits include flash heads, stands, softboxes, other diffusers, and deflectors.
Pros and Cons
Let’s sum up the pros and cons of Photography Studio Flash kits before we look at options.
| Pros | Cons |
| Powerful light | Cost |
| Options of modelling light and range of easy to set light color qualities | Bulky |
| Battery-less operation |
Photography Studio Flash Kit Options
A professional-level kit that caught our eye is the Elinchrom D-Lite RX-4 To Go Kit and Elinchrom ELC 125/500 Studio Monolight Dual Kit. These are top-level kits that feature TTL, HSS, in-built fan cooling systems, and light color accuracy across its power range.
You’ve got your lights, your stands, your glass, and your camera body. You even have your studio space and backdrop. What else do you need to complete your home photography studio?
Light Modifiers to Include in Your Studio
With all that light flying around your studio, you want to make sure the right quality of light lands where you need it and that you cut out any light that will threaten the standard of your shot. Here’s what you should add to your studio over time. Remember, if you’re starting, a reflector and one light source is enough, but a professional kit gives you greater versatility.
- Flags block light landing where you don’t want it. If you’re open to experimenting, you won’t necessarily need a purpose-built flag since you can adapt solid materials to do the job for you. Alternatively, use the black side of your reflector to inhibit light.
- Gels change the color of the light. Even though you can adjust the light temperature on good quality studio lighting, you might want to add different hues. Gels are transparent materials that you lay across the light for various effects. These won’t be high on your must-have list, but they are useful for mood and ambiance.
- Reflectors bounce light back into the scene to eradicate or soften shadow for flattering shots and affect the light quality. There are five-in-one reflectors with different surface types that include silver and gold, black and white, and translucent.
- Umbrellas soften light since it travels from the flash to the umbrella, which throws the light onto your subject. They create a lot of light spills, so you’ll want reflectors and flags for the best light control.
- Softboxes are a better yet more costly alternative to umbrellas. They produce nice soft light quality and are easier to direct.
Check out how the Canon 80D camera is good for portraits here!
Conclusion
It’s up to you how to kickstart your home photography studio.
You can start simply by using natural light and bouncing it from reflectors, or you can commit one-hundred-percent and go for professional-grade lighting kits from the outset.
We wish you the best of luck with finding your studio and remember: your investment today will pay itself off tomorrow.
Sources
- Expert Photography: Set Up A Home Photography Studio (Easily and Cheaply!)
- Format: Everything You Need To Know About Setting Up A Home Photography Studio
- Digital Camera World: The Best Photography Lighting Kits
- BH Photography: The B&H Speedlight Buyer’s Guide
- Digital Camera World: The Best Flashgun or Strobe in 2020
- Digital Camera World: The Best LED Light Panels in 2020
Recent Posts
QuickTime is a vital app for many Mac users, and if you’ve recently bought a new microphone, you might wonder how to use it optimally. QuickTime cannot record audio content if it doesn’t have...
Every microphone leaves a unique signature on the quality of its output. If you’re a podcaster trying to melt your way into your audience’s hearts, a muddy, distorted recording won’t cut it....
