Recording can be an essential part of your musical journey, whether you’re wanting to release an album, share your musical skill with friends or even just record yourself for reflection to spot any mistakes you miss whilst you’re playing.
Back in the day, if you wanted to record your guitar you’d have to go to an expensive studio but now as long as you have a microphone and an interface, you’re all set to capture your sound straight from your bedroom.
We will be outlining some of the tools and techniques you’ll need to start recording in no time.

What You’ll Need
The Right Microphone
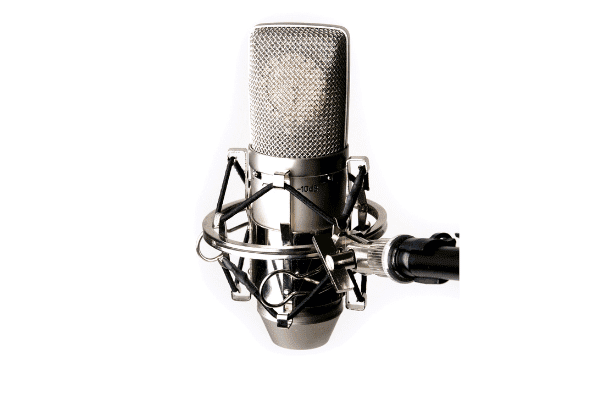
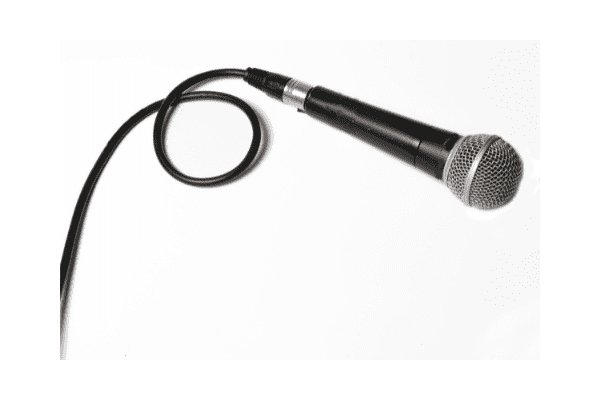
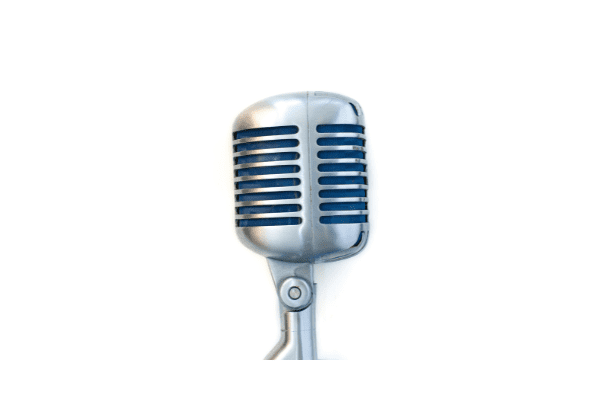
Before you start recording, you’ll need to purchase the right kind of microphone for you. There are three main microphones used for recording guitar, these are the condenser, dynamic and ribbon microphone.
Condenser mics are often used by most professionals because of their higher sensitivities that allow them to record the higher frequencies of the guitar. They have more of an open sound and can be a bit more fragile than dynamic mics.

Dynamic mics are quite rugged and most people opt for them in a live setting. They’re usually the more affordable mic and more versatile so they can be used for most of your recording needs. However, they can sound less “bright” than condenser mics and don’t have the same level of detail and sensitivities.

Ribbon mics have a warm midrange and again like the dynamic mics they aren’t as “bright” as the condenser mic. But, they often give you the most accurate sound reproduction compared to the other two, but this comes at a cost, they have a significantly steeper price range than the condenser and dynamic microphone.

Whichever microphone you choose will all depend on what your recording needs are.
Choosing The Right Place For Recording
After purchasing your microphone, the next step should be choosing the right room within your house to record from. As a guitar player you’ll most likely already know that certain rooms can affect how the sound of your guitar is carried.
You may want to opt for a room with a lot of furniture, as they can absorb the sound from your guitar and typically make it sound better.
Try to avoid smaller rooms, as the low-mid range will sound completely different on the recording than it does to you. If you’re unsure which room in your house will be the best fit, try experimenting and recording in different rooms, then you can get an idea which sound feels best for the vibe you’re going for.
It should also be noted that if you live near a busy road or a construction site these noises will probably be picked up in your recording, if you can’t minimize this (by using a room furthest away from the noise) then your best bet is to probably look at soundproofing the room.
The Essential Tools
Since you’re recording at home, you obviously won’t have all the fancy tools they do in a recording studio, so you’ll need to invest in some essential tools. These include your guitar (duh!), a microphone which we discussed earlier, a disk drive, an analog to digital converter and a preamplifier.
All of these tools will come separately, but for some of them they can come as a bundle. For example, most audio interfaces will come with preamplifiers and converters built into them. Mic stands and cables should also be looked at as the mics positioning can play a key in how the guitar sounds, but these aren’t of utmost importance.
Recording With A Single Microphone
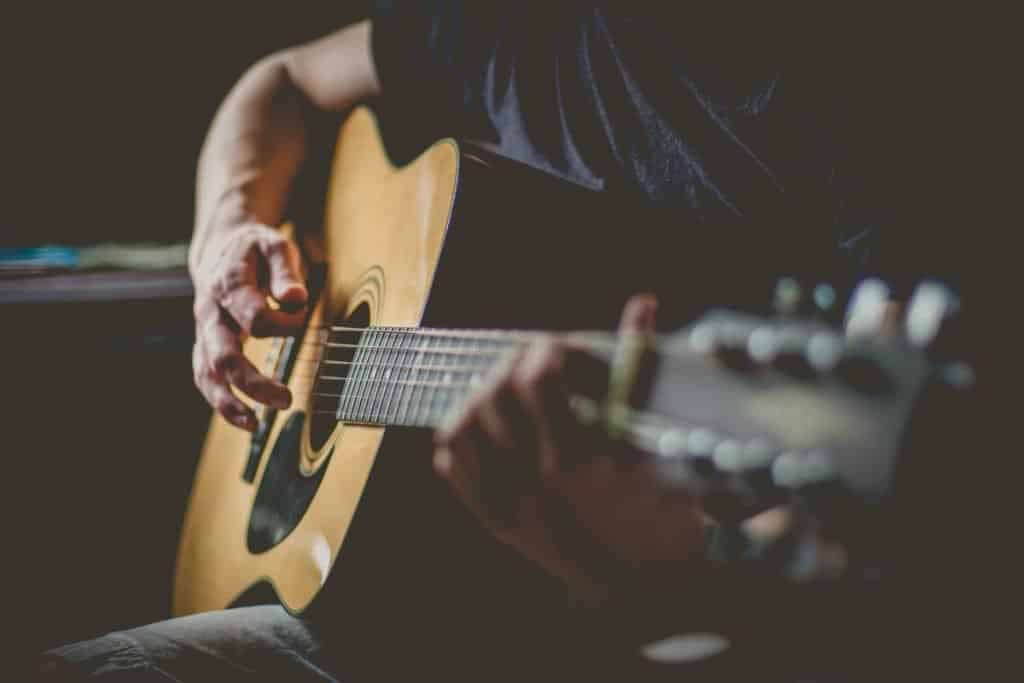
Once you’ve got all your equipment, naturally the next step is to begin recording. You should locate the area between the 12th and 14th frets and place the mic here, this is where the sound is most balanced and will sound the best.
Where you angle the mic matters too, if it is angled toward the neck of the guitar then it will sound thinner, if it is angled towards the soundhole then the sound recorded will sound fuller.
The Recording Process
The biggest challenge comes next and includes four steps which consist of tracking, editing, mixing and mastering.
Tracking
Tracking is the actual process of recording yourself playing the guitar and you can do this a few times to find the best take of your recording session. If you’re not comfortable playing the full tune you can opt to do it in short takes and put them together in the editing stage.
Editing
In the editing stage you will be listening carefully for any mistakes to correct them. You should play the recording on repeat for as many times as you need to, to ensure you have the best possible recording. This is also where you can put together your short takes to make the full tune. You can also use editing to get rid of any small noises in the background of your recording.
Mixing
Once the editing stage is done, next comes mixing which is essentially setting relative levels between instruments. Depending on the amount of sounds on the recording, a simple reverb might be the only part of the process for mixing. You should play your recording on a few different playback systems to make sure it sounds good on stereo, in a car or on your phone. Once this is done you’re all set for mastering.
Mastering
For the mastering step you will need to send your mix to a mastering engineer to finalize the project. A mastering engineer will bring experience and will also be unbiased to your sound, since they weren’t there for the recording.
If you’re wanting to casually release a song then a mastering engineer may not be needed, and you can opt for software packages that let you do the mastering yourself.
Once you’ve finished this step you’re all done and can distribute your mix to anyone who wants to hear it!
Recent Posts
QuickTime is a vital app for many Mac users, and if you’ve recently bought a new microphone, you might wonder how to use it optimally. QuickTime cannot record audio content if it doesn’t have...
Every microphone leaves a unique signature on the quality of its output. If you’re a podcaster trying to melt your way into your audience’s hearts, a muddy, distorted recording won’t cut it....
