Looper pedals are an incredible piece of equipment that will completely transform your experience as a guitarist.
With loop pedals, you will be able to create new sounds and entire multi-instrument performances with nothing but you and a singular guitar.

But if you’re new to the idea of using pedals, you might find yourself overwhelmed by all the different knobs, buttons, and settings available to you.
That’s where we come in! In this article, we’re going to give you a total rundown of everything you’ll need to know in order to get started using a looper pedal.
We’re going to break down all of the different uses, the basics of using one, and how you can build your skills to be able to use one within a performance!
Standard Looper Pedal Features
The first thing that’s important to know when it comes to looper pedals is that there is a huge variety of different pedals you can use.
Many of them have advanced features, buttons, and knobs that will make you scratch your head if you’ve never used one before.
In this first section, we’re going to give you a breakdown of standard looper pedal features that you might come across, and what they can be used for.
Footswitch
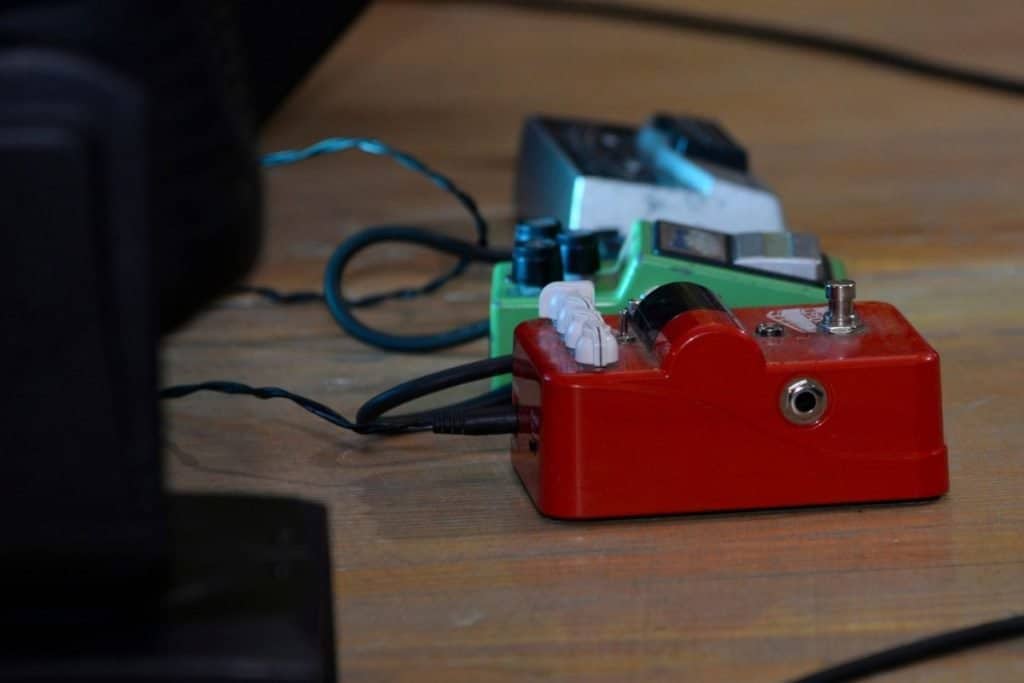
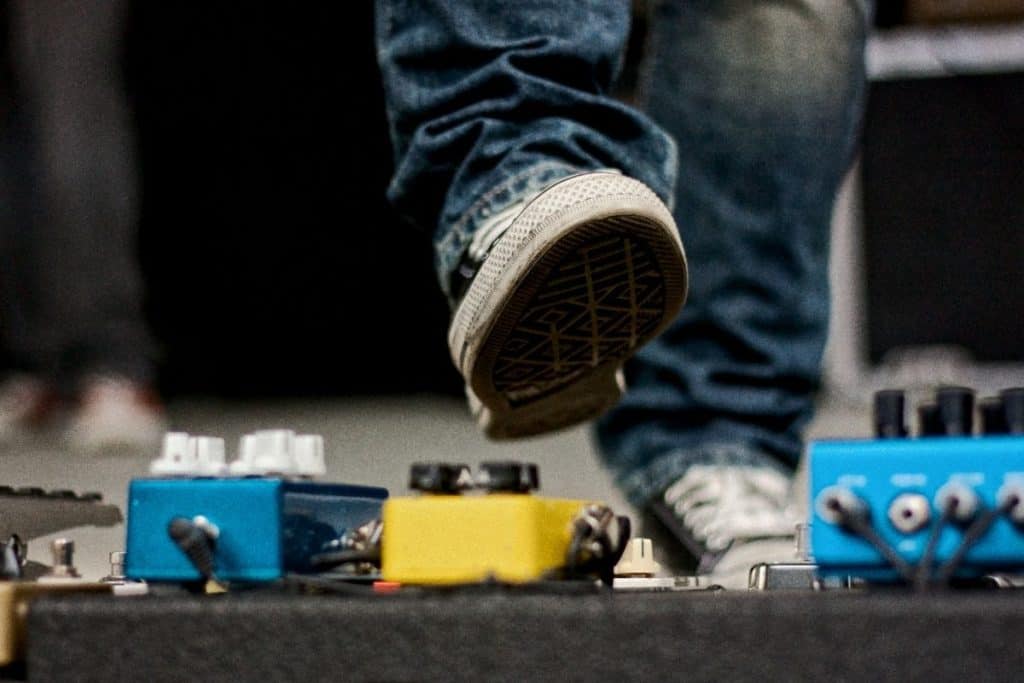
If you’ve ever used pedals before, you’ll know that they all have at least one standard footswitch. In short, this is a switch that activates a specific setting or function of your pedal.
Say for example you’re playing and you need to switch as setting to make a new kind of sound. On a more regular pedal, this might be distortion.
All you have to do is click the switch with your foot, and your guitar will change tone.
The footswitch of a looper pedal allows you to loop patterns of music you’ve already played without having to mess around on a laptop or other, larger piece of kit.
Level Knob
This is a knob (usually placed on the top of your pedal) that will control the level of volume that is being played back once the footswitch is activated.
Loop Indicators
It’s typical for looper pedals to have a small Loop Indicator that will tell you when something is recording, overdubbing, or being looped back through an amplifier.
Some will have different colors to indicate these states.
Input Jacks
Depending on the size and complexity of your looper pedal, there are likely to be a number of jacks available for you to connect it to other pieces of equipment.
The most standard ones here are inputs for your guitar or another instrument. From here you can link your looper pedal and your guitar up to an amplifier.
General Principles For Using A Looper Pedal
So now that we’ve got the most common features out of the way, let’s get into the way guitarists use them.

The basic process works can be divided into three steps – Recording, looping, and layering. We’re going to break each of these down for you.
Recording
Once you have something to play, you can press the record function on your loop pedal and begin to play something. Try this out with your pedal and click the footswitch one you have a small pattern.
Generally, when creating layers with a looper pedal, you want to make something circular.
That is to say, a foundation that repeats, a line of music that runs into itself and can be looped without any interruption to the listener.
Once you have this first foundation, you can click the pedal again and let what you just played loop back around.
Getting your looper pedal to do this might take a few minutes of playing around with it.
Looping
So now when you click your footswitch, what you’ve just created should be playing back to you. If you made sure it was cyclical, you’ll now have a constant loop of music that you can build onto.
If it doesn’t quite sound like a perfect loop, that’s not the end of the world. You can always wipe it and try again.
Layering
This is where looper pedals get really fun. From here, you’ll want to begin looping different layers on top of it.
This will take a lot of experimentation, but you’ll be able to create an entire mini-orchestra with different layers. A good thing to start with when creating loops is to first create a basic foundation, add on some basic chords, and then a top melody.
Many experienced solo guitarists use this in their performances. Looper pedals mean that you don’t have to have an entire band to create a multi-instrumental song.
It’s important to note that you’ll want to pay close attention to the levels of each part of the loop you’re creating.
If one is too loud it could cancel out some of the softer sounds you’re adding.
Final Thoughts
So there you have it, those were the basics of using a looper pedal. A lot of learning to use one to create beautiful pieces of music comes from experimentation.
As a general rule with a new looper pedal, play around with it until you’re able to loop basic pieces of music and layer new ones ontop.
After this, you can start honing your craft to create something that sounds good.
To finish, it’s worth noting that looper pedals can also be used to include additional instruments and sounds such as percussion or vocals.
Some musicians are able to make entire songs with different instruments with nothing but their own two hands.
We hope that this article has helped you understand the basics of using a looper pedal and that you have a foundation to start experimenting with!
We wish you the best of luck on your musical journey!
References
Recent Posts
QuickTime is a vital app for many Mac users, and if you’ve recently bought a new microphone, you might wonder how to use it optimally. QuickTime cannot record audio content if it doesn’t have...
Every microphone leaves a unique signature on the quality of its output. If you’re a podcaster trying to melt your way into your audience’s hearts, a muddy, distorted recording won’t cut it....
