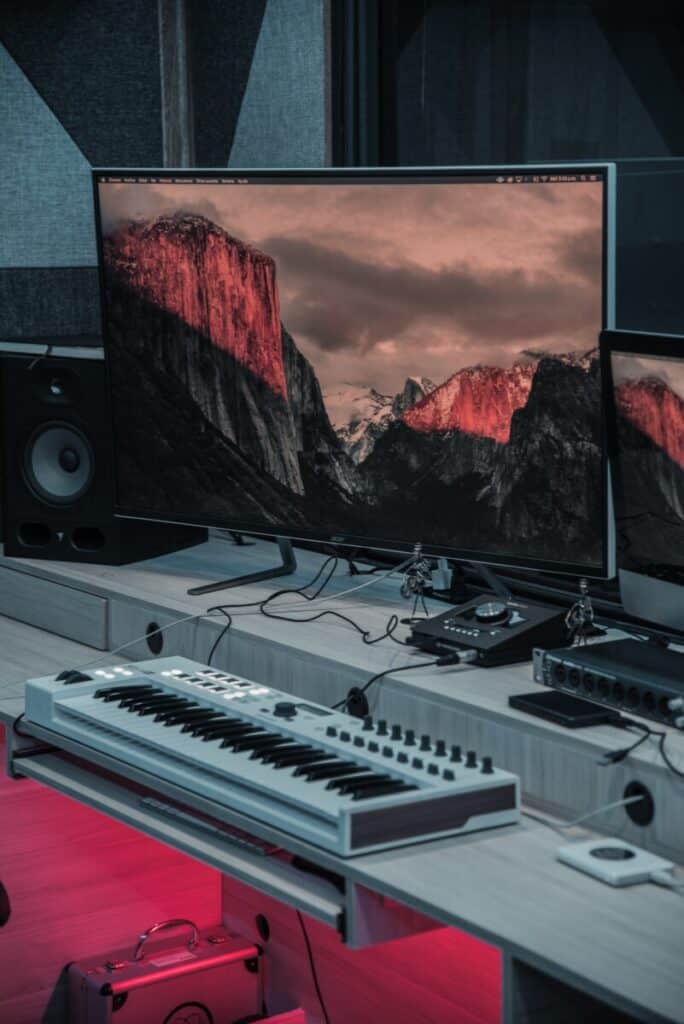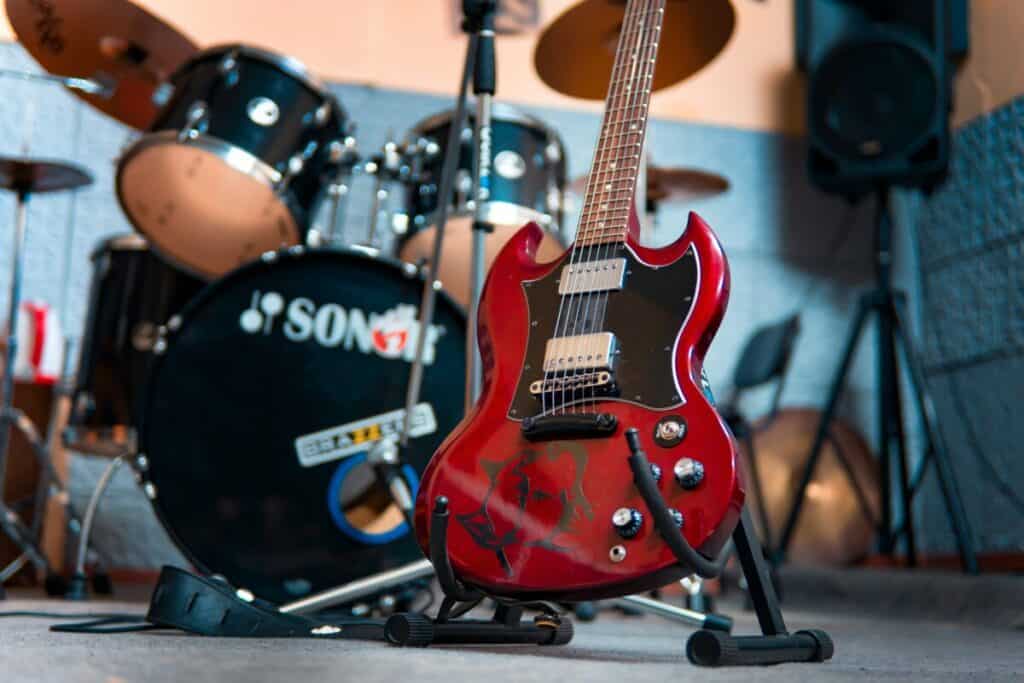
Sometimes we hear “You don’t need to pay attention to the looks. As it really doesn’t help you in the process.”
But it’s an important thing to look out for when you build a home recording studio
The place is where all the amazing things will take place. You need a pleasant environment for you to record or mix great quality music.
It’s an important aspect that you need to pay attention to as it will help you influence your mood too.
We are not only talking about making it look professional, it should have the feels that inspires you to produce great tracks.
We all know emotions are a great deal in producing music. So, we better take care of this too.
These are some of the things that I think will help you attain that professional look and give you an inspiring feel.
Let’s think about how we are going to do it. We need a plan on how we are going to make it look and feel the way we like.
So, the first step is Planning it out before we do anything else and do it in a systematic order to make it easier.
Steps to make Music Studio look Professional
Step 1: Let’s move out
No, I don’t mean to move to another place. What I meant is to move all the gears to another place for a while.
And we are going to do a makeover for your home studio. After you have moved out all the gears, keep them at a place.
Step 2 : Clean up the room
I know we have moved out the gears from the room but the room needs to be tidy before we add any additional things.
If you have a clean room, then it is ok. But I hardly think that will be the case. So, just clean up the room.
Moreover, if you have anything hanging on the walls and the ceilings, then you should clean those too.
Get rid of the things such as a canvas, posters, or anything that will mess up the professional look when you visualize it.
It’s always good to have your space clean. Having a clean environment around your workspace will give you a boost during various processes.
It’s a creative environment that we are trying to achieve here – and for this Neat and Tidy is the number 1 rule.
I say this from my experience, I have two small siblings and the main thing they like is to disturb and litter inside the studio.
The thing is that when I record or do mixing – the day when there aren’t any litter and disturbances I tend to be more creative and productive too.
It is because the ecosystem is clean and calm giving me a boost in my creative work.
I think you have experienced it too.
Step 3 : Position the gears
Now you have to bring all the gears back inside the studio. But you are going to keep it in a good position.
A position that will help you enhance the look plus give you the best out of your setup.
I say this because the position of the gears you have at your setup will greatly influence the reflections of the sounds inside the room.
So you need to choose a position that will fulfill both the criteria as much as possible.
A little tip for positioning your gears inside the room – Try to keep it at a place so that the room is symmetric in nature.
So that the reflections inside the room are symmetric. This will greatly improve your home studio.
You can read about this in more depth from this article by Proaudiofiles.

Step 4 : Cable Management
We need to clean up all the cables as much as possible. We all know the mess it can do to the looks of our studio.
You can carry most of the cables under the desk where you mount your pc or interfaces using cable clips or hangers.
On the other hand, there will be ones that you can’t hide under the desk. For this type of cables try to bring them together.
Try to prevent the cables from lying here and there on the floor. Instead, make them go on a single line.
So that it won’t look or become messy around the floor.
Also if you are making them go on a single line, there will be magnetic field interference between the wires.
And to prevent humming or buzzing effects created by this thing, use DI boxes when you record electric guitars, keyboards, etc.
There are videos and articles on how to do cable management too. Be sure to check them out when doing this part. It will help you save time.
With the advancement of technology, there will be a time where we can work effectively with wireless gears and consoles.
But for now, it is yet to happen. As there are many problems that we face when we try to go wireless with all the things
Therefore, we have to handle it manually.
Step 5 : Decoration
Yepp… You read it correctly, decoration is a big part here. You really need to decorate it to your feels.
After all, it is yours to begin with and you have to make it look the way you want.
Decorate it in a way such that it will give you inspiration for the songs or music you make. As I have told you it’s about emotions.
What we are creating is a creative environment. It should match the type of music you are making.
The colors of your walls and the canvas you put upon them must match the vibe you want to be inside your room.
You can change the color of your walls if you want a new look. You can easily do it with plain and simple wallpapers.
But I think simple and basic is the key to everything. You can pretty much record and mix inside this environment for various types of Genre.
Well, it’s not mine that we are talking about here, so you should choose something that will suit you and your music.
Step 6 : Make it your own
When you decorate or add something to the room you need to make it your own. Yes, you need to make a pleasant environment.
In addition to the pleasant environment, you should add something that makes or represents who you are.
It can be a poster with a quote from an amazing personality that inspires your emotion. Or maybe art that you love getting a glimpse of it.
It should be something that motivates you and your emotions. You really need this and I can guarantee you that it will help you a lot.
Will give you that extra boost when you feel down.
You can also add lightings to your room as they play an important part in how a Studio feels like.
You should match it with the kind of vibe you want your studio to feel like. It can go from being a little funky to simple white lights.
You can use RGB lights too if you want to decorate your desk and setup. Add your own things here as I am not good at these things.
Want to Setup your Home Recording Studio
Under 400$ or Under 1000$! Then you can Learn More about Some of the Best
Setups for different price ranges we have prepared for
you!
Some Tips
Less is good
I see a lot of people getting that unnecessary stuff and filling their studio with it. And they even hardly use them.
Get rid of the stuff that you don’t really use and don’t belong in your studio. Let’s minimize the number of gears that you have on your setup.
Only keep the needed gears on your desk. Keep it Simple and Basic – that’s the best thing you could do.

Gears/Instruments
Keep the gears/instruments that you use within your reach. You can put them all around your sitting position or on a separate region for the gears only.
There are different types of positions that you can go with while keeping the gears around you.
You can keep all the gears around you in a circle so that you can reach it at anytime conveniently. Another way is to keep only some of the gears near you.
While you set up a different region like a second space for other gears or where other people such as your partners can use while you monitor from the desk.
Conclusion
The above are the main steps that you need to take and pay attention to. I can surely say that if you take care of the above things then you will surely improve the looks on your Studio.
If you like the content, then be sure to check out the other related ones too.
Recent Posts
QuickTime is a vital app for many Mac users, and if you’ve recently bought a new microphone, you might wonder how to use it optimally. QuickTime cannot record audio content if it doesn’t have...
Every microphone leaves a unique signature on the quality of its output. If you’re a podcaster trying to melt your way into your audience’s hearts, a muddy, distorted recording won’t cut it....
