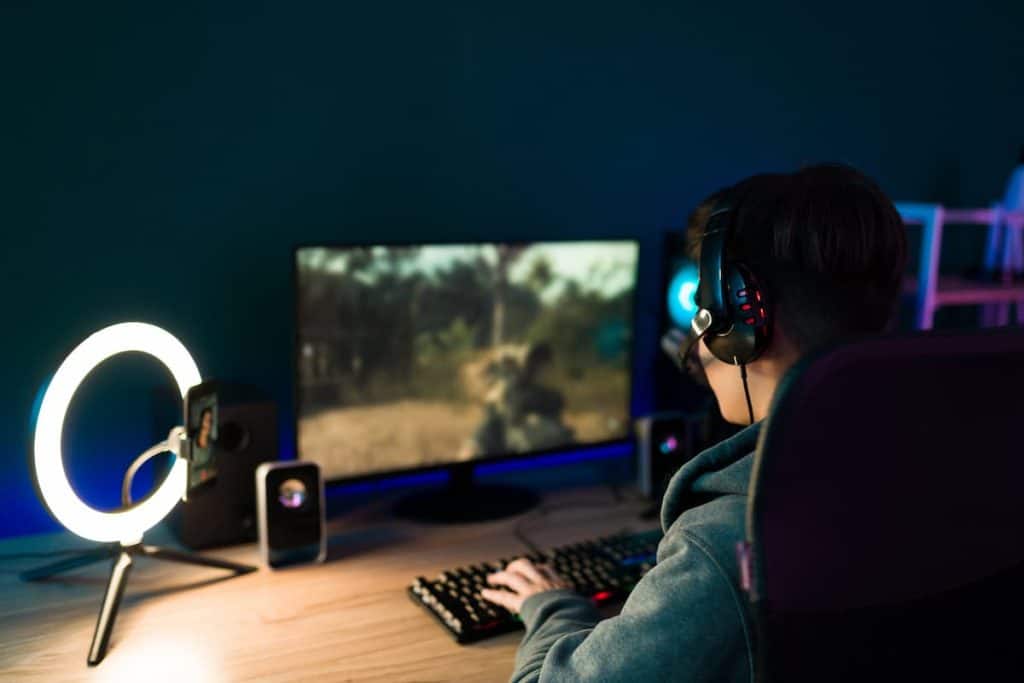
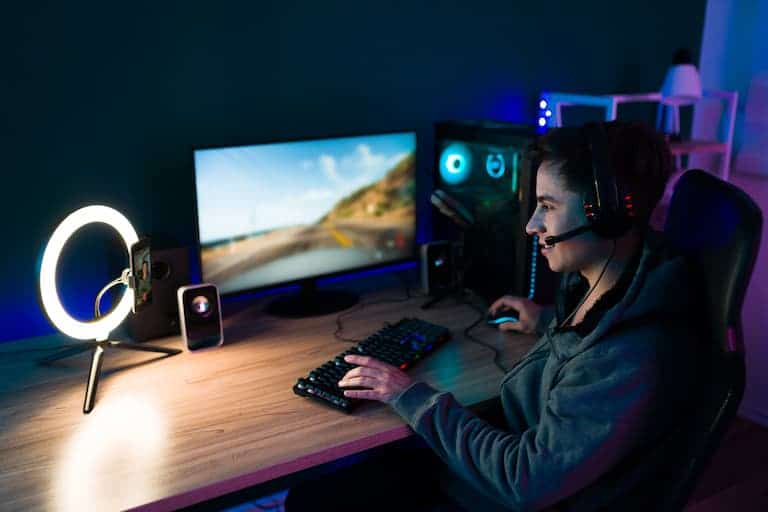
When streaming, your audience needs to see you and note your visual expressions clearly. For this to happen, you need a good setup with a high-quality camera and good lighting. Unfortunately, while most modern cameras are good enough for streaming, the lighting is where things may go wrong.
When your stream lighting is too bright, you can dim some of the lights in your setup or try using natural light instead. Going for a ring light as your key light source is also a good option. Alternatively, lower your monitor’s brightness.
This article focuses on how to get the perfect lighting for streaming. Read on to learn what to do when your stream lighting is too bright.

1. Use a Ring Light As Your Key Light Source
The key light is the primary light source of your setup. If you stream from your living room, shooting with a webcam, having a studio softbox as your key light might be overkill. It can also be challenging to set up correctly unless you have some experience working in a studio.
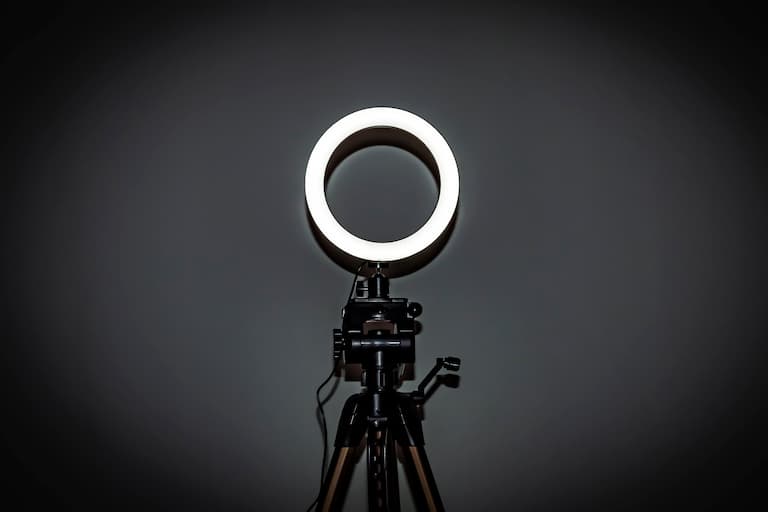
A ring light is the easiest key light option for new streamers. A ring light will serve you well whether you’re using a laptop or your mobile phone. The light illuminates your face evenly and doesn’t need a reflector.
There are countless ring lights on Amazon.com at different price points. Some are specifically made to be used with cell phones, while others you can incorporate into your streaming setup.
The Cyezcor Video Conference Lighting Kit (available on Amazon.com) is a good example. It has three color temperatures and five levels of brightness, so you can set it to the level you want.
- 【ADJUSTABLE TEMPERATURE AND BRIGHTNESS】Our video conference lights have 3 color temperatures...
- 【CIRCLE DESIGN, MULTI-UTILISATION】Using ring light design, the light is more even than solid...
- 【STABLE AND FLEXIBLE, EASY TO CARRY】The LED video light adopts a clip set design. You only need...
Last update on 2024-07-26 / Affiliate links / Images from Amazon Product Advertising API
2. Dim Some of the Lights in Your Setup
Dimming or switching off some lights is the easiest solution for a bright streaming setup. If you’re using a ring light or studio softbox as your key light, it’ll probably have controls to adjust its brightness. Dim it until there’s perfect lighting for the stream. You may also want to consider dimming your background lights
as well.
If you’re using a bright LED illuminant, you can buy an LED dimmer to control its brightness. Lutron Toggler LED+ Dimmer (available on Amazon.com) is a great choice as it offers flicker-free dimming.
You can also switch off the room’s overhead lights and work with only the key light.
- Tested on 1,000s of bulbs and dozens of brands for flicker-free dimming
- Provides over 150 lighting levels so you can create the perfect light for any activity
- Works with up to 150 Watts of dimmable LED/CFL bulbs or 600 Watts of Incandescent/Halogen bulbs
Last update on 2024-07-26 / Affiliate links / Images from Amazon Product Advertising API
3. Use Natural Light
While most streamers use artificial lighting on their sets, it’s not always necessary. Usually, they use the lights in a studio set up, which often has no natural light.

Perfectly set studio lights eliminate shadows and shed light evenly on the subject. That said, if there’s already enough natural light in a room, adding artificial light will make the setup too bright.
Therefore, if you have huge windows in your room, try streaming with the natural light first. Of course, the amount of natural light will depend on the weather and time of day. If it’s not bright enough, you can always add dimmed artificial light.
4. Lower Your Monitor’s Brightness
You’re probably using a monitor if you’re streaming a game or video content. That presents a unique challenge. Modern monitors, especially gaming spec, have high peak brightness. So, an extremely bright monitor will contribute to your set’s lighting.
As a result, you might have perfect lighting before you start the stream, but as soon as you turn on the monitor, it blares light all over your face, messing up the video. You can try working around this by lowering your monitor’s brightness.
5. Reposition Your Light Source
Sometimes the light source isn’t too bright; you just placed it in the wrong place. For example, if you position a strong light source right before you, it’ll beam on your face, overexposing you.
To avoid this, you should try to move the light source around the room until it’s in a perfect spot. Typically, your main light should be offset by 45 degrees from the camera. However, if it’s too bright, you can move it further back so that it illuminates a wider area.
If there’s inadequate space for repositioning, you can redirect the light from your face to a reflector in another part of the room. Then, position the reflector to act as the primary light source.
How To Get Good Lighting for Your Stream
Most streaming forums emphasize the importance of good lighting in your streaming setup. However, good lighting doesn’t necessarily mean bright lights.

While dim lighting will make it harder for the audience to see you, too much lighting might have the same effect. The setup will be overexposed, and watching will irritate your audience’s eyes.
So, let’s look at a few tips to help you set up the perfect stream lighting:
- Get the right angle: Don’t put your light sources too high or low. You’ll either look like a scary movie character or with shadows under your eyes. Ideally, you should place your light source in front of you or slightly to the side.
- Use reflectors: If you only have one light source (which isn’t a light ring), one side of your face will be in the shadow. You can solve this with a photograph reflector or even a big piece of white paper.
- Mind your setup’s light intensity: Don’t stream too close to the light source, but don’t be too far from it either. If you’re going to use natural light, let the window be in front of you and not behind you. If there’s too much light around you, the camera will focus on the light, and you’ll only appear as a shadowy figure.
- Test your setup: Record some footage before going live when you’re done setting up your lights. Then, watch it and see if there’s anything you should change.
Final Thoughts
Good lighting is essential for a successful stream. To achieve this, you should get the light angle for your lights, use reflectors and mind your setup’s light intensity. You should also record a short video before going live to test if your lighting is okay.
If your setup is too bright, you can dim some of the lights, lower your monitor’s brightness, or use natural light.
Sources
- https://www.reddit.com/r/Twitch/comments/gbj0n3/the_first_step_to_lighting_yourself_the_right_way/
- https://homestudioexpert.com/best-laptop-for-pro-tools/
Recent Posts
QuickTime is a vital app for many Mac users, and if you’ve recently bought a new microphone, you might wonder how to use it optimally. QuickTime cannot record audio content if it doesn’t have...
Every microphone leaves a unique signature on the quality of its output. If you’re a podcaster trying to melt your way into your audience’s hearts, a muddy, distorted recording won’t cut it....


