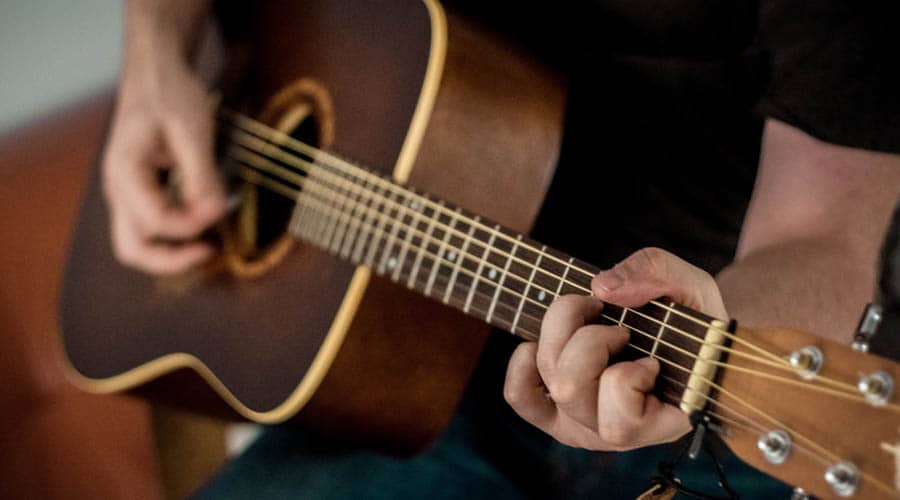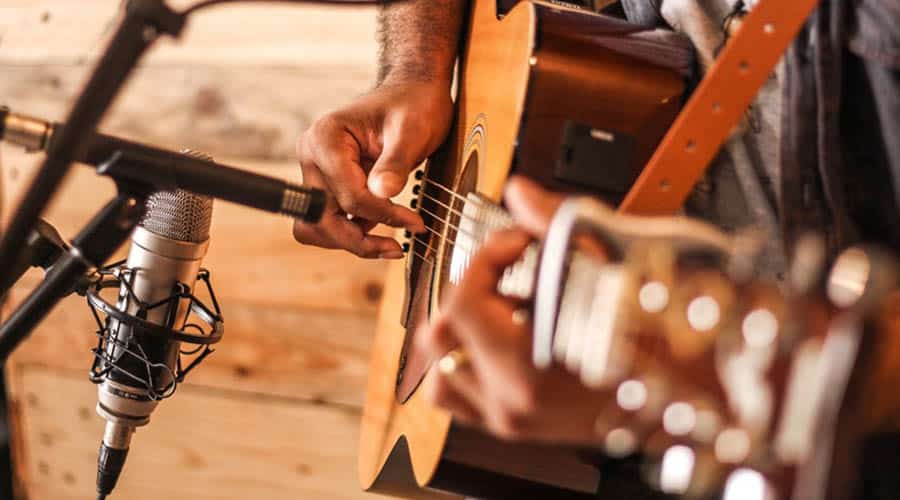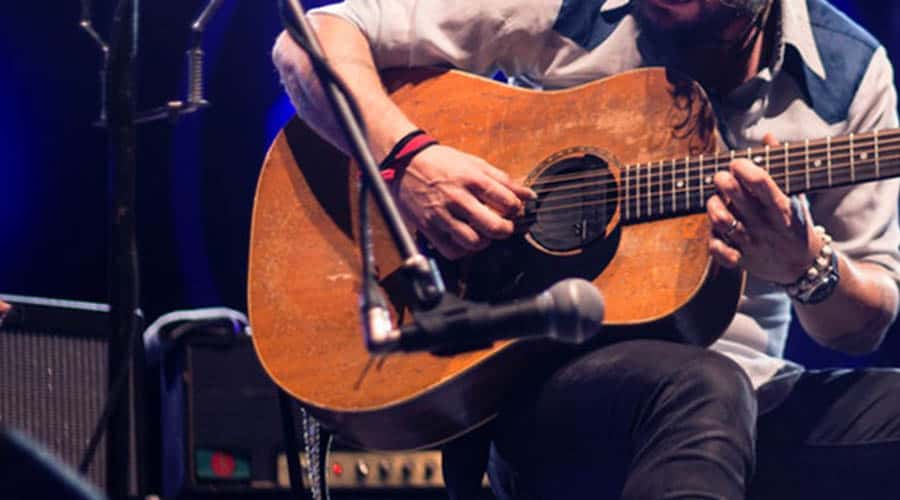
As a guitar player as well as a recording engineer, I’m really excited to discuss this topic with you – “how to record acoustic guitars”! It’s a broad topic, which makes sense, since the acoustic guitar is such a detailed instrument, with so many different styles of playing, each with their own sonic possibilities and challenges.
Acoustic guitars are found throughout modern music, from pop to folk to country to rock, R&B and even hip hop. Knowing how to get a great sound from an acoustic is a really important technique to have in your toolbox, as a recordist.
My aim here is to teach you a few tips and tricks to help you do just that—how to get a great sound from YOUR instrument, in YOUR room, without having to rely on perfect acoustic treatment, super expensive preamps or microphones.
So let’s dig in…
1. Before You Start Recording your Acoustic Guitar! It All Starts At the Source
First thing’s first, folks! I believe that “you can’t polish a turd” when it comes to recording. When you record a crappy guitar, guess what? It’s going to sound like a crappy guitar. If you want my opinion on the best acoustic guitars for recording – read my article here.
If you just throw a mic up and hit record, it’s going to sound like you didn’t take your time. The first trick to making your recordings sound polished and professional is actually really simple—make sure you have an instrument worth recording.

That sounds elitist or harsh, but it’s the simple truth. And please don’t be confused—I’m not telling you that you need to go out and buy a $5,000 Martin. You can certainly get a usable recording from a $200 Yamaha; that’s not my point.
BUT… you had better make sure that $200 Yamaha is ready to record. You need to take your time to make sure it’s set up, intonated properly so it stays in tune, you need to put on new strings, and you just generally need it ready to rock.
Just like a race car team puts on new tires, changes the oil and tunes up the engine prior to a race, you need to do the same to your acoustic.
Real-Life Example
As an example, I know a local player where I live who probably haven’t changed strings or cleaned up his (really nice and expensive Guild) for YEARS. That’s not an exaggeration. YEARS.
I have gotten up on stage and played with him, and I’ve played that guitar. It’s disgusting. He had me record some stuff recently, and he used that guitar. He’s been doing stuff for years, and I didn’t want to push him on it, so I didn’t ask him to change strings or anything, and guess what?
The recordings came out LIFELESS and DULL. You could almost HEAR the dirt and sweat that’s been basically imbued into those strings for all that time.
That’s why it’s so important to make sure your instrument is ready to record—if it’s not, you’re going to hear the end result, and it’s something you can’t “fix in the mix” (there’s no such thing anyway)—no plugin is going to rescue that recording. Just do it right in the first place.
So long story short, make sure your guitar is ready to go, before you even put up a mic. Put on new strings and tune it. Make sure the strings are stretched and will hold pitch, and that alone will make your recordings infinitely better.
2. Which Mic Do I Use?
Once you’ve got your guitar ready to go, it’s time to make some choices vis a vis microphones. Obviously, that can be a daunting task, given how many different types of microphones there are on the market, from a dizzying array of brands.

Find out whether omnidirectional or cardioid microphones are best for a studio.
The good news is, really anything will work. If you are just starting out and have only ONE mic in your collection, then guess what? That mic is the right mic to choose!
With that said, there are of course differences that will come from your choices. “Typically” (and I say that with a note of reservation because again, you can choose whatever mic you want) I like to use a small diaphragm condenser mic, which is also known as a “pencil condenser”.
This has become my choice because I’ve used it a ton to record MY acoustic guitar, and I’ve found that that setup works the best for that particular guitar.
In my case, I like to use a Rode M5, or if I’m really lucky and am recording in someone else’s fancy studio, a Neumann KM184 (which is kind of an industry-standard).
If you don’t have a pencil condenser, that’s not a problem at all. There are a number of other mics you can choose. Another very popular mic type is a large-diaphragm condenser, like a Rode NT-1A, or an Audio-Technica AT-3033.
Even a dynamic mic can do the trick, like a good-old Shure SM-57 or -58. While the mics themselves will give you different sonic results, it’s not the most important factor in getting a good recording. By far and away, that is MIC PLACEMENT, which is our next area of discussion!
3. Good Mic Placement
Good mic placement is really the key to a great recording. The good news is, you don’t need fancy acoustic treatment or a professionally-designed tracking room.

The “bad” news (and it’s really not that bad) is, mic placement isn’t really something that can be quantified or taught. I can’t tell you the exact spot to always put the mic in, because that doesn’t exist.
It’s all situational of course, and it depends not only on what acoustic guitar you are trying to record but also on what sound you’re looking for. Do you need a bright, jangly tone? Do you want something darker and more subdued? How do you even know what choices to make?
It often comes down to trial and error. There is no substitute for getting your mic set up, putting it on the guitar, pressing record and playing, then listening back and seeing what it sounds like.
That’s going to be the best way to learn what works best in a given situation. Then from there you can consider what your overall needs for the track are, and place the mic accordingly.
In other words, does this guitar constitute the main rhythm instrument in the song? Is the arrangement sparse? Or is the guitar merely a textural thing in the middle of a dense mix? Planning things like this out in advance can help you make the right choices when it comes to mic placement, as it will help you capture the tones you’re looking for.
Find out my top 5 tips on where to place a mic in a video studio here.
4. Some General Guidelines for Placement
Even though I just got done telling you I can’t teach you where to place the mic, there are still some general guidelines that will give specific results, and you should at least know about them before you experiment.
First off, I would generally advise that you avoid placing the mic directly in front of the soundhole. That may seem counter-intuitive to some since that’s where the sound emanates from, but believe it or not, it’ll sound bad if you do that.
If you place your mic there, you’re going to get a really unpleasant, bass-heavy sound. It will wash out all the subtle nuances the acoustic guitar is capable of producing. Just avoid the soundhole!
The 12th fret is a solid go-to. A standard mic practice is to place your mic (a large-diaphragm condenser is preferred here) in front of the 12th fret, about 12-18 inches away. This captures a nice balanced tone containing both low end and nice highs as well, and I’ve found is a really good starting point. You don’t want it too close, so make sure of that 12-18 inch distance.
If your track needs more bass sound out of your guitar, try moving the mic to a position above the soundhole (not in front of it, but ABOVE, like where a vocal mic would go if you were sitting and playing and singing), pointed down to it. If it’s too boomy, move the mic forward a little, so it’s above the area in between the soundhole and the bridge.
You could also try the mic behind and below the bridge, pointed at the strumming hand. This position will pick up less bass and will be nice and midrange-forward, and will also pick up a lot of the pick sound when strumming.
Another placement trick I picked up from Warren Huart (check out his Produce Like a Pro videos on YouTube, he’s awesome) is to use a small diaphragm condenser pointed at the lower horn of the guitar. I use this one all the time, it yields a nice bright tone that sounds great for strumming chords.
5. Stereo Mic Techniques
To give yourself more options, you could try using a stereo mic’ing technique. There are several different ways to use mics in stereo—X/Y, A/B, ORTF, mid/side, spaced pair, a single stereo mic… The options go on and on.
Using any can add more fun and challenge to your mix and can, of course, enhance the sound of your guitar recording. BUT… that fun comes at a price.
Any time you record a source with more than one mic, you are introducing the danger of running into phase problems. Essentially, if you’re not very careful about your mic positioning, the sound waves produced by whatever it is you’re recording will hit each mic at a different time.
If unchecked, this can cause the waves to be out of phase with each other, which results in a thin, horrible-sounding recording.
When working with stereo mics, be careful to get their capsules as close together as possible to minimize phasing. Phase issues CAN be fixed in the mix, but it’s easier to get things right on the way in, and I always like to work that way when I can.
A caveat (or another one anyway): I RARELY use a stereo mic’ing setup, even on acoustic guitar. Unless the song has a really stripped-down arrangement, and the guitar is the focal point, I don’t do it. Mo’ mics, mo’ problems, in my opinion, and I find it completely unnecessary to do, if the guitar is just part of a dense rock mix or what have you.
But you do you! So if you want to mic in stereo, here are a few ways to do it:
X/Y
In this classic pattern, use two small-diaphragm condensers (ideally a “matched pair”, or at least of the same model), position them 90 degrees to each other, with the capsules overlapping one on top of the other. This is a simple setup that doesn’t even require a special mounting bar for your mic stand, you can just use two. This setup is best for close-micing, gives you a nice stereo sound (but not too wides) and helps minimize phase issues.
A/B
In an A/B situation, you need to pay attention to a 3:1 ratio. In the simplest terms, the mics should be spread three times apart however far they are away from the source. So if they are a foot away from the guitar, they should be spread out three feet from each other. Use cardioid pattern mics here. This is best for getting a nice roomy sound if that’s what you’re after.
ORTF
Named for a French TV studio where it was developed in the 1960s, an ORTF pair features two pencil condensers, whose capsules are spaced 17mm apart at a 110-degree angle. You’ll likely need to get a special stereo bar attachment for your mic stand in order to get the angles right. It’s best at close distances.
Mid/Side Stereo
For this setup, you’ll need is a cardioid mic (the “mid” or “M” mic) and a mic with a figure-8 polar pattern (the “side” or “S”). You arrange the mics so the figure-8 pattern is underneath the cardioid mic, with each side of the “8” perpendicular to the cardioid, which is itself facing directly towards the source.
Then when you’ve recorded both tracks in your DAW, you duplicate the side mic and flip the phase on it, which gives you a total of three tracks of stereo goodness.
Spaced Pair
This setup is simply two mics placed on different parts of the guitar. Typically a good place to start is with one mic on that 12th fret “money spot”, and another near the bridge.
Single Stereo Mic
You can either buy a special stereo microphone and use that, which will really help with phase issues. Or, for the “budget” workaround you can simply position your favorite (non-stereo) mic in its best position, record it and then make two copies of the recorded track in your DAW.
Pan one to the right, use an HP filter to get that higher-end “fret noise” sound and then pan the other copy to the left, use an LP filter to simulate the body sound of the guitar. Keep the actual recorded track up the middle and there you go—an instant “stereo sound”.
In Conclusion
And there you have it. Hopefully, these are going to be enough techniques for you to keep busy with for a while! Remember, the keys to a good acoustic guitar recording are PREPPING YOUR GUITAR in advance to get it read to record in the first place, and to take your time with MIC PLACEMENT to find exactly where the mic(s) should go to get the best results.
If you are recording for band practice or rehearsals, found out how to do it super simple here.
Take your time, don’t be afraid to experiment to find some great tones and remember to HAVE FUN!
Happy recording!

Author: Adam Coolong has been playing with his band Wild Colonial Bhoys full-time for over fifteen years and has recorded dozens of albums through his studio business, Varsity Audio Recording Services.
Recent Posts
QuickTime is a vital app for many Mac users, and if you’ve recently bought a new microphone, you might wonder how to use it optimally. QuickTime cannot record audio content if it doesn’t have...
Every microphone leaves a unique signature on the quality of its output. If you’re a podcaster trying to melt your way into your audience’s hearts, a muddy, distorted recording won’t cut it....
