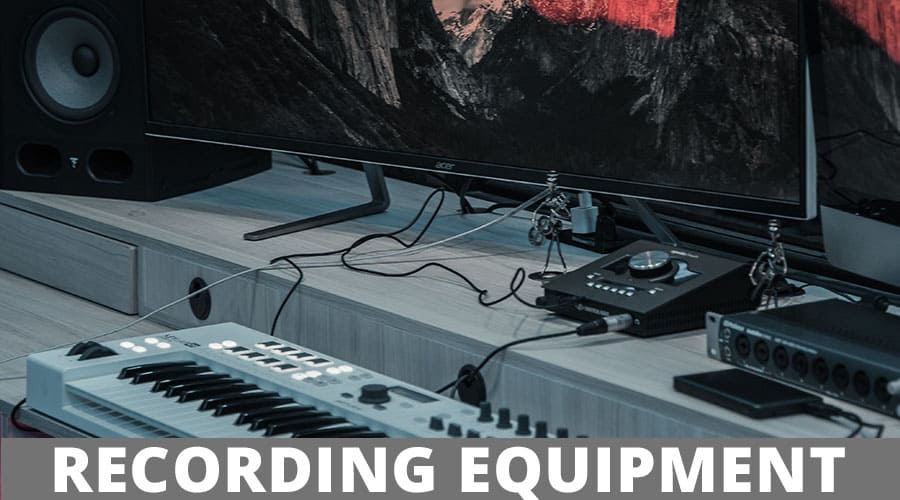
To tell you the truth there are no ends to the gears/equipment you will need for your studio and you won’t be satisfied with your present set of gears.
Well, at least that’s what I am going through :D. But you will need some of the basic and essential equipment to start recording. And for that, we are going to divide the set of gears for three different stages.
Note that there will be no in-depth description for each one of them, but a run down of what a home recording setup at different levels could potentially include. However, I have given link to more in-depth posts if you like to check it out.
|
1. Beginner Stage – This is for those who are just starting out and you need only the basic equipment/gears. You might even have some of them in your possession.
|
2. Intermediate Stage – This is for those who want some upgrades from the previous ones and want to do more with your home studio.
|
3. Full-fledged Home Recording Studio – Now, this will be a step above compared to the previous two stages, just like having a small pro studio at your home
|
| Basic Gears
· A Laptop or a Desktop · An Audio Interface · DAW · One or Two Microphones · A pair of Headphones · Studio Monitors · Microphone Stand · Pop Filter
| Additional Gears
· Reflection Filters · Bass Traps · Acoustic Panels · Isolation Pads for Monitors · Diffusers · Plugins · Cables · MIDI controllers
| Additional Gears
· Workstation · Studio Chairs · Rack mounts · Power Conditioners · DI Box · UPS · Preamps · Monitor Management · Virtual Instruments · Control Surface · Electronic Drum Kit |
Beginner Stage
1. Laptop or Desktop
Recording studios are no longer the fully analog setups that they used to be, and a computer is ultimately going to prove a critical component of your home recording.
From synthesizing virtual instruments to mixing essentially any audio, the myriad options for programs now available allow you to fill in a wide variety of challenging gaps with even an affordable laptop.
You should look for computers that boast at a good amount of RAM and a powerful processor if you can. The more storage, the better, but external hard drives are also an affordable addition that you may wish to invest in regardless if you’re planning on storing significant amounts of uncompressed audio.
2. Audio Interface
Audio interfaces encompass an incredibly wide variety of solutions, and the audio interface you need is going to be very dependent on your personal setup.
Essentially, you need an audio interface that will provide and accept the inputs and outputs that you need for your recording studio. You should take stock of your equipment and how much goes on in your workflow simultaneously to decide how many inputs and outputs your audio interface will need.
The most common options will be mic, line, and optical channels, which work with different equipment. In terms of overall capabilities, err on the side of caution if you can, although obviously the fuller the suite, the higher the price.
If you’re simply planning on placing your interface next to your computer, you’ll need a smaller desktop interface. For a complex setup with copious inputs and outputs, you can find larger options that can be situated in a rack mount in your studio.
You should also check to make sure it offers connections that are compatible with your computer, although in the worst case scenario any cheap interface should offer USB that can easily connect to any laptop or desktop.
The Native Instruments Komplete Audio 2 and the Focusrite Scarlett 2i2 are two great audio interfaces that you should consider; check out how they compare here!
You can learn more on : Some of the best handpicked Audio interfaces from the experienced ones
3. DAW
A DAW (Digital Audio Workstation) is a largely all-in-one solution for you to produce and mix sound and music on your computer. Essentially, a good DAW is intended to consolidate as much of the production process as possible into one application, although that doesn’t mean that you’ll need to limit your entire workflow to the program.
Your choice of DAW can depend largely on your budget and what you need it for. If you’re only using it to pull your mixes together with some basic final touches, and you’re tight on funds, you can find free or affordable options that may be able to get the job done.
However, many excellent options are still reasonably affordable one-time purchases. If you find one that appeals to you, see if it offers a free demo to find out if you think it’s worth the buy. You may also need to check your DAW’s compatibility with your audio interface, although it won’t usually be a problem.
4. Microphones
Having a microphone or two might seem like an obvious choice for a home recording studio, but the wide variety of options available can prove overwhelming. One of the most important distinctions to understand is the difference between a dynamic and condenser microphone.
Dynamic mics are what you’ll typically find in live performances, and can properly pick up loud signals without feedback issues. However, condenser mics are better engineered for studio use. Condensers can do well with more delicate sounds and higher frequencies and produce high output.
A good dynamic microphone can still be more than enough for your home studio, depending on your usage. However, if you’re planning on picking up soft vocals and getting the highest accuracy out of your sound recording, a condenser make will likely be the route you want to take.
You can Learn more on Different types of Microphones and which types are best suited for a particular case
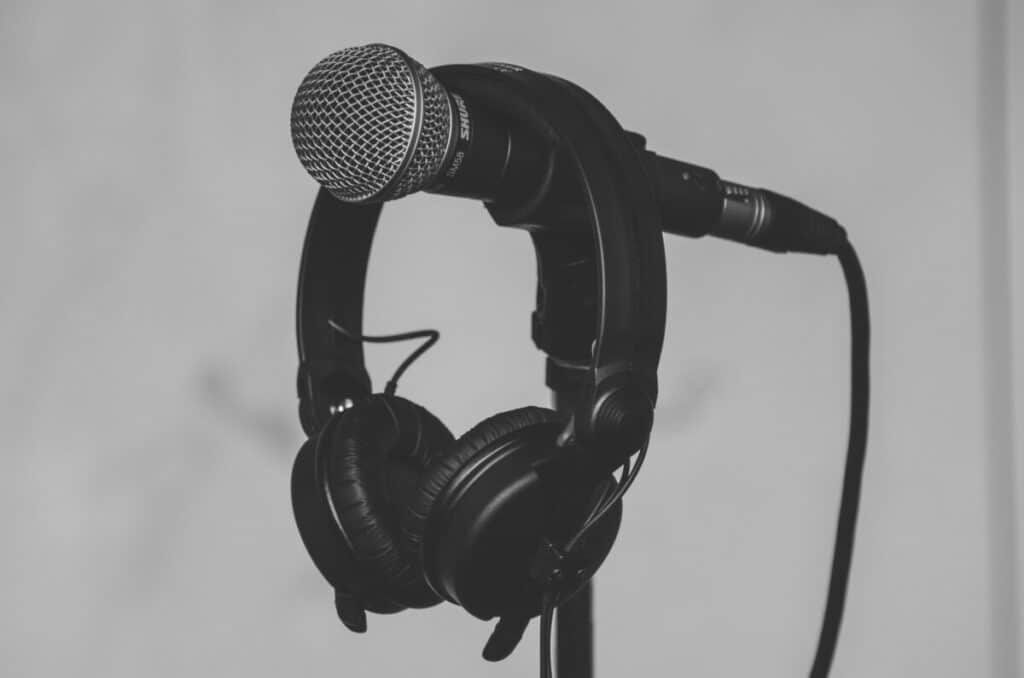
5. Headphones
A good pair of headphones can be absolutely necessary for audio recording and mixing and for critical listening. Having headphones that can isolate the sound in your environment, preventing playback sound from bleeding out or outside noise from bleeding in, is a key part of many sound recording setups.
This will allow you to listen to the mix as you record without hearing other sounds filtering in, or allowing sounds out that could input into the microphone.

Look for headphones with consistently good reviews that offer statistics about their range and impedance. A number of reputable and high-quality brands are the best bet for excellent sound quality, but options that talk about technology and manufacture quality will prove far better than those focused on style or celebrity endorsements.
Here is some of our Handpicked Recommended Headphones.
6. Studio Monitors
Although it may be hard to distinguish studio monitors from regular speakers if you’re not experienced with studio recording, studio monitors earn their distinction thanks to specifically engineered audio that suits them properly for the recording environment.
Unlike regular speakers, studio monitors are built with priorities and specifications that ensure linear phase and frequency and accurate, uncolored reproduction of sound.
The best studio monitors can get pricey, but budget isn’t a good reason to opt for a regular home speaker instead. There are still affordable options for studio monitors that will help to ensure precise sound playback and facilitate accurate recording and mixing. Many studio monitors now are powered rather than passive, meaning you won’t need a separate amplifier to drive them.
7. Microphone stands
Microphone stands often don’t get much importance when equipments are listed and end up at the bottom of the list.
But it is one of the most essential things for a recording studio. Invest in one or two good microphone stands that have boom arms so that you can do the required adjustments later.
Stands will come with tripod stand which has rubbers attached on them so that any type of vibrations travelling from the ground will be reduced
One more thing, if you are using condenser microphones which are usually used for recording vocals then, get a shock mount instead of using mic-clips.
As this type of mics are very sensitive and tend to pick even the slightest changes. Hence, the shock mount will help in reducing them.
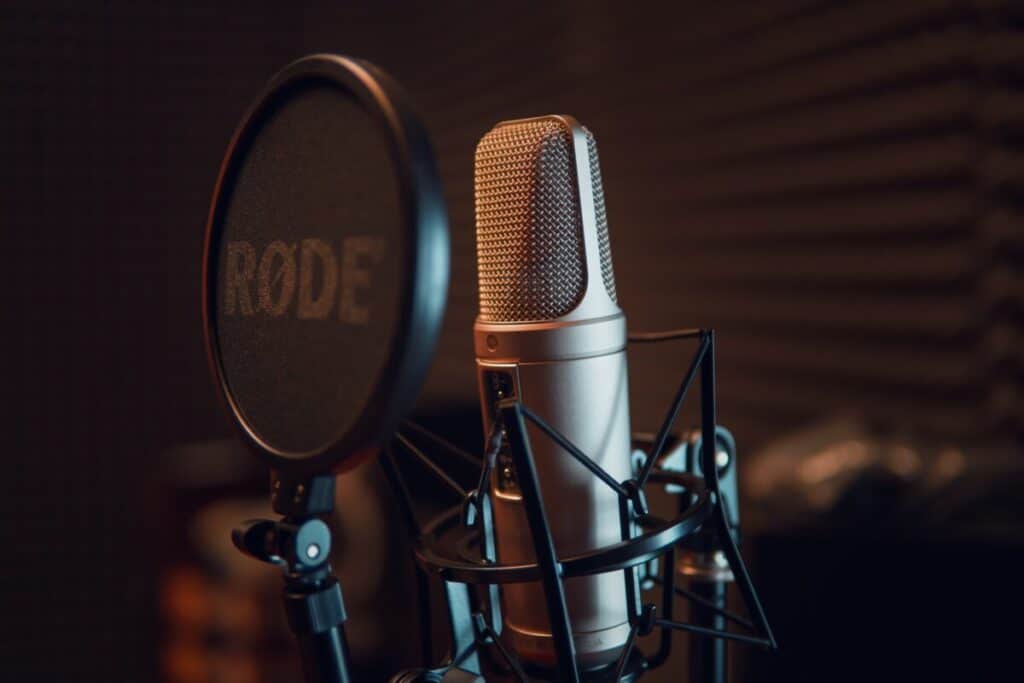
8. Pop Filter
The circular disc equipment that you see in front of a microphone is called pop filter. It is used in vocal recordings to filter out the popping sounds.
Popping sounds are produced due to the fast-moving air when we speak or sing to a microphone and pop filters are kept in-between the mic and the vocalist to filter them.

Secondly, they also prevent the microphones from saliva which are corrosive in nature.
Want to Setup your Home Recording Studio Under 400$ or Under 1000$! Then you can Learn More about Some of the Best Setups for different price ranges
we have prepared fro you!
Intermediate Stage (additional gears)
9. Reflection filters
They are used to filter the sound waves that are reflected from other parts of the room before reaching the microphone. As this reflected sound waves will ruin the original voice from the vocalist.
These are for the ones who don’t have a properly treated room or environment. For a properly treated room, reflection filters are not that much needed in my opinion. (Kind of maybe)
10. Bass Traps and Acoustic Panels
Bass Traps – they are energy absorbers which can absorb low-frequency sound waves inside a room. They do absorb some mid-range frequencies but not that much and are meant for the above.
These low-frequency waves are difficult to pick up with our naked ears and will ruin your recording in the background as they build up.
Bass traps are usually placed at the corners of a room as this is where most of the low-frequency energy build up.
Acoustic Panels – they are also sound energy absorbers but meant for the absorption of mid and high-frequency sound waves that could potentially harm your recording.
Acoustic panels are mainly placed on the parallel walls to absorb some or most of the sound waves so that they don’t get reflected back and forth between the walls creating undesirable sound waves.
These two types of Absorbers are used to create a properly treated environment and are the main equipment needed for the process of acoustic treatment.
11. Isolation Pads for monitors
If you keep your monitors on your desk then, vibrations from your speakers are going to be transferred and mixed with the original sound waves.
You don’t want this to happen as we don’t want anything at the background of the original track that will ruin it at the end.
On the other hand, reflections from the desk itself might also be another problem that you are facing. So, taller pads should be a good pick to combat both of them at the same time.
You can also look for tables that have raised levels for keeping the monitors separately.
12. Diffusers
Sound diffusers affect the sound waves in a studio environment, helping to minimize standing waves and echoes.
They maintain a more natural sound than using absorbers, reflecting sound in a controlled manner rather than absorbing it.This creates an authentic but restrained reverb decay while fully eliminating other unwanted effects.
The best choices for diffusers are generally options made out of softwoods. They stay within the realm of affordability while producing a great, accurate effect for the sound diffusion.
Every diffusion setup will be different, depending on your room and equipment, but generally, you’ll want to set diffusers up on the front or rear walls.
13. Plugins
Plugins cover a wide category of options, all of which can be useful. Common plugins you might see or need would be equalizers (EQs), compressors, reverbs, delays, etc.
Plugins give you analog options to manipulate the sound of your output, giving you sounds that can be brighter, warmer, more accurate—or even distorted, if you want to manipulate your sound in more aggressive ways.
Plugins can range from very affordable to very expensive. At a starting level, you should think about what the sound you’re interested in and find well-reviewed plugins on the cheaper end.
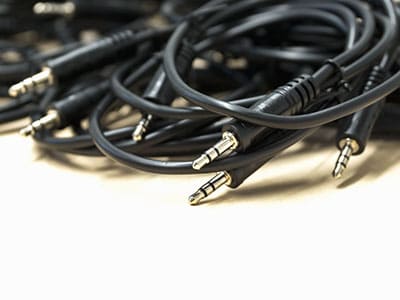
14. Cables
Invest in good quality cables and Don’t even try to cheap out on this part. Investing in a good one will save you a lot of money and time.
Many people tend to leave out cables from the list and ignore them, but they are going to do so some heavy work for you and the traffic will be walking over them and so they tend to wear out fast.
Therefore, investing on a durable one will get you going longer.

15. Midi Controllers
Although there’s a wide variety of tools that can qualify as midi controllers, the most common type of midi controller you’ll be looking for is a controller with an electronic keyboard, which will send information from your playing to a sound module or synthesizer.
With keyboard midi controllers, you’ll want to look at the different options for key size and amount depending on your needs. You can also opt for a midi controller with a button, knob, or slider focused layout to fit your preferences for comfort and utility.
You can attach pedals for sustain or other effects. If you already have generic pedals you can plug in, you won’t usually have an issue with compatibility.
Full fledged Home Recording Studio (additional gears)
16. Workstation
Although you can always start with equipment set up on tables and stands, a proper workstation is a great upgrade for a home recording studio. You can shop for desk setups specifically designed for home studios from music and A/V stores.
A good workstation will offer both wide desk space and multiple layers of usable surface, with an upper level and perhaps a lower sliding panel. Unlike many general desks, you generally won’t want or need drawers, and most options have largely open designs.
For more space, you can by side cars on wheels to arrange around your workstation as needed.
17. Studio Chairs
Your own comfort is also important for a productive recording environment, which is why a good studio chair can be critical. Studio chairs aren’t always as distinct from general office equipment as workstations are, and you can opt for an affordable office chair if your budget requires
Just like any chair for productive work, your highest priorities should be ergonomics and potentially the breathability, to ensure that sitting for hours while working won’t become fatiguing. Lumbar and head support can also play into the comfort factor, as can the general adjustability that your chair offers.
18. Rack Mounts
A proper setup makes valuable audio equipment both safer and more accessible. Rack mounts allow you to protect your equipment within a stable framework. Although assembly can seem daunting, it’s ultimately a safe and easy process as long as you’re not entirely careless with your equipment.
Usually, you’ll want to use a rack mount to rig up tools like audio interfaces, headphone amps, preamps, and management systems for your monitors. A final key item that you’ll want a rack mount for is the next on the list…
19. Power Conditioners
The more valuable and quality your audio equipment becomes, the more important a power conditioner is going to be. Power conditioners can help you obtain the full quality of sound that your equipment can offer, eliminating any electrical interference that could be causing unwanted noise in your recording and mixing.
Even more importantly, power conditioners will help to protect your valuable gear from possible damage. Inconsistent voltage and, worse, electrical surges, can damage or outright destroy your equipment.
Depending on the level of your setup and your budget, you can opt for basic conditioners that will effectively serve to regulate your power supply or more advanced models with more advanced modulation and displays that will keep you updated on the exact voltage being passed through.
20. DI Box
DI (or Direct Inject) boxes accept unbalanced high-impedance signals and output balanced low-impedance signals. The most common use for a DI box is in converting electric guitar and bass output to run the signal into preamps and mixing consoles.
If electric guitar and bass play a big role in your mixing, a DI box should definitely become more of a priority as a simple and effective tool.
You can buy both passive DI boxes, which don’t require external power, and active boxes that do. A good product of either type will still pass high quality audio through.
21. UPS
Like a power conditioner, a UPS, or Uninterruptable Power Supply, is an important utility to ensure that you can provide consistent power to your equipment. Although a power conditioner will save you from surge damage, it can’t do the reverse and supply power in the case of a blackout, which is where a UPS comes in.
If you experience a sudden blackout in your recording studio, a UPS will provide emergency batterypowered supply, allowing proper shutdown of equipment without loss of work or damage from sudden power cutting.
The cheapest options is a standby UPS, which will detect outage and switch over to battery power. For issues like power loss to you computer, the several milliseconds of delay in detection and switching won’t cause any problem or damage.
In the case of certain expensive equipment that may be more sensitive, upgrading a bit to a line-interactive UPS will generally alleviate any possible issues.
The perfect solution for the highest-quality setup is an online UPS, which will allow absolutely no possibility of power interruption, but for a general setup these are unnecessary and expensive.
22. Preamps
The reason preamps are no longer necessary for your starting home recording setup is that most modern equipment comes with built-in preamps, taking care of that step for you and saving you equipment costs. However, when you’ve expanded and improved your setup, buying dedicated preamps can accomplish more than internal options.
Dedicated preamps offer better sound quality, particularly when you dial up the gain higher, where internal preamps may begin to struggle to maintain the same level of clarity. They also allow higher gain in general, which can be useful or even necessary for particularly low output tools.
You can also find options to give you certain characteristics of sound quality that you won’t find in internal preamps. Much like the modern resurgence of vinyl records due to a certain warmth in sound that many people prefer, preamps can give you sounds that angle towards warmth, smoothness, dirtiness, and more.
23. Monitor Management
With multiple studio monitors, it will become increasingly useful to be able to properly channel and cross-references mixes across all monitor arrays. With a single monitor set, you probably won’t need any kind of monitor management system, but the more complex your setup becomes, the more of a godsend monitor management might be.
There’s a wide variety of options for monitor management, but there’s more options than ever with intuitive and useful layouts. Look for something that you think you can manage quickly and easily. A principal purpose of monitor management is to eliminate hassle and confusion, so you want to make sure yours is geared well towards that purpose.
24. Virtual Instruments
Unlike most of what you’ll be looking at buying as studio equipment, virtual instruments are actually software rather than hardware. That doesn’t mean, however, that they’re not sophisticated products to output high quality audio, acting as sound modules to emulate nearly any kind of instrument you can imagine.
Buying a physical instrument for every purpose in audio recording isn’t very feasible, with prohibitive costs, learning curves, and a high cost of space. Virtual instruments provide a critically useful alternative. They even offer sampling options and software-enabled freedoms that can let you produce and mix sounds that you wouldn’t be able to achieve with actual instruments.
You’ll want to listen to samples produced by virtual instruments to see how you like the sound possibilities, but it’s also helpful to check out interfaces and system requirements before buying. You want something that not only produces a good sound but is also feasible and easy for you to use.
25. Control Surface
When using tools like virtual instruments, you might find your workflow and creativity impeded by the lack of efficient physical interfacing. This is where control surfaces come in, which can fully alleviate that problem with tools to physically manipulate plug-ins and mixing.
Most control surfaces resemble classic analog mixing boards, principally featuring series of sliders, along with buttons and knobs, to control every necessary aspect of your mix. However, for tools like virtual instruments, you can also find options with purely button or keyboard focused inputs for quick and easy use.
26. Electronic Drum Kit
An electronic drum kit is a final physical option to give you clear control over digital sound output. Although electronic drum kits started out as poor replacements for physical options, in the modern market you can find anything from very affordable options that will still give you reliable sound to premium options
with unparalleled quality.
Electronic drum kits can provide a variety of kit sounds to give you more flexibility than a traditional drum set. Of course, they’ll still take up some real estate in your studio, but they can be smaller than traditional kits, with flat pads replacing drums and eliminating the space costs of snares and particular bass drums
Want to Setup your Home Recording Studio Under 400$ or Under 1000$! Then you can Learn More about Some of the Best Setups for different price ranges
we have prepared fro you!
Recent Posts
QuickTime is a vital app for many Mac users, and if you’ve recently bought a new microphone, you might wonder how to use it optimally. QuickTime cannot record audio content if it doesn’t have...
Every microphone leaves a unique signature on the quality of its output. If you’re a podcaster trying to melt your way into your audience’s hearts, a muddy, distorted recording won’t cut it....
