Condenser mics are excellent at picking up sound – the issue is that they pick up all sound. The neighbor mowing his lawn, the creak of your chair, the bird three miles away: the mic hears it all. If you only want the sound of your voice or instruments, how can you make such a high-input microphone less sensitive?
To make a condenser microphone less sensitive, reduce the distance between the mic and the sound source, ensure the preamps and gain are set to the correct levels, and install filters and sound gates. You can also use editing software to take out any extra background noise.
If you’re interested to know how to make a condenser microphone less sensitive to background noise and pick up primary sources better, then you’re in the right place. I’ll guide you through some of the more popular fixes and suggestions to get the most out of your condenser microphone and recording setup.

Making a Condenser Mic Less Sensitive
Condenser mics are famous for being much more sensitive than dynamic mics, and that’s why they’re not used in live music settings. Still, they’re highly favored in studios for their ability to pick up the airier qualities of the human voice. They pick up details well, but sometimes, they record too much of the background noise.
In essence, condenser mics are more sensitive to sound because of how they’re made. A thin metal membrane and a solid metal plate vibrate together to create electricity out of the sound waves. The pickup is much smaller than in a dynamic microphone so that a condenser mic can catch more sound variance and details.
Technically, there’s no way to make your condenser less sensitive. It’s just doing its job, which is picking up sounds. Playing with the volume won’t help – the mic will still pick up all the sounds, just at a quieter or louder level. However, you can adjust some settings so that your microphone picks up the primary sound source better and ignores the background noise.
There are several ways to do this, but the final solution is specific to your mic and studio setup. Many times, it’s not about making your mic less sensitive – it’s about getting less noise from your surroundings. It might take several changes to help your sound, and there isn’t always a way to completely negate background sounds, but you should be able to dampen the ambient noise.
Check out my picklist for the Best Condenser Mics
Reduce Your Distance From the Mic
Of course, the first thing to check is how well the mic is picking up your voice. If your mouth (or instrument) is too far away from the receiver, it will pick up those sounds at the same strength as background noises.
Ensure that the sounds you’re trying to record are louder and closer to the microphone than any ambient sounds. Stay as close to the mic as possible while you’re recording. That way, the mic will pick up your voice louder than background noises, and you’ll have fewer issues with extra ambiance.
Check out how to reduce background noise on a Blue Yetis
Set Up Your Recording Environment
Not everyone has the luxury of recording in a soundproof room or studio, but there are steps you can take to make your room easier to record. Try to have your recording set up in a room that has as little outside noise as possible and record at a time that your neighbors are quiet (I know, not always likely).
You could soundproof an entire room, but if that’s out of your budget, you can take a more DIY approach to proper treatment. Many people record in a closet with a sleeping bag draped over the door or put themselves and their microphone underneath a heavy blanket. You can also partially soundproof an area with heavy blankets, foam, or carpets to reduce noise.
Choose a Mic Pattern
A microphone pattern sets the direction that the microphone faces. Depending on the setting, you can use your microphone to pick up one source or multiple sources. Most mics have a built-in setting for cardioid, which focuses the attention of the mic to one source and only opens one side of the microphone.
Turn your mic to the cardioid setting so that it only picks up one side of the room. Ensure that your mic is facing the right way to pick up your voice and that the unavoidable sound makers (windows, computers, or doors) are on the other side of the microphone. This should lessen your background noise.
Set Your Preamps and Gain Levels Correctly
Condenser mics run on phantom power, which generates itself through a preamp. For your condenser microphone to work correctly, it’s going to need an interface with preamp and phantom power capabilities. Don’t worry – most audio interfaces come with both!
If you want to reduce extra noise, you can reduce the gains on your preamp (usually by a labeled nob on the audio interface). This will hone your mic into the loudest sound it hears and block out the background noise. Hopefully, your voice is the loudest, and the mic will block the ambient noise.
Use a Shock Mount and Pop Filter
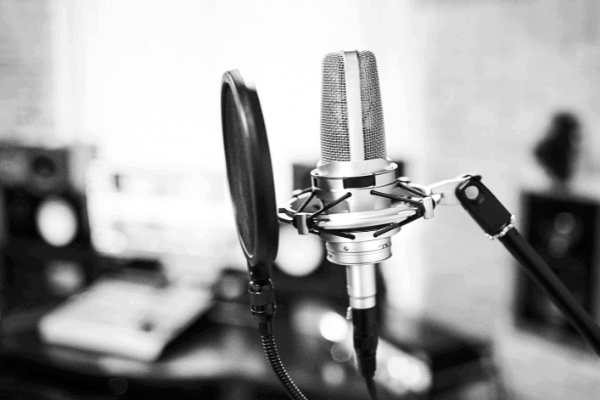
A shock mount is a system of elastic bands that holds a mic steady and absorbs the shocks of the environment. It can protect the mic from picking up the shakiness in your recording studio, the movement of the building you’re in, or even the rumblings in the earth.
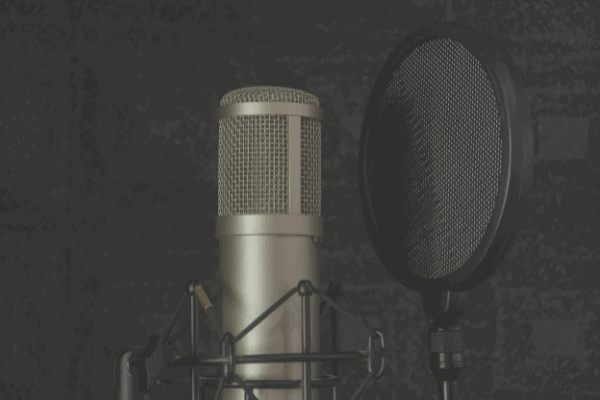
Shock mounts are often paired with pop filters, which take out the extra sounds from vocal audio. This is especially useful for singers because it reduces the sounds of hard consonants often emphasized by recordings.

Check out my guide to the Best Boom Arm
Make Sure Your Mic Cables Are Balanced
Check your mic cables to make sure they’re balanced cables. Unbalanced cables will bring the sound through only one side of the mic, and your sound quality will be unstable. They’re made chiefly for connecting instruments to amplifiers and don’t protect from outside sound.
Whether or not your mic cables are balanced, make sure they’re not running alongside your computer or amplifier cables. The other wires make noise, and even the slightest extra noise interferes with a mic cord (especially an unbalanced cord).
Consider Using a Noise Gate
A noise gate can be beneficial if you have low-grade background sounds that you can’t lose. It’s a device that you can add to your microphone to decrease noises below a certain sound level. You can set the threshold for the noise gate to be below the status of your voice.
Although a noise gate can help reduce low-grade noises, it can also reduce overall sound quality. If you need to use a noise gate, you can set it to a lower frequency and test your audio before bringing it up to the desired noise level.
Remove Audio Noise in Post Production
It’s easy to edit out some background noise after recording. You can take out almost any constant sounds (like room tone, an air conditioner, or a pipe drip). Make sure to record a second or two of silence to set the room tone, and then you can edit out anything matching that sound wave in the post.
You can also individually go through and take out problems, but that only works if it’s a loud and individual noise. The best way to reduce background noise is to record in a well-proofed space, of course. Editing is helpful but won’t solve all your problems.
Final Thoughts
Unless you have a very poor recording situation and no way of reducing background noise, you should be able to reduce the number of ambient sounds in your recording with the steps we’ve outlined for you in this article, including reducing the distance between you and the microphone and removing the noise in post-production.
However, if you’ve tried everything you can to make your condenser mic less sensitive but you’re still picking up lots of background noise, then you might want to consider getting a dynamic microphone instead.
Sources
- Mynewmicrophone.com: 15 Ways to Effectively Reduce Microphone Noise
- ProSoundWeb: Sensitive (Mic) Matters
- NEUMANN.BERLIN: What is a Condenser Microphone
?
- NEUMANN.BERLIN: What is Sensitivity?
- Wikipedia: Phantom Power
Recent Posts
QuickTime is a vital app for many Mac users, and if you’ve recently bought a new microphone, you might wonder how to use it optimally. QuickTime cannot record audio content if it doesn’t have...
Every microphone leaves a unique signature on the quality of its output. If you’re a podcaster trying to melt your way into your audience’s hearts, a muddy, distorted recording won’t cut it....
