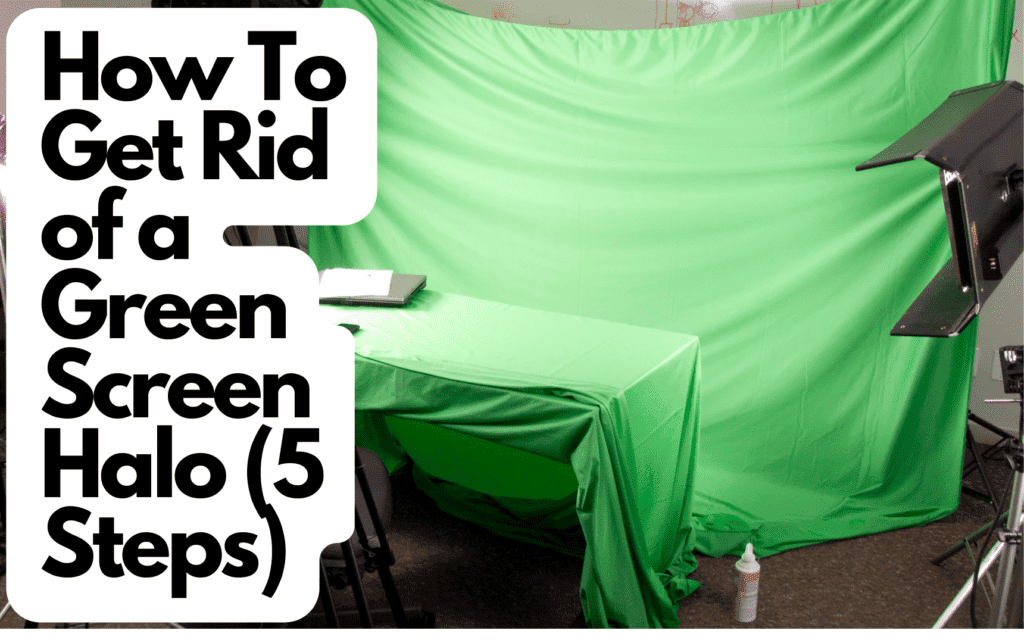
A green screen allows filmmakers to transport subjects (objects and people) into any landscape imaginable, from gorgeous beachsides to bustling cityscapes. But the effect is quickly ruined when the subject’s edges appear green (called a green screen halo).
Here’s how you can get rid of a green screen halo in 5 easy steps:
- Check that you’re using plenty of lighting for your subject.
- Consider installing a magenta backlight behind the subject.
- Move the subject further away from the green screen.
- Increase the saturation of your captured footage.
- Remove specific background colors using editing software.
In this guide, I’ll delve into the many ways to remove a green screen halo from your video projects. That way, you can produce high-quality content that looks professional and polished.
- 1. Check That You’re Using Plenty of Lighting for Your Subject
- Understanding Lighting Types
- Using Front Lights To Reduce Green Screen Halos
- How To Choose Front Lights
- 2. Consider Installing a Magenta Backlight Behind the Subject
- Where To Place a Magenta Backlight
- 3. Move the Subject Further Away From the Green Screen
- 4. Increase the Saturation of Your Captured Footage
- 5. Remove Specific Background Colors Using Editing Software
- Adobe Premiere Pro
- Final Cut Pro
- CyberLink PowerDirector 365
- DaVinci Resolve 17
- Final Thoughts
- Sources
1. Check That You’re Using Plenty of Lighting for Your Subject
Lighting is a crucial aspect of filmmaking, just as it’s vital to producing high-quality photographs. But, of course, many beginner-level content creators are unfamiliar with lighting techniques, making it easy to accidentally low-light footage that’s full of green screen spill![]() .
.
Understanding Lighting Types
Before shopping for studio lights, it’s crucial to familiarize yourself with fundamental filmmaking lighting terms and techniques. After all, it can be challenging to use your lights correctly if you’re unfamiliar with terms like backlighting, front lighting, and ambient lighting.
The most essential lighting types for filmmakers using green screens include:
- Ambient Lighting. Also called practical lighting, this type of lighting is what you’d find naturally in any given setting. For example, if you were to film a scene outdoors without adding an artificial lighting source, you’d be utilizing ambient lighting.
- Key Lighting. The most substantial and direct front lighting option, key lighting fully illuminates your subject, separating it from the background.
- Backlighting. A backlight illuminates the subject from the background. This type of light can be both helpful and harmful when handling green screen halos.
- Bounce Lighting. This type of lighting can be helpful when producing videos with a green screen backdrop, as it can reflect light from a key light or studio light to brighten your subject.
These lighting types have their uses, benefits, and drawbacks, but front lighting (or key lighting) is one of the most crucial aspects of getting rid of green screen halos.
Using Front Lights To Reduce Green Screen Halos
Still, one of the most straightforward solutions to green screen halos is a change in front lighting.
Remember, if your background screen has an equal level of lighting as your subject, the subject will appear to merge with the background, causing a significant spill of green light. That’s why it’s crucial to invest in proper front lighting equipment.
It’s also essential to choose bulbs that produce a bright white light, as these react neutrally against green screens while also bringing the subject into greater focus. Fortunately, white front lights range from $40 to $200, making them accessible to most content creators.
How To Choose Front Lights
Choosing the right front lights for your studio is essential to producing high-quality green screen videos. However, selecting the best set of lights for your footage can be challenging if you’ve never shopped for front lights.
To find the best lights for your recording studio, you’ll need to consider:
- Color Temperature
- Size
- Type
Color temperature is vital, and you’ll want to select an option that offers a bright white glow. The best way to do this is to choose front lights rated at 3000K.
Lamps with a lower rating may produce a warm yellow glow, which can make your footage appear aged or poorly lit. Alternatively, lights with a much higher rating can create cool blue light, which may not be the effect you’re looking for.
Those working in small studios or workspaces will also want to consider fixture size. For example, a standard ring light fits neatly onto tabletops and desks, but studio lights require several feet of space.
The type of light you choose also affects your final footage. While studio lights could be an excellent choice for larger spaces, they can overexpose your subject when used in small studios, resulting in washed-out-looking footage.
But studio lights spread light across your subject and background, while key lights primarily illuminate your subject, leaving your backdrop in shadow.
To reduce the green screen halo effect in your footage, it’s often best to use a single studio light (for general illumination) in conjunction with a bright key light (to separate your subject from the background).
2. Consider Installing a Magenta Backlight Behind the Subject
Another way to diminish a green screen halo is to purchase a magenta-colored backlight and place it behind your subject.
That’s because magenta is a hue that lacks any green coloration. Essentially, magenta is the truest opposite and complement of green.
When you light a subject with an intense key light, some of that light can bounce off the backdrop and reflect onto your subject. This is one of the many interactions that can lead to a green-colored halo.
But installing a magenta-colored light behind your subject reduces this bounceback, neutralizing any green light that might be reflecting onto the sides of the subject. Still, where you decide to place this light is vital to its effectiveness.
Where To Place a Magenta Backlight
As you might expect, the best place to install a magenta backlight is behind your subject but in front of the green screen. However, it’s worth noting that the height of your backlight makes a significant difference.
If you decide to use a standard studio light as a backlighting source, you’ll quickly find that the lower portions of your subject continue to show signs of green screen spill. For that reason, you’ll want to use floor lights.
A high-quality floor light tilts slightly upward, providing a wide swath of light. This angle should ensure that the light reaches the bottom and middle portions of your subject.
For example, USTELLAR LED Flood Lights (available on Amazon.com) offer a 180° positioning range. In addition, they come with pre-programmed remote controls that have a specific magenta button, allowing for fast lighting changes.
- 【App Control WiFi Floodlights】Ustellar Tank 20W RGB smart floodlights (200W Equivalent). You can…
- 【Support Voice/Group Control】Works with Amazon Alexa (Echo/Dot/Tap) and Google Assistant in WiFi…
- 【DIY Scenes & Music Modes】Brighten up any outdoor party with these vibrant flood lights. With 8…
Last update on 2025-06-23 / Affiliate links / Images from Amazon Product Advertising API
Naturally, you can also choose to use a tall, cylindrical backlight that casts a greater range of magenta light.
The ANGROC LED Floor Lamp (available on Amazon.com) is an excellent example of this type of backlighting source. It’s a color-changing light that’s just under 3ft (0.89m), a design feature that helps it cast a much taller range of light. The color wheel selection tool also makes selecting a pure magenta hue incredibly easy.
3. Move the Subject Further Away From the Green Screen
Apart from poor lighting, proximity may be one of the most prevalent mistakes filmmakers make when learning to use a green screen. This issue is understandable, as few content creators have access to spacious production studios.
However, if your subject is positioned less than four feet (1.21 meters) in front of the green screen, you can expect to see a halo effect. That’s because close proximities increase the likelihood of key and studio lights creating a green reflection that bounces onto your subject.
Consequently, the ideal distance between subject and background is about six feet.
Of course, if you’re filming in a tight space or small room, it might be impossible to increase the distance between your subject and backdrop. Fortunately, you can use a few post-production techniques to reduce green screen halos.
4. Increase the Saturation of Your Captured Footage
Somewhat counterintuitively, increasing the saturation of your footage may help reduce a green screen halo. This technique is handy for eliminating green fuzz around human subjects.
The concept behind this method relates to skin tone. Human skin tones and shades may vary significantly, but they primarily range from yellow to blue hues.
Green, on the other hand, is absent. The only exceptions to this general rule are subjects with olive skin or subjects who are ill.
Still, by increasing the saturation of your footage, you can increase the intensity of your subject’s underlying red, yellow, or blue skin tones, dividing them from the green screen halo.
5. Remove Specific Background Colors Using Editing Software
If increased saturation doesn’t help reduce the green screen halo in your footage, you’ll likely want to experiment with your chosen video editing software’s chroma key and color removal features.
Both of these are practical tools for filmmakers that shoot footage against a green screen. However, every video editing software is slightly different, and some have limited chroma key features. This variation makes it tricky to master green screen spill removal across multiple applications.
As such, I’ll explore the most popular post-production applications and explain how to use their included tools to remove green screen halos.
For example, some of the most popular video editing programs include the following:
Adobe Premiere Pro
You can remove a green screen halo in Adobe Premiere Pro by placing your footage onto your project timeline and opening the ‘Effects’ menu in the lower left-hand corner. Then, follow these steps.
- Scroll down the menu and click on the ‘Keying’ tab.
- Click and drag the ‘Ultra Keying’ effect onto your green screen footage.
- Select the eyedropper tool beside ‘Key Color’ and click on your clip’s green background. If your backdrop’s coloration is consistent, this will remove the green screen.
However, if your green screen is unevenly lit or colored, you may still see bits of the screen remaining in your footage, particularly around your subject (or subjects). To get rid of this, you’ll need to open the Matte Cleanup tab and adjust the ‘Choke’ and ‘Soften’ settings.
Final Cut Pro
Those using Final Cut Pro will want to place their green screen footage onto the project timeline, select that clip, then open the ‘Effects’ menu in the lower right-hand corner.
Here’s what you should do next.
- Select the ‘Keying’ tab, then click and drag the ‘Keyer’ effect onto your footage. This should automatically remove a large portion of the backdrop and open the Video Inspector menu in the upper right-hand corner.
- Select the ‘Sample Color’ tool within the Video Inspector menu if you notice a bit of green fuzz around your subject.
- Click and drag to select any discolored areas. This should remove a further layer of green. You can also adjust the ‘Spill Level’ slider to remove any green hues from your subject.
CyberLink PowerDirector 365
Fortunately, removing green screen haloes in CyberLink PowerDirector 365 is a relatively straightforward process.
- Drag and drop your background and green screen footage onto your project timeline to get started.
- Select your green screen clip, then click on the ‘Tools’ tab located directly above the timeline. This action will open a dropdown menu.
- Select PiP Designer to open the ‘Object Settings’ menu.
- Click on the ‘Chroma Key’ tab and use the eyedropper tool to select your green backdrop. Unlike other video editing applications, PowerDirector tends to remove a range of green during this process, eliminating the need for further halo removal.
DaVinci Resolve 17
DaVinci Resolve 17 features a similar setup to both Final Cut Pro and Adobe Premiere Pro.
- Drag and drop your footage onto your project timeline.
- Select the ‘Effects Library’ tab at the top of the screen. You’ll then see a small menu open in the bottom left-hand portion of your screen.
- Scroll down through the right side of this menu to locate the ‘3D Keyer’ effect (it’s within the Resolve FX Key grouping). Drag and drop this effect onto the green screen footage in the timeline.
- Click the ‘Effects’ icon in the Inspector Menu (upper-righthand corner). From here, you’ll be able to access three eyedropper tools.
- Select the Eyedropper+ tool, then click your preview window, and drag your mouse over the green areas of the backdrop.
You should see most of the green screen disappear. If any halo remains, select the ‘Despill’ checkbox within the same menu. This tool should remove any greenish fuzz around the edges of your subject.
Final Thoughts
You can implement various tips and tricks to remove a green screen halo from your videos. Some methods utilize pre-production changes, such as improving lighting conditions.
Others are post-production edits, like manually removing specific background colors. Opting to combine both types of solutions is the best way to eliminate irritating green screen halos from your footage.
Sources
- Amazon: ANGROC LED Floor Lamp
- Amazon: USTELLAR 25W RGB LED Flood Lights
- Arts on the Brain: Magenta Doesn’t Exist?
- Digital Anarchy: How to position your subject
- Nashville Film Institute: Lighting Techniques: Everything You Need to Know
- ScienceDirect: Colour Temperature

