If you are looking for cheap and simple ways to set up a youtube studio, you have stumbled upon the right place. The good news is YouTube channels do not always need high-end camera gear, equipment, and expensive software. With proper guidance, you can set up a simple youtube studio without spending thousands of dollars.
To make a cheap and simple youtube studio, you will need a camera, tripod, microphone, lights, audio and video editing software, and a good background. You can even DIY the background and tripod if you are running low on budget.
Creating a YouTube channel should not cost you a fortune. There are a few more things to consider if you will buy the gear for your studio.
The rest of this article will explain how to choose the right equipment to help take your video quality and production standards to the next level.
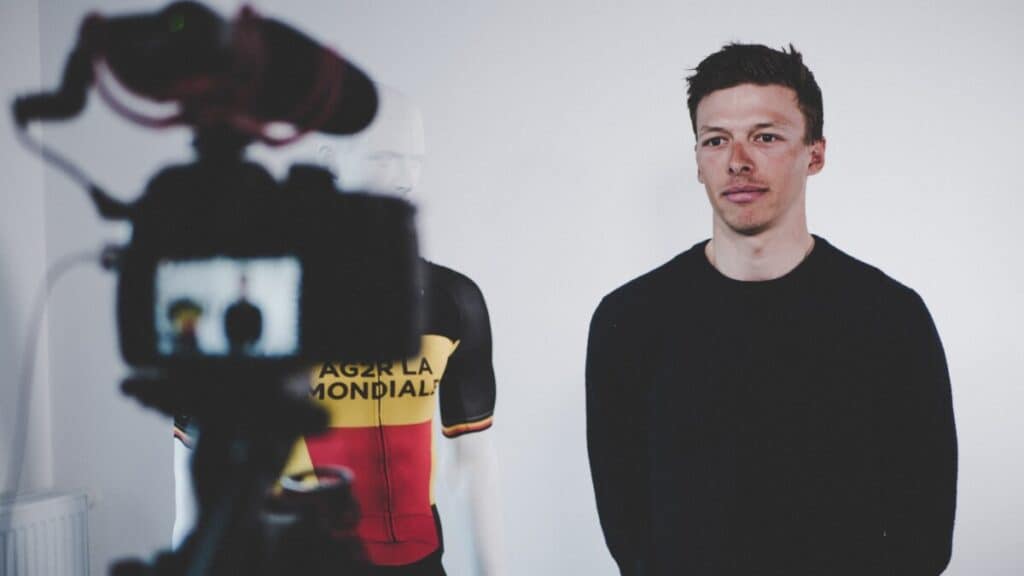
Do You Need a YouTube Studio?
If you are serious about video production, a youtube studio is a good investment.
Prior to setting up a studio, it is crucial to understand the type of your content. This is because youtube setups vary with the purpose of your video. For instance, a cooking channel would require a kitchen set up, whereas a talk show works with any decent background.
You should also consider how much space you have for the studio. If you are going to present a few slides with a simple voiceover, you do not need much space to get started. These videos need only a computer, a camera, and a microphone, so you already have enough room to get started. On the other hand, if you do not need a voiceover, you do not need to buy a microphone.
If you are a person who often hits the road, you should also think about the storage and portability of studio equipment before purchasing them.
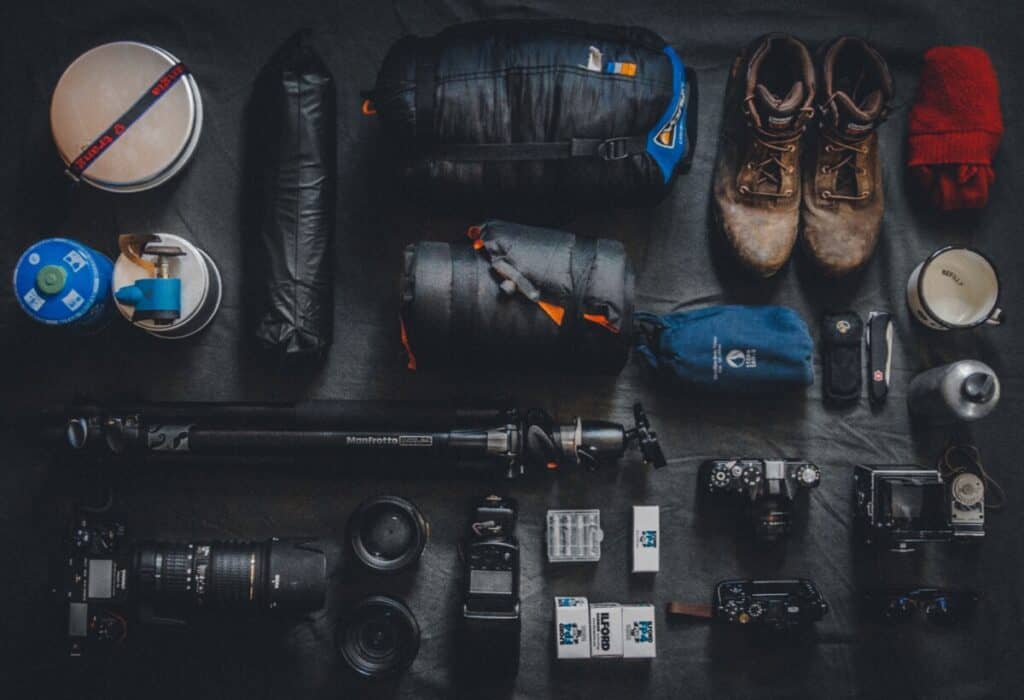
If you are all set to start shopping for your youtube studio, read the rest of this article that will explain each equipment you will need in great detail.
Basic Youtube Studio Setup
Although you can use your smartphone camera and microphone to record a video and post it on youtube, it will not do justice to the content you are putting out there. There is a huge difference between good and great. And if you want to upload great videos, go ahead and invest in the following youtube studio essentials:
Camera
A camera is undoubtedly essential to set up a youtube studio. Investing in a mirrorless camera or DLSR camera and a good lens will create quality video content.
The camera would be your biggest investment, but it does not need to cost a fortune. But a camera does not mean it has to be one that professional photographers or videographers use.
I personally have a Sony a6400 which is a quality mirrorless camera, but the Sony a6100 is an older model but a much cheaper option that does the same job if you are on a budget
.
- Next Gen speed: experience the world’s fastest 0. 02 sec AF with real-time AF and object tracking
- Enhanced subject capture: wide 425 Phase/ 425 contrast detection points over 84% of the sensor
- Fast and accurate: up to 11Fps continuous shooting at 24. 2MP raw with crisp, clear natural colors
Last update on 2025-05-30 / Affiliate links / Images from Amazon Product Advertising API
- Advanced 24.2MP back Illuminated 35 millimeter full frame image sensor
- ISO 100 25600 (expandable to 51200). Lens compatibility: Sony E mount lenses
- Hybrid AF with 179 point focal plane phase detection and 25 contrast detect points
Last update on 2025-05-30 / Affiliate links / Images from Amazon Product Advertising API
You can also use your smartphone for video recording. While you should not overlook the video quality, most latest phones come with amazing cameras. And if your phone has a decent camera, there is no need to spend on an actual camera. However, if you have high hopes for your video clarity, it is better to invest in a good quality camera. The latest iPhone since iPhone X and Samsung Galaxy series models feature an f/1.8 aperture on a wide lens. This can be good enough for most needs.
One thing most camera owners fail to understand is the power and capability of their camera. Camera settings play a crucial role in video quality. For instance, a shutter speed of 1/25 and an aperture of f/5.6 do not produce good quality videos no matter how expensive your camera is.
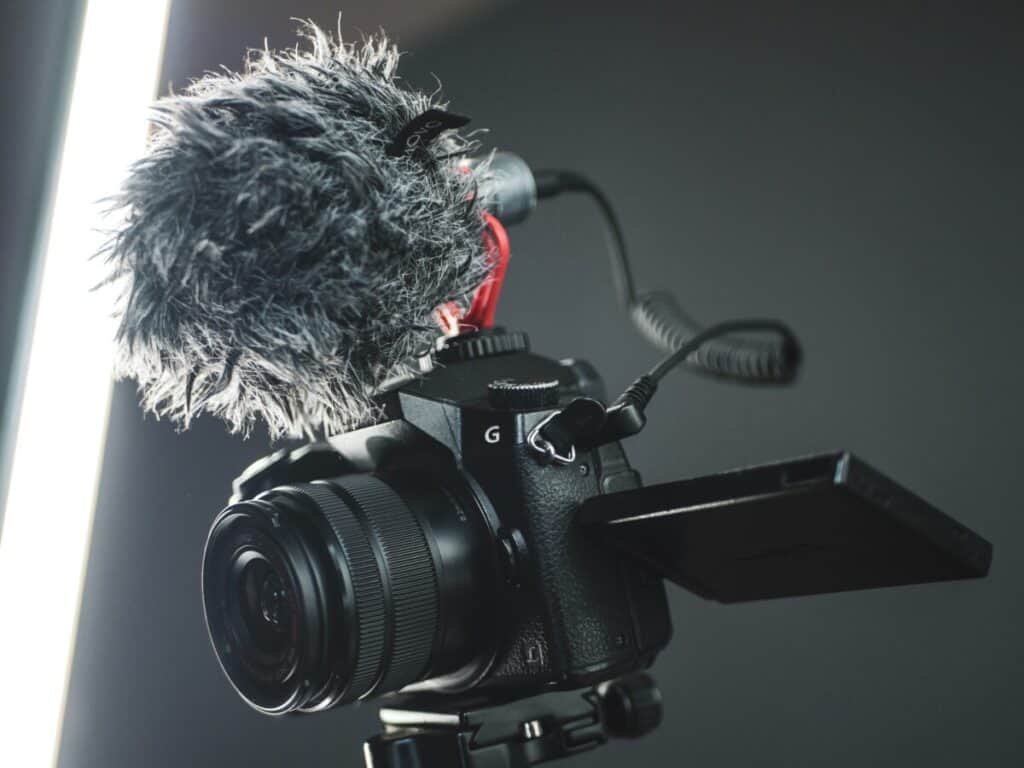
If you do not know how to adjust the settings, seek the help of a professional to make the most of your camera. The ideal quality for youtube videos is 1920×1080.
It is also important to think about your video content while buying a camera. The cameras that are great for video recording may not be so great for taking still photos. Of course, you would get cameras that work great for both, but it is always better to do proper research to buy the gear that is most suitable for your videos.
Portability is another factor that should not be overlooked while buying a camera. If you are a vlogger, you can choose a lightweight vlogging camera and has features like image stabilization, low light performance, and flip-screen.
If you travel, you may want to consider external storage, i.e., memory cards, if your budget permits it. You do not suddenly want to run out of space halfway through filming! If you shoot your content at home, then you can transfer the video file from storage to your computer to make space.
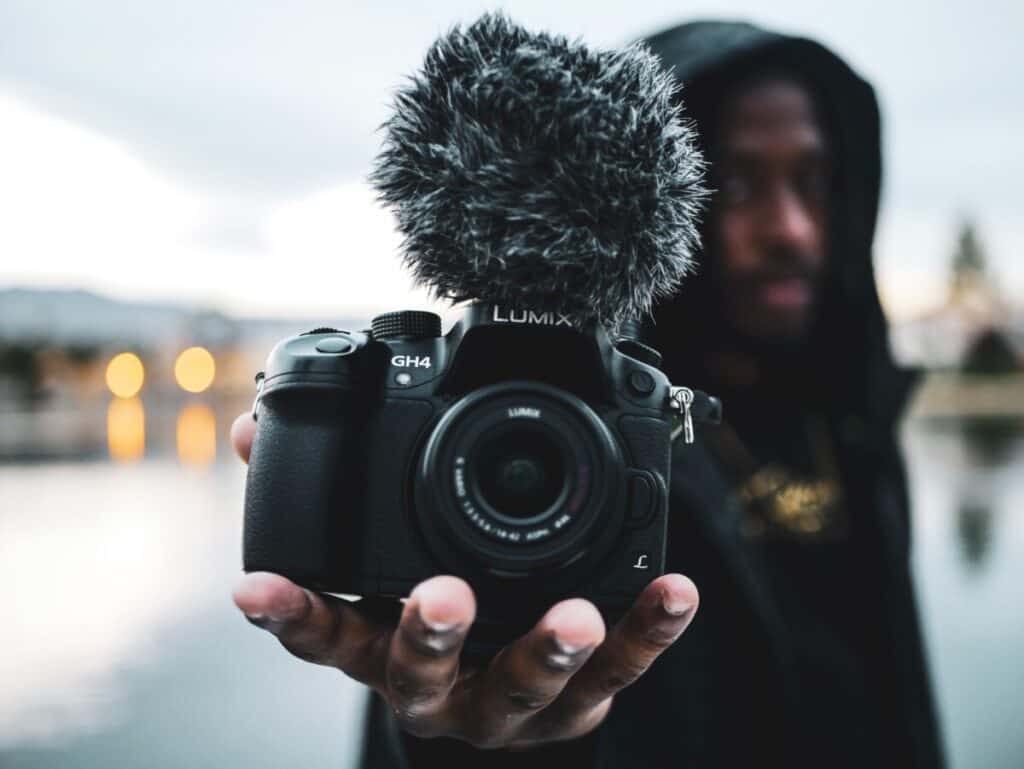
To record top-notch quality videos, you can also try on different lenses to find the one that closely matches your needs and preferences. If you have more than one camera, try recording from different angles to keep the viewers engaged.
Whichever camera or lens you use, keep the following in mind while recording a video:
- Look at the camera while you are speaking. This is to give the audience the impression that you are directly speaking to them. Many vloggers who record on their smartphones look at themselves on the screen. This will result in a weird eye angle, making it difficult for the viewers to connect with you.
- Whether you are recording on your smartphone or camera, pay attention to the orientation. Record videos in landscape mode. Portrait mode videos do not look good on youtube.
- Adjust the camera height. Place it slightly above the eye level. Too low and too high placements of the camera can become annoying for the viewers.
If you are going to record a lot of videos on your camera, an SSD or a hard drive will definitely come in handy. Videos can take up a lot of storage space, and these will help you keep your footage safe. You can also use Dropbox to store all your footage, and access it from anywhere and anytime.
If you are curious about how many cameras you need and why…find out in this article here.
Tripod
A tripod is definitely a must-have for all YouTubers. Whether you are shooting outdoors or indoors, a tripod allows you to stabilize the camera and take steady shots. These are affordable and easily affordable.
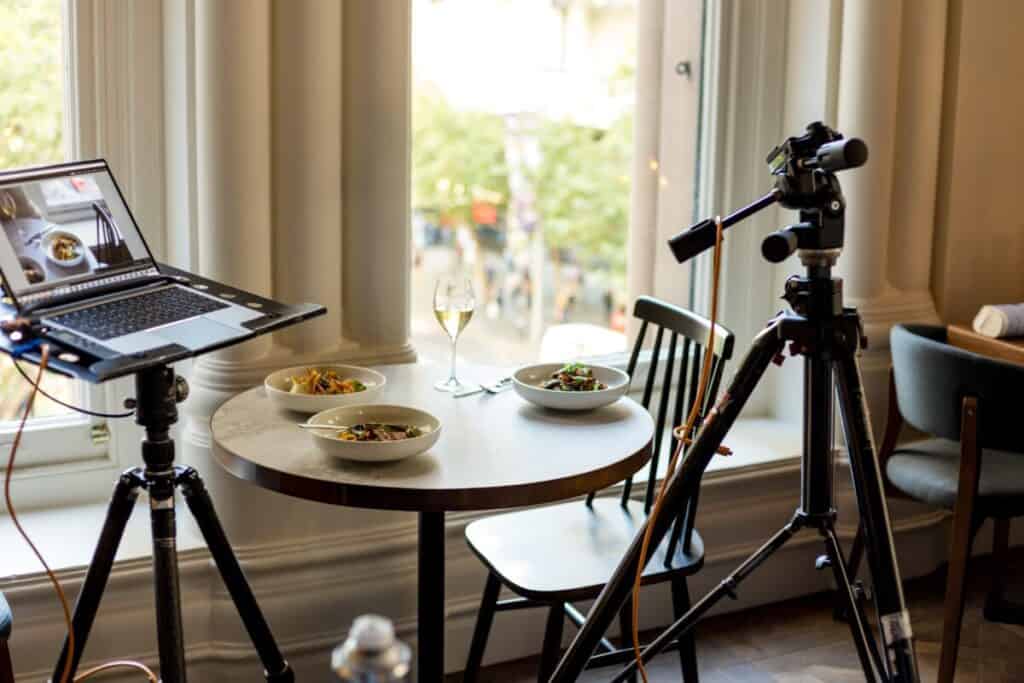
You can even DIY tripods using a stack of books or placing the camera on a stand or against a wall. But a tripod is always a good investment; it is better to not skip this one. Here are a few advantages of using tripods:
- Increased sharpness and depth of field
- Rest heavy camera gear
- Increased quality of images
- Shoot extreme close-ups
- Take self-portraits using a self-timer
The type of tripod you need will depend on the camera you use. You can find numerous varieties of tripods in the markets, such as tabletop tripods, and entry-level kits.
Regardless of the type of camera you own, here are a few things to keep in mind while buying a tripod:
- Compatibility: Before you buy a tripod, make sure it can hold your camera or smartphone. All cameras differ in size, shape, and weight. So it is important to check its compatibility on a tripod.
- Portability/Weight: If you are an on-the-go vlogger, you will need to carry your camera often. While having a tripod helps you take stabilized shots, see if its weight is too much to carry it around.
- Height: The height of most tripods is adjustable. However, it is best to choose one whose average height matches your height. Once you attach the camera on a tripod, the viewfinder should be at your eye level.
- Tripod Head: The tripod head is responsible for securely holding the camera while recording. There are different types of tripod heads, and the most common are pan-tilt head, ball-head, and gimbal head. Choose one based on your needs and preferences. For instance, if you want to take a pan shot, you will need a pan-tilt head for your tripod.
- Stability: Although the main function of a tripod is to stabilise shots, all tripods may not be very stable. Heavy and durable tripods can mostly withstand wind and occasional bumps in the field. You always need to check if the tripod balances your camera and do not lean towards one side, before recording.
The AmazonBasics 60″ Tripod, Torjim 60″ Tripod, and AmazonBasics 50″ Tripod are some of the best-selling tripods in the markets today.
Last update on 2025-05-30 / Affiliate links / Images from Amazon Product Advertising API
- 【60" Adjustable Height】 The maximum height of the adjustable tripod is 60 inches. 4-section...
- 【360° Rotation Function】 The convenient handle and built-in bubble level can realize the tripod...
- 【Lightweight Solid & Sturdy Rubber Feet】Stable rubber feet provide superior stability in a...
Last update on 2025-05-30 / Affiliate links / Images from Amazon Product Advertising API
- Camera mount tripod stand with zippered storage bag
- Adjustable height from 16.1inch to 50inch with 3-section,lever-lock legs for simple adjustments
- Folds down quickly and made of lightweight aluminum; It weighs only 1.23 lbs,lightweight and...
Last update on 2025-05-30 / Affiliate links / Images from Amazon Product Advertising API
If you are going to be using your smartphone as your camera, then you should probably save money by considering a phone tripod such as Fugetek Tripod for Smartphones.
- UPGRADED SELFIE STICK TRIPOD : Latest Professional Selfie Stick Tripod Combo. Take Selfies Or Group...
- EXTENDABLE TELESCOPIC LENGTH AT 51" : Superior To 60" Selfie Sticks That Are Bulky. Easy Click...
- REMOVABLE BLUETOOTH REMOTE UPGRADED FOR 2022: Take Photos & Videos Up To 100 Feet Away, An Industry...
Last update on 2025-05-30 / Affiliate links / Images from Amazon Product Advertising API
If you are running very low on budget, you can even DIY tripods but remember that a good tripod is undoubtedly a life-long investment.
Lighting
Lighting is extremely crucial for shooting good quality videos. Nobody wants to see a poor lit video, simply because it does not look that good. The key here is not to make the audience understand the content, but to present the content in the most attractive way possible. And for that, you need excellent lighting.
The best way to determine how much more light you need is to record a test video and judge its outcome. If it looks a bit dark, it is time to buy a good light.
If there is no way that you can purchase lights at the moment, natural light is your best friend.
Beginners often skip buying lights for their videos because it can be very expensive. Therefore, plan your budget before you set out for lights shopping.
Youtube studios typically use one or more of the following types of lighting equipment:
Softbox lights
A softbox diffuses the light and emulates soft lighting, mimicking the natural light. It enables you to direct light to the desired spot in the shot. These are available in different shapes and sizes at pretty reasonable prices.
Most YouTubers love the ESDDI Softbox and the Neewer Octagonal Softbox
.
Find out more about whether you should use softbox lights or ring lights here in this article.
Umbrella Lights
Umbrellas produce broader and diffused lighting. Most beginners use these to light the entire scene. Umbrellas lights are portable, so you can use these while you are on the go. You can also add a few more lights to get more balanced footage. But remember that if the supplementary light is not fluorescent, it will give a yellow glow to the video which will not look great.
Neewer Umbrella Light and LimoStudio Umbrella Kit
are good quality umbrella lights.
Ring Lights
Ring lights are a great option if you are low on budget as these are relatively cheap when compared to other key lights. These can light up an entire scene or even act as fill lights.
The UBeesize Ring Light and UBeesize Mini Led Camera Ring light
are top quality ring lights that come with a tripod stand and a phone holder. The Sensyne Ring Light
comes with an extendable tripod stand and is worth the investment.
Three-Point Lighting
Another common lighting setup most content creators love is the 3-point lighting. This method of studio lighting consists of a key light, a fill light, and a backlight.
The keylight is the main light and the brightest one. The fill light eliminates shadows and is less intense than the keylight. The backlight separates the subject from the background, and helps to create depth.
Keep in mind these features before buying your lighting equipment:
- Adjustable beam spread: Look for lights with an adjustable beam spread as these will help you control how wide the light should spread.
- Height of light stand: After all, you should be able to adjust the light settings without much effort. The height of the light stand should be adjustable to allow easy manipulation.
- Portability: If you will be shooting in your youtube studio, portability is not very important. However, if you want to shoot outdoors or use other studios, look for light stands that are portable and lightweight.
- Accessories: Many lighting kits come with different accessories like reflectors, diffusers, and mounting tools. Kits are much cheaper than buying these accessories separately.
Remember to adjust the camera settings after you arrange all the lights.
Microphone
Although the camera records both audio and video, built-in microphones are not great for a youtube studio setup. Audio quality is very important in videos, especially for one that has a voiceover.
Microphones come in different sizes and shapes. Various types of microphones are made for different purposes. For instance, wireless microphones are for those who want to speak while moving around.
Deciding what the best microphone largely depends on your content. Therefore, the first step is to analyse the type of videos you are doing.
If your youtube is in the traveling niche, you may want to go with a handy wireless microphone. If you are doing voice-overs, Shure Cardioid Dynamic Mic and Rode Procaster Dynamic Mic
are among the best ones. The cheaper alternatives are the Audio-Technica Cardioid Mic
will work.
Check out which microphone is better between a Rode Podcaster vs. Blue Yeti here!
- ONE MICROPHONE FOR EVERYTHING - Studio Recording, Home Recording, Podcasting & Streaming. The SM7B...
- STUDIO VOCAL RECORDING - The SM7B’s Dynamic Cartridge With Smooth, Flat, Wide-range Frequency...
- PODCAST & BROADCAST - Found In The Top Podcasting Studios Around The World, The SM7B Air Suspension...
Last update on 2025-05-30 / Affiliate links / Images from Amazon Product Advertising API
- Dynamic microphone for podcasting, radio production and voice-overs
- Internal pop filter
- High Output Dynamic Capsule And Balanced Low Impedance Output Make It An Ideal Broadcast And Voice...
Last update on 2025-05-30 / Affiliate links / Images from Amazon Product Advertising API
- Large diaphragm for smooth, natural sound and low noise
- High SPL handling and wide dynamic range provide unmatched versatility
- Custom shock mount provides superior isolation
Last update on 2025-05-30 / Affiliate links / Images from Amazon Product Advertising API
Now let us look at the different types of microphones and a few of our best picks.
USB Microphones
Just like the name, a USB microphone can be used to record by connecting its wire to the USB port. USB mics are the easiest to set up and use. Some of the best USB microphones are:
- Rode Cardioid Condenser Mic
is a studio USB mic that allows recording excellent quality audio. It comes with a headphone jack with volume control. The mix control dial helps to blend the computer audio with your voice.
- Blue Yeti USB Mic
is definitely a favorite among YouTubers. Its three condenser mic capsules allow you to choose from four different pickup patterns. It also includes a mute button, headphone jack with volume control, gain control, and a stand. And for its quality, the Blue Yeti is a steal deal.
Lavalier Microphones or Lapel Microphones
Lavalier mics or lapel mics are small microphones mainly used for public speaking and theatre. If you are a travel vlogger, you will love these. These are handy and portable. Different lavalier microphones use different connectors, so make sure that mic is compatible with your camera or PC.
These are extremely sensitive, so do not attach a lavalier mic too close to your head. Simply clip it onto your shirt and start speaking. Here are some of the best lavalier microphones:
- Rode Omnidirectional Lavalier Mic
is great to record audio on your phone. It allows recording of broadcast-quality audio and is a good option if you do not want to spend a lot.
- Rode Wireless Mic
is a wireless lavalier kit compatible with a DSLR camera or a digital recorder. It can be mounted on a camera shoe mount or a belt-clip. This one is relatively cheap, so if you have a low budget, the Rode mic is a good option.
- PowerDeWise Lavalier Mic
is another great lavalier microphone. It is extremely sensitive, so if you are recording outdoors, record trial audio and see if the mic picks up the sound of the wind. It comes with an extension cord, allowing users to step further away from the camera.
Shotgun Microphones
Shotgun microphones got its name due to the long, slotted tube in front of the microphone cartridge. It is a highly directional microphone, which means it picks sounds only from one direction. You have to keep it right in front of you to record properly.
These are the best shotgun microphones in the markets:
- Shure Condenser Mic
includes a microSD card so you can use the mic without a camera. Its gain control feature is worth mentioning because you can make fine adjustments in the pickup volume depending on your situation.
- Rode Directional Mic
is designed for camcorders, DSLRs, and portable audio recorders. It has a 3.5mm connector and can be used to record broadcast-quality audio.
- Rode Videomic Go
is a more budget alternative that is also lighter than the microphone above. This is probably your best choice as budget microphones go. Other cheaper models provide sound quality so poor that you might as well use the internal microphone.
Want to know whether an omnidire
ctional
or a cardioid mic is better for studio, find out more here!
Background
A nice background is essential because the viewers pay attention to everything the camera captures. Whether you are talking or showing them how to make something, a good background always sets the tone for your videos.
Before you choose a background, think about the type of content you are posting. Is it professional? Is it amateur? Is it a heart to heart conversation? Or is it just random facts that you are going to share with your audience?
Think about the type of video you are going to post and then set the background. If you live in a home with pretty corners and walls, setting up background is a piece of cake. You just need to sit in front of the wall and start recording.
Here are a few effective backdrop ideas for youtube videos:
- Hang a banner or a frame: This is an excellent option if you want to display your channel name. Make a nice little banner with your brand name on it and display it on the wall behind you. You can also hang other frames and see if they look good in the video.
- Neon Lights: Neon lights make really cool backgrounds. These budget-friendly lights come in different shapes and sizes. The XIYUNTE Blue Neon Light
and Sunnyglade Neon Light
are lightning bolt-shaped lights that would look really cool in videos. You can also check out the LH Neon Light
that is in the shape of a musical note.
- Colored Backdrops: For a clean background for your videos, you can use colored ones like the LYLYCTY Backdrop
. You can use any color based on the style and tone of your video. People also use glitter sheets, velvet, or solid cloths as backdrops.
Find out more about how to get wrinkles out of your backdrop in this article here. - Green Screen: Creating a green screen studio can be a very versatile option. The green screen allows you to create a virtual background when you do some video editing after recording.
- Picture Collage: To get creative with your video background, use an array of your favorite pictures, quotes, paintings, and posters to create a large collage. Once you are done, hang it on the wall behind you.
- Fairy Lights: Even a plain wall will look amazing with fairy lights. These add a mysterious but calm vibe to your video. If fairy lights sound good to you, check out these super cool YEOLEH String Lights
and Liyuan Fair Lights
.
- Paint a wall: If you cannot find a good backdrop, the easiest way to create a permanent background is to paint the wall. Choose your favorite color, take a paintbrush and start painting.
Video and Audio Editing Softwares
There are a lot of video and audio editing softwares that you can use to publish top-quality videos. That being said, there is no one software that works for everyone. You have to eventually figure what works for you.
Although audio editing is not really necessary, you might want to try equalization and compression to make your audio sound pleasing and even. The good news is, most video editing softwares allow the users to directly record the audio into it.
If you want to record the audio in different software, Audacity is a great option.
Here is a list of video editing softwares that YouTubers love:
Adobe Premiere Pro
Premiere Pro is one of the best video editing software for professional video editors. It is easy to learn and user-friendly. Beginners may take some time to learn the different features in Premiere Pro, but with practice, anyone can master this software.
Premiere Pro works on both MAC and PC. It supports 4k video quality and video stabilization. Although it lacks a few features like 360-degree video editing, this software is all you need to publish broadcast-quality videos.
CyberLink PowerDirector
PowerDirector is another great video editing software for Windows users. It has a lot of advanced features that allow users to be creative with their videos. Some of the features include 4k video editing, audio scrubbing, and library preview.
PowerDirector is also cheaper than other professional video editing softwares. It offers two versions, namely, PowerDirector Ultra and PowerDirector Ultimate. New users will take some time to understand the interface, but they can use the PowerDirector library resources to learn the software in detail.
iMovie
For new video editors working on Mac, Apple iMovie is a great option. It includes a variety of themes and special effects. The iMovie interface is very user-friendly, making it an ideal software for beginners.
Another big advantage is that iMovie is free, so you can get started with editing right away. Overall, if your videos do not require professional editing, iMovie is worth checking out.
DaVinci Resolve
DaVinci Resolve is a great software that allows its users to edit and produce top quality videos. Although it has a bit of a learning curve, users will be able to work with ease once they get used to the interface. It is compatible with Windows, Mac, and Linux.
If you need high-end graphics in your videos along with different audio and video effects, DaVinci Resolve is one of the go-to video editing softwares.
Apple Final Cut Pro
If you own a Mac and are willing to spend $300, Final Cut Pro is an excellent option. Users love its interface and the wide variety of effects and features. It is versatile and easy to use. Both beginners and professionals will fall in love with Final Cut Pro.
While these are the most popular video editing softwares among video editors, there are many other editing softwares like HitFilm, Filmora, Corel VideoStudio, Pinnacle Studio, and Nero Video.
Whichever option you choose, make sure it can export the video to YouTube or to a format that can be uploaded to Youtube. Video editing is a crucial part of video publishing. Proper editing can turn average footage into an amazing video. Play with the color correction tools and make your videos visually appealing.
While there is no one software that works for all, you have to find one that works best for you.
Conclusion
To conclude, you do not need expensive gear and equipment to make a youtube studio. All you need is a good camera, tripod, microphone (if required), good lighting, and video editing software.
Before setting up the studio, think about the type of content you are going to publish. This is because studio setups largely depend on the type of videos. For instance, if you want to create a DIY crafts channel, all you need in your studio is a table with a good tabletop.
If you want to know how to build a youtube studio for less than $100, check out this video.
Sources
- How to Build a Home YouTube Studio | LESS THAN $100
- How to Build a Low-Cost YouTube Studio: 7 Things You’ll Need
- 10 Quick and Easy Backdrop Ideas For Your YouTube Videos
- Photography Life: How to Choose and Buy a Tripod
- Wondershare Filmora: Best Video Editor for YouTubers
- Podcast Insights: Best Microphones For YouTube Videos
Recent Posts
QuickTime is a vital app for many Mac users, and if you’ve recently bought a new microphone, you might wonder how to use it optimally. QuickTime cannot record audio content if it doesn’t have...
Every microphone leaves a unique signature on the quality of its output. If you’re a podcaster trying to melt your way into your audience’s hearts, a muddy, distorted recording won’t cut it....


