Looking for ways to improve your home recording setup!! Perhaps you have the very basics, or maybe you are looking for some more advanced tips to improve your efficiency and production quality when working from your studio environment.
Moreover, we tend to leave out small but important things when we start with our studio or setup.
And it can’t be helped; we need to keep improving or make changes where it needs to be.
Here are some of the best tips (in my opinion) from the very basics all the way up to some final touches that you can implement to improve your home studio.
13 Best and Simple Tips to Improve your Home Recording Studio
1. Use Plugins
For me, plugins are one of the fastest ways to improve your sound quality and recording workflow.
For beginners, plugins are external programs run through your DAW, which can alter the sound of either individual tracks or the master track for your project.
These plugins can range from very minimal effects such as a touch of reverb to give a guitar part some added space or a side chain compressor to give an EDM drum track a huge pumping sound.
Most DAWs come built-in with standard plugins such as EQ, Reverb, Compressors, and modulation plugins, however, VSTs can be purchased and installed to match the producer’s needs.
One of the best places to pick up new plugins is Waves. They sell high-quality plugins for every aspect of mixing and producing and can really help to lift production quality! Make sure to wait for their sales, however, as otherwise, the prices can be quite high!
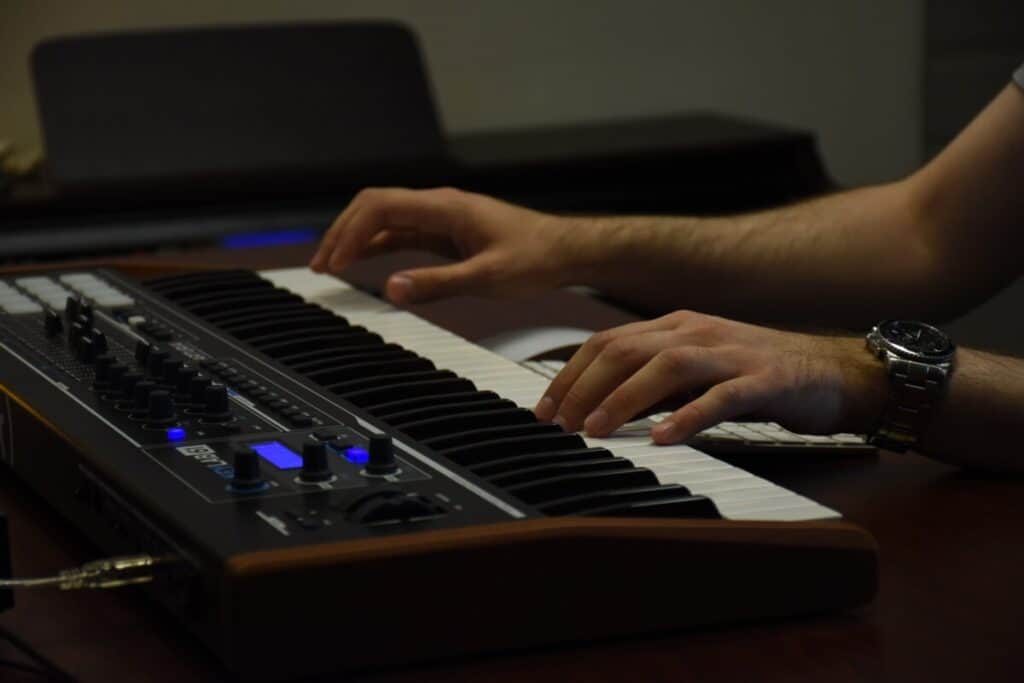
2. Midi Keyboard
Not a necessity, but when songwriting and recording it can be a huge help!
If you are a big fan of using synths and software instruments as opposed to live recording, a midi keyboard can speed up your workflow and provide you much more creative freedom
Plus, it can be loads of fun loading up some crazy samples and just playing around with them on a keyboard.
Have a look for a midi keyboard that also has outboard control, such as play and record buttons, as this can further speed up your workflow.

3. DAW Controllers
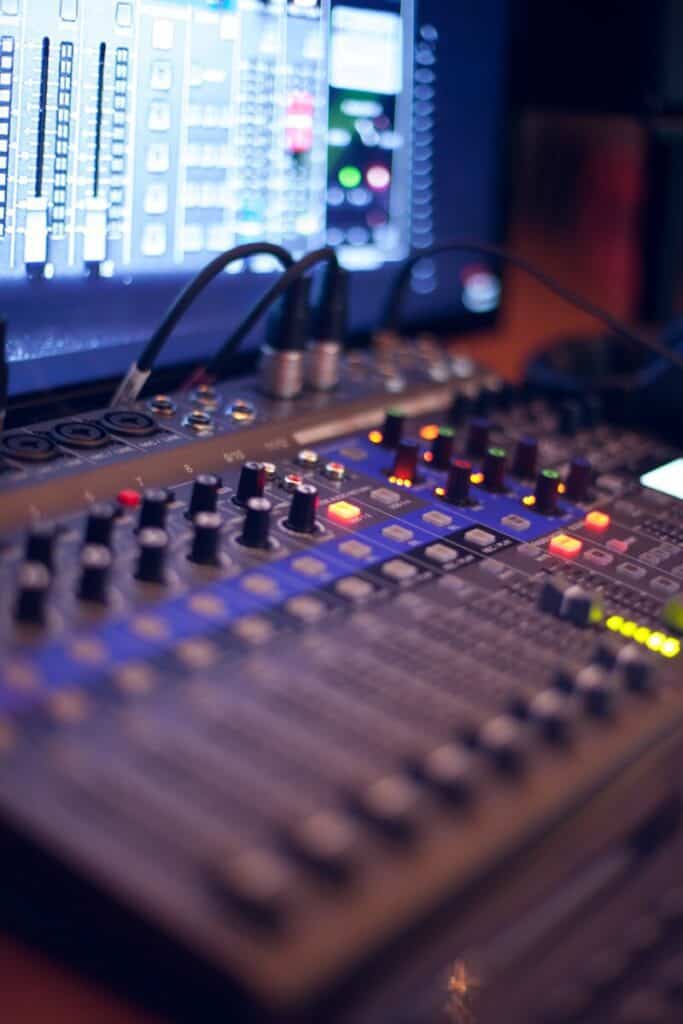
A DAW controller is a piece of equipment that can be used to trigger changes within your workstation program.
This is an optional addition to your home studio but can be absolutely priceless when working on projects with 50 or more channels.
They can help a producer or mixer to stay onto of levels, add smooth automation, and quickly adjust gain to perfectly reflect the ideal sound they are after.
4. Proper Isolation
You need proper isolation of your studio room from the surrounding environment if you want to get the best out of it.
For this, you need to soundproof your room which will prevent unwanted sound waves from entering it.
You might have already done it, but your studio might not be completely free from it.
As there are many factors that can affect this. High frequencies are easy to pick up with our naked ears but that’s not the case for low frequencies.
There are certain low frequencies that have the right frequency to vibrate the walls of your studio. This type of frequency will pass through your walls and hinder you from creating a good quality record.
So make sure you have the right amount of mass at your walls to prevent it. And don’t leave any holes and cracks – even if it’s a small one.
Also don’t forget to make your door and windows (if any) sound-proof.
Have a look at this guide on how to do it properly.
5. Proper Acoustic Treatment
Depending on the space you are working from, acoustic treatment can help improve the quality of your recording as well as the quality of playback.
When listening to audio from monitors, the size, shape, and material of the room can affect the final sound which reaches your ears.
This is a problem if you are a producer, or studio engineer, because you will want the most accurate sound possible in order to adjust our music accordingly.
And we can combat this by installing acoustic foam treatment in certain areas of the room in order to reduce sonic reflection and promote high fidelity playback regardless of the room size.
Different types of acoustic treatment exist for different purposes. Therefore, you need to find out which one is meant for your recording studio.
On the other hand, the possibility of doing both the recording and mixing in a single room is quite high – for a home studio.
And you should go with the process of the LEDE (Live End Dead End) treating method.
If you have a pair of monitors then, this step is a must for you. The sole purpose of a pair of monitors is to bring out the real-life scenario.
There is no value in having the monitors if you skip this step. However, you can somewhat manage if you don’t use monitors.
Better have a look at this article to find out more about acoustic treatment.
6. Analogue gear
Analogue synths and gear can help improve you production skills and can add a vintage and warm sound to your tracks.
Vintage synths such as the Moog can provide endless different sounds, and can also help newer producers grasp the understanding of envelope filters and general synth sound design.
Vintage tape machines are another addition that are often used by mastering engineers such as myself! These are fantastic tools to add an element of warmth to your tracks, particularly lofi or vintage sounds.
7. Hard Drives
This is absolutely key for mixing and mastering engineers who work on multiple large projects a day, or for people working off a laptop with a smaller internal hard drive.
These are great for holding sample banks, old projects, or even collaborations which you can take to other studios to work on with other artists or engineers.
It’s always recommended to look for a hard drive with a higher transfer speed as this will save you some time when loading up or saving projects!
8. Use a Headphone amp
If you want the best out of your Studio Headphones then you really need to get a headphone amp.
Most high grade Studio headphones have High impedance and therefore you need a headphone amp so as to make them work to the fullest.
You are good without it if you have modern one which don’t need an amp.
But there are also cases where the in-built headphone amps inside audio devices are not upto the par. This is because the Built in amp are not that good.
For this you need dedicated headphone amps. It is also easy for you to get a headphone amp as there a lot of them for different price range.
You can get a decent one at a very low budget. So definitely check them out.
9. Use a Cross Feed Plugin (For those who use headphones only while mixing)
When you use only headphones when mixing it is very easy to misunderstand the quality of your record or mix.
So you need something that will give you the experience of a real life speaker with stereo. And this is where you the Cross Feed Plugin comes into play.
Search for the best one out there and use it. It won’t give you the full experience a pair of speakers will give you, but you can manage with it.
“Something is better than Nothing”
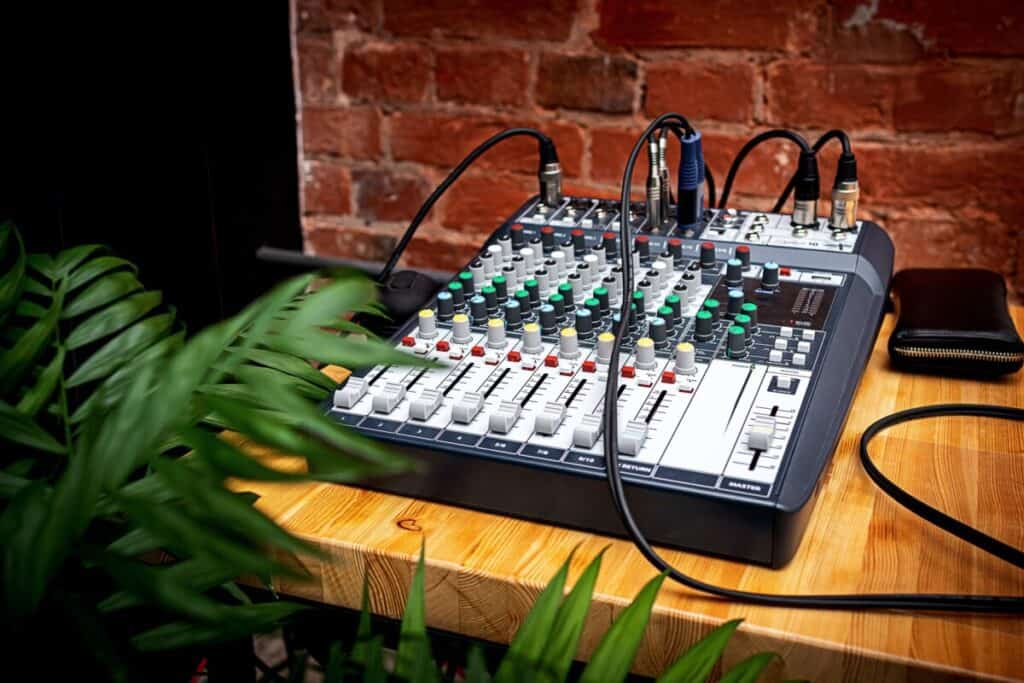
10. Use a DI Box
You should DI (Direct Injection) Boxes when recording acoustic, electric guitars, keyboards, etc. Instead of using a simple mic to record them.
This box is needed because the signals coming from this type of instrument are unbalanced and need to be balanced before fed into a mixing console.
Some of the mixing consoles can’t take in instrument-level signals, so they need to be changed into mic level – this is where it is needed.
We highly recommend the Whirlwind IMP 2, check out the review here!
- Inexpensive direct box with a fantastic footprint and the sound quality
- The IMP is an in-line transformer that converts a line or instrument level unbalanced signal to a...
- Converts a line or instrument level unbalanced signal to a low impedance mic level balanced signal
Last update on 2025-05-30 / Affiliate links / Images from Amazon Product Advertising API
11. Gears Positioning
A lot of people ignore this when they are starting out. But it is also one of the main things that matter.
You should keep a distance from your walls when you set up or put your monitors. And the monitors should be oriented in a manner such that the way you sit and the way monitors are directed lie in an equilateral triangle.
You should sit inside the region for better output. It’s the best you can get out of your setup.
You can check out this article from Proaudiofiles for better understanding.
12. Workflow
This is a much harder one to pinpoint, but the workflow is the general way in which an artist, producer or mastering engineer tackles their projects.
One simple way to achieve a faster and more efficient workflow is to pick up a whiteboard and a pen.
That’s right! By marking down tasks such as ‘Write melody for track X’ or ‘master Track Y’ can really help to break down seemingly complex projects into manageable pieces.
I have given this tip a few years ago and it’s completely changed the way I work. I now list down all of the tracks that I have received first thing in the morning and go through them starting with the biggest projects and moving down.
This allows me time to complete up to 7 full tracks each day, with time to go back for revisions after a follow up with my artists.
13. Cables and cable management
Finally, cables. I’m sure a lot of you will read this and let out a bit of a sigh, but cables can become an absolute mess if not organized properly.
This is not only an eyesore, and a trip hazard, but having too many crossing wires can actually be a fire hazard, and even if your beats are fire you definitely don’t want to be setting your gear alight!
Cable ties and cable management systems can be run alongside desks and instruments in order to reduce the mess and prevent them from being tangled.

Some Useful Basic Tips
1.DAW
A Digital Audio Workstation (or DAW) is the backbone of the recording process. It is the blank canvas on which you lay down your midi or audio, and augment it with plugins and effects.
Choosing a DAW is an important process and can affect your style of workflow. Some popular choices for DAWs are Logic Pro X, Pro Tools, Fruity Loops and Ableton.
One of the best ways to choose a DAW is to speak to producers which have used them and see what they suggest.
I have used Logic Pro X and Ableton, but I mostly find myself using Logic Pro X because of its clean and simple look and ease of use.
DAWs are mostly personal preference, but ensure that you have a well known DAW with good functionality, such as those previously mentioned.
Check out how Ableton compares with Komplete here!
2.Computer or Laptop
If the DAW is the blank canvas, then the computer is the stand, you can’t have one without the other when it comes to recording studios! If you are a traveling musician or you like to DJ on the side, then picking up a high-performance laptop might be more your style.
On the other hand if you are firmly rooted in the studio then a desktop computer will often provide higher performance, with shorter rendering times and faster editing, alongside a bigger screen to help organise projects.
When buying or upgrading your studio computer, make sure that you select a system with sufficient RAM (Random Access Memory).
This will help you to run multiple programs simultaneously, which can be particularly beneficial when working on larger projects with many audio tracks.

3.Monitors
When working in a studio, you will often bounce between using headphones and using monitors. This is important because it will give an insight into how the mix sounds across different systems.
This is also great for tracks which are likely to be played live or in a club, as some higher range frequencies around 15kHz can sound much sharper on speakers, and ranges around 100Hz can sound much ‘boomier’ so having the ability to mix on monitors can help to balance these frequencies accordingly
4.Headphones
The second part is headphones! This might seem obvious, but I’ve met plenty of artists who mix purely on monitors.
It is doable, but in order to dive in and hear some of the more subtle elements of an instrument or vocals, headphones can be vital.
Open back headphones can provide higher fidelity sounds, such as the SennheiserHD800s, but closed back headphones, such as the AKG K712 can reduce noise bleed and are therefore more reliable when recording in the same room as mixing.
To sum it up, there are a number of things, from tying up your cables to setting up a brand new computer, that can help you to take your home studio set up to the next level.
And the above are some of them. Hope you like them!!
Check out the 15 best products for home recording studios here!
Some of the tips are contributed by George Gavoyanni, a freelance studio engineer. He does everything he can to make sure that his workflow is as optimised as possible, in order to provide the highest quality product to his artists!
Recent Posts
QuickTime is a vital app for many Mac users, and if you’ve recently bought a new microphone, you might wonder how to use it optimally. QuickTime cannot record audio content if it doesn’t have...
Every microphone leaves a unique signature on the quality of its output. If you’re a podcaster trying to melt your way into your audience’s hearts, a muddy, distorted recording won’t cut it....

