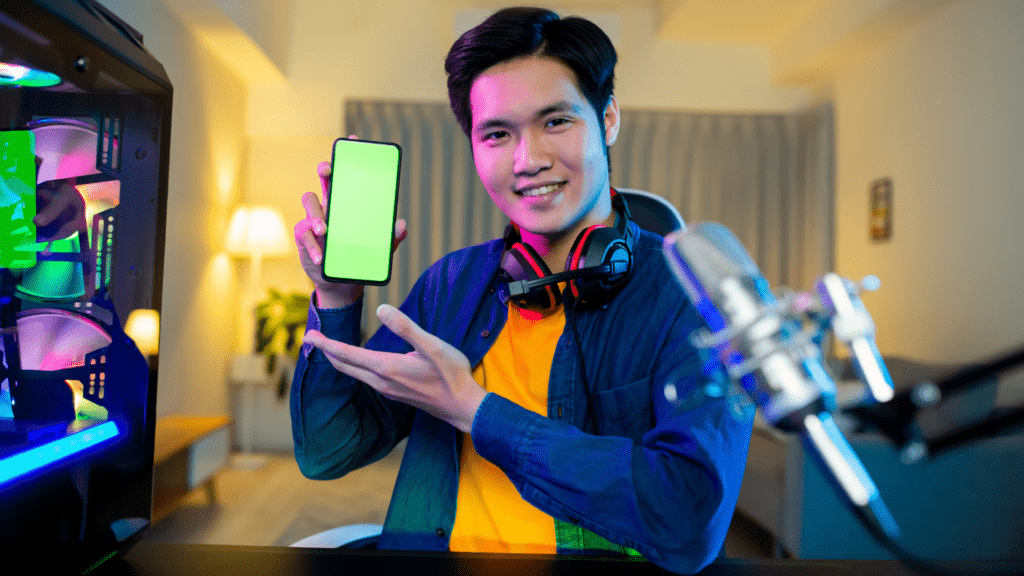
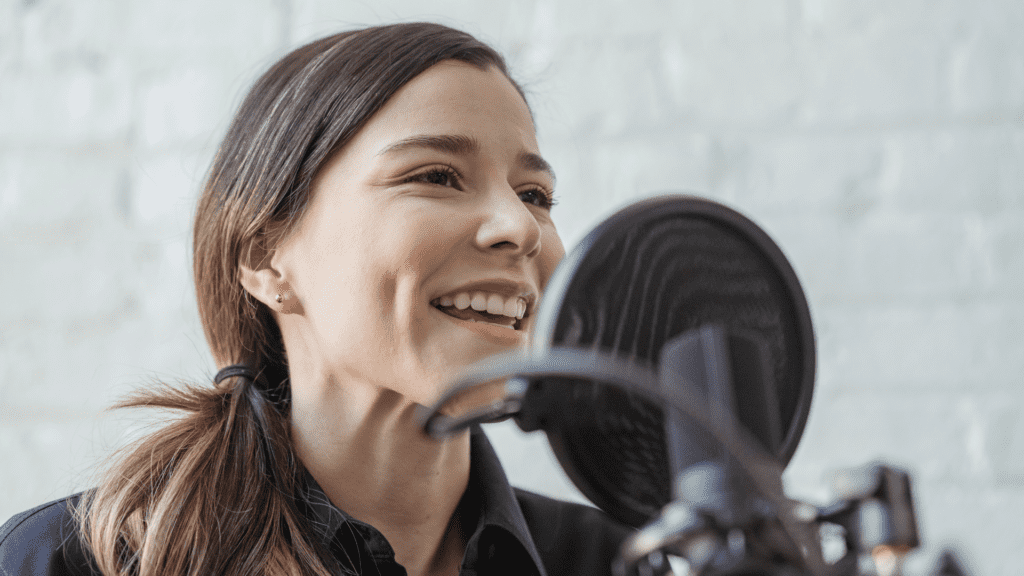
Your phone is a magical thing. You can use it as a web browser, camera, and even a recording studio. Yes, you read that right! You can record music and vocals on your phone.
Here’s how you can turn your phone into a recording studio in 7 steps:
- Download recording programs/apps.
- Get a USB microphone.
- Purchase good headphones.
- Practice your musical skills.
- Set up your production space and devices.
- Do some pre-recording preps.
- Start recording!
Technology has made life so convenient. If you’re thinking of recording some music (and becoming a bedroom producer), look no further than your phone! So, read on to find out how you can do this.

1. Download Recording Programs/Apps
The first step to being a bedroom producer is downloading the necessary apps and ensuring that these programs are compatible with your phone.
No matter what your music-making process might be, it can get the boost it needs with the following programs:
Voice Recorder
If you’re somebody who gets inspiration at the most awkward times and places, then a voice recorder app is what you need. With this program, you can record your new lyrics or beats wherever, whenever.
That said, you need to be wary of your phone’s volume levels, speaker quality, and storage capacity. These will affect the quality of your recording, after all.
For iPhone owners, the Voice Memo app is perfect for recording tunes that pop into your head all of a sudden.
You can export the memo in various formats for editing. But take note that these recordings take space, so make sure to have extra storage in your phone.
Voice Memo tip: Before recording, you need to:
- Go to Settings > Voice Memos.
- Tap on ‘Quality’ and choose ‘Lossless.’ This option should help filter sounds that the human ears can’t perceive.
Digital Audio Workstation
Also known as DAW, this program helps transform your phone into a portable recording studio.
It allows you to create (and edit) music, even add instrumentals as needed.
One of the more popular DAW options nowadays is GarageBand. Exclusive to iOS users, this free app was first launched in 2010.
With this free app, all you need to do is tap on the (+) sign and choose the type of music you’d like to record.
If you want, you can also import your music files to chop, edit, or filter them.
As for Android users, there’s no need to fret because there are DAWs available for your phone too. One such example is FL Studio Mobile, which you can download for a fee.
A top choice amongst DJs and hip-hop producers, this app offers an array of advanced features. They include low/high-band bass filters, compressors, and flangers. It also comes with a step sequencer for some rad beat programming.
Beat/Bleep Apps
Many programs can help you compose beats – and then some.
Take the case of the iOS program Beatwave. It has a free version that comes with 20 virtual instruments. For a few bucks, you can get templates and drum kits, too.
Another option is Korg Kaossilator, available to both iOS and Android
users. Using this app will make you feel like you’re personally playing a $300 Korg synth.
2. Get a USB Microphone

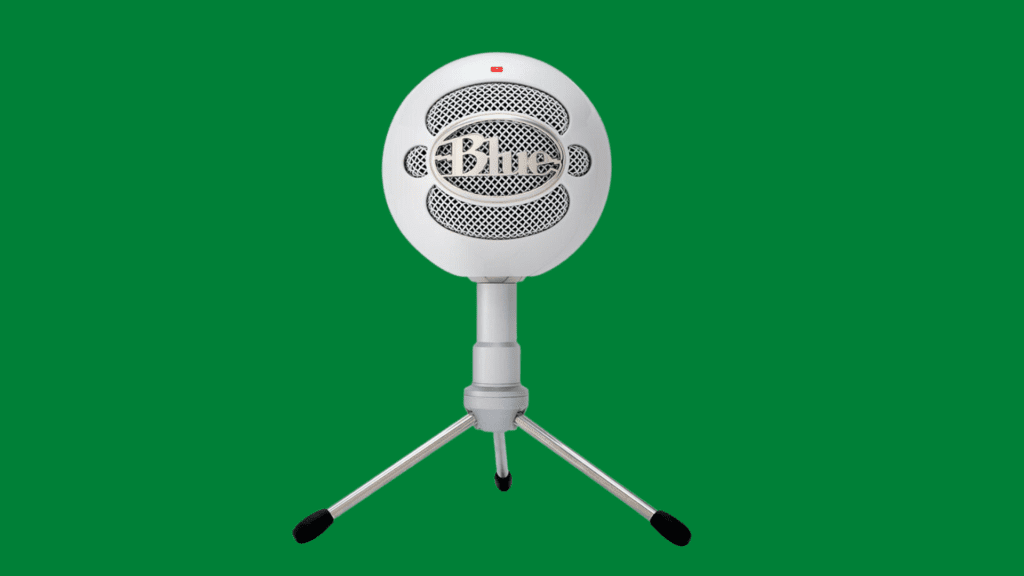
If you want to record good music, using your phone receiver or earphone mic isn’t enough. You’ll need to invest in a USB microphone as well.
Here are the three best Amazon.com products you can get right now.
Dayton Audio iMM-6 Microphone
If you’re looking for a budget-friendly mic, then the Dayton iMM-6 is what you need. It can be used in phones with a 3.55 mm (0.14 inches) TRS jack, meaning it’s not suitable for new iPhones.
Even if it’s cheaper than its contemporaries, it does have all the features you need for a seamless phone recording. It comes with a line-out pass-through for listening/testing and a kickstand to help elevate the mic’s angle.
RØDE VideoMic Me
This plug-and-and play microphone has a frequency range of 100 Hz to 20 kHz. It also comes with a furry windshield that prevents wind noises from being recorded.
Compared to the iMM-6, RØDE microphones are available in regular (audio jack) and Apple-compatible models.
- Compact Trrs Cardioid Microphone Designed For Ios Devices And Smartphones
- High-Quality Directional Microphone That Connects Directly To The Iphone Trrs Microphone/Headphone...
- 3.5Mmm Headphone Output
Last update on 2025-06-04 / Affiliate links / Images from Amazon Product Advertising API
RØDE Compact Wireless Microphone System
If you want to go wireless or you want your phone far from you when you record, then this system is for you. It’s a broadcast-grade wireless mic that you can use for up to 70 meters (230 feet) away.
The omnidirectional condenser mic, which comes with a 2.4 GHz transmission, can run up to seven hours for every charge. This duration should be more than enough for a day’s worth of recording.
Here are some tips when using a microphone:
- Make sure to pick a mic that’s compatible with your phone. As mentioned, some aren’t suitable for the newer iPhone models. That said, there’s a quick fix if it isn’t – all you need to do is purchase a USB-C to USB adapter.
- When it comes to using a USB microphone, the proper placement matters. You don’t want to place it too close to the amplifier as it may end up picking up static.
- Ultra-compact and easy-to-use dual-channel wireless microphone system for filmmaking, vlogging,...
- Analogue and digital USB outputs that are compatible with cameras Windows and MacOS computers, iOS...
- Transmitters have over 40 hours of on-board recording function to ensure flawless audio in all...
Last update on 2025-06-04 / Affiliate links / Images from Amazon Product Advertising API
3. Purchase Good Headphones
Apart from a USB mic, a good pair of headphones should help you record well.
For one, headphones can help filter noise and extraneous sounds. They can also help you hear the track more clearly as well.
Your headphones can also help you modulate your voice appropriately. That way, you won’t be drowned by the instrumentals of your track.
Truly a good investment, your headphones can help you focus more on the music you’re making.
When it comes to making a phone recording, here are some models on Amazon.com worth trying:
- Sennheiser Pro Audio HD 650
. These professional-grade headphones may be pretty costly, but it’s truly worth the price. For one, it can help reduce total harmonic distortion to a measly 0.05%. Likewise, it comes with an impressive frequency response of 10 dB.
- Specially designed acoustic silk ensures precision damping over the entire frequency range and helps...
- Improved frequency response is 10 39,500 Hertz ( 10 dB)
- Hand selected matched driver elements; Highly optimized magnet systems for minimum harmonic and...
Last update on 2025-06-04 / Affiliate links / Images from Amazon Product Advertising API
- Audio-Technica ATH-M50X
. ATH-M50X costs cheaper than the HD 650, but it doesn’t mean it lacks the features you need. It’s a favorite amongst audiophiles, many thanks to its clarity, deep bass response, and extended frequency range.
- Critically acclaimed sonic performance praised by top audio engineers and pro audio reviewers
- Proprietary 45 millimeter large aperture drivers with rare earth magnets and copper clad aluminum...
- Exceptional clarity throughout an extended frequency range, with deep, accurate bass response
Last update on 2025-06-04 / Affiliate links / Images from Amazon Product Advertising API
- Beyerdynamic DT 770
. Another more affordable option, the DT 770, is perfect for studio recordings, even if you’re only using your phone. They’re comfy enough for a day-long recording, given the pure, high-resolution sound and soft ear pads.
- Closed over-ear headphones for professional mixing in the studio
- Perfect for studio recordings thanks to their pure and high-resolution sound
- The soft, circumaural and repalceable velour ear pads ensure high wearing comfort
Last update on 2025-06-04 / Affiliate links / Images from Amazon Product Advertising API
4. Practice Your Musical Skills
Before you start recording, it’s good to brush up on your musical skills first. Just like your recording project, you can do some practice with the help of some apps.
Chord is a program that allows you to search both guitar and piano chords, especially if you want to play instruments. Android users can download this for free, while iOS
users need to pay to use the app.
There’s also the Casio Chordana, exclusive to iOS users (but at a cost). It can supply fresh musical ideas according to the genre, emotional tension, and melody motion.
5. Set Up Your Production Space and Devices
Now that you’ve downloaded the apps and practiced your skills, it’s time to set up your recording space.
It’s good to have a quiet area, preferably a ‘bigger’ and non-tiled room.
If your space doesn’t meet the criteria, you can take measures to minimize the sound that may disrupt your recording.
To soundproof your space for cheap, all you need to do is tape the windows and doors. You can also place a blanket around the room to create your DIY recording booth. Any of these techniques will help filter the unpleasant sounds out.
Placement
Reverberations – or echoing sounds – can lead to a muffled, ‘bounced around’ recording. This is why your quiet area should be slightly bigger and free from tiles.
If this isn’t possible, you could test the best spot in your room by clapping your hands. If you hear an echo, then look for another area.
Remember, the best spot for a recording sounds’ dead.’
Phone/App Preparations
Here are things to remember when setting up your recording studio:
- Mute your phone or turn it on airplane mode. You don’t want the sound of notifications to be recorded in your track.
- Don’t forget to double-check your recording app’s settings as well. For best results, set the quality to 44 kHz. This setting will enable you to capture sounds up to the 22 kHz range.
Remember: an hour’s worth of CD-quality audio will consume at least 360 MB of space. If your phone doesn’t have this memory, the next best option is to reduce the quality to 22 kHz.
Mic Preparations
You need to be conscious of your mic – it can make or break your performance, after all.
Make sure to angle it away from devices that hum or buzz (AC units, engines, coolers, etc.)
When it comes to mic volume, don’t turn it way up. This setting will only distort the sounds! For best results, calibrate it to ⅔ of the maximum volume.
6. Do Some Pre-Recording Preps
You’re almost there! But before you do anything, do some pre-recording preps first. For one, make sure to mount your phone instead of just holding it. No matter how subtle, your hand movements will end up adding shuffling sounds to your track.
Tips on Mic Use
- Keep your mouth at least four inches (10.16 cm) away from the mic.
- Don’t sing directly to the mic; do so at a slight angle. This position will help reduce the pops whenever you sing words starting with ‘P’ or ‘B.’
- Don’t sing too loudly on your phone, as this will cause disruptions. Remember: it’s easier to fix quiet audio than an irritatingly loud one.
- Use a built-in microphone on your phone if you don’t have an external mic. But as mentioned, it’s best to record with an external mic.
- Take note of the microphone’s location. It’s usually at the bottom or next to the cameras. As you record, see that the case (or your finger) isn’t covering the port.
Preventing Reverberations
As mentioned, reverberations can affect the quality of your recording. To prevent this echoing sound from negatively impacting your track, try to record in front of clothes (or your curtains.) They should help absorb the sound that will ‘bounce back’ in your track.
Recording Methods
Depending on your musical style, you could opt for any of these two methods:
- Live performance. As the name suggests, it’s performing live – and often with an instrument. If you don’t have the latter, the recording apps above should cover it. When doing a live performance, you have the option to record the entire tune or chunks of it. With the help of your phone app, you can sew these verses to create your unique track.
- Multitrack performance. If you want to use a variety of instruments (actual or app-based), this is the method you need to follow. It’s all about recording parts – say, the bass and drums today and the vocals later.

7. Start Recording!
Now that everything is set up, it’s time to get down to business. Here are the steps you need to follow when you start recording:
- Start by recording your’ pilot.’ Traditionally, it’s done with bass or drum beats. That said, you may use other instruments, such as the guitar or the piano. If you don’t play instruments, you may produce such sounds with your DAW – be it Garageband or FL Studio
Mobile.
- Record the draft vocals as necessary. The draft can serve as a guide for the rest of the sounds. However, when you record your vocals, make sure to follow the mic use tips above. If you like, you can record the vocals together with your pilot as well. In case you’re going instrumental, then proceed with the next step.
- Play the rhythm sounds. If you didn’t use piano or keyboard sounds in your pilot recording, now’s the time to add them. The rhythms you can incorporate into your track include guitar chops/riffs and percussion.
- Add the harmonies. The harmonies are the ‘meat’ of your phone-recorded track. This often features strings and organs. Harmonies often use synth pads, the latter of which you could recreate with the Korg Kaossilator.
- Re-record your vocals. Remember: the vocals above are just your ‘draft,’ so it’s time to re-record them once again. You can do vocal doubling, which you can do in Garageband by re-recording your vocals onto the current track.
- Sweeten your tune. True to its name, it’s all about adding the finishing touches to your audio. You can improve your track by adding more from your DAW, such as guitar sounds or percussions. You can also use your Korg Kaossilator to add more synth leads.
For more information, check out some of my articles here:
Final Thoughts
As you can see, you can quickly transform your phone into a recording studio. All you need to do is download the right apps, buy the correct devices, and do the preps above.
Sources
- Tech-ish: How to Turn Your Phone Into a Portable Recording Studio
- Popular Science: These Music-Recording Apps are Your First Step to Winning a Grammy
- Popular Science: How to record better sound on your smartphone
- David Taylor: How to Record Music and Audio Better on Your Phone
- VoiceMap: Recording Great Audio on Android Devices
- Headphones Pro Review: Why Do Musicians Wear Headphones?
- Music Critic: 10 Best Studio Headphones for Recording in 2021
- Music Production Nerds: How to Record Your Own Music Like a Pro
Recent Posts
QuickTime is a vital app for many Mac users, and if you’ve recently bought a new microphone, you might wonder how to use it optimally. QuickTime cannot record audio content if it doesn’t have...
Every microphone leaves a unique signature on the quality of its output. If you’re a podcaster trying to melt your way into your audience’s hearts, a muddy, distorted recording won’t cut it....


